Road Test

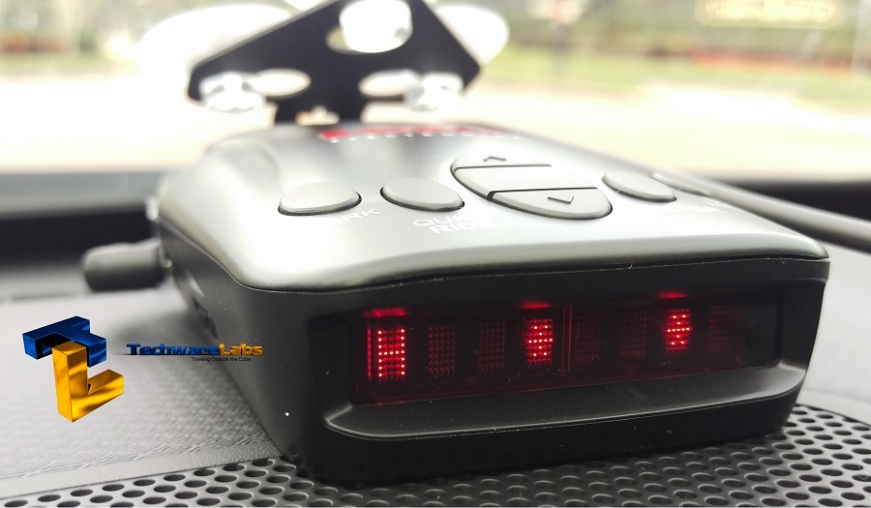
Pardon the shaking in the image, the gif was a video recorded on a camera that was mounted on the dashboard.
Using the windshield mounting bracket and the instructions in the manual, I attached the radar detector to the front end of my Hyundai Veloster’s windshield (above the middle speaker). The RLS2 was used everyday for 3-4 hours a day for 7 days straight, and has saved me from at least 2 tickets already. I had to switch between highway and city a few times and seeing as how the K-band filter is available the radar detector filtered out the stores, street lights, other vehicles and electronics emitting unnecessary K-band interference.
The road test proved to be a very valuable inference into how well the radar detector is able to report the police scanners and the other meaningless lasers. Furthermore the newly introduced GPS feature allows you to mark a location for speed traps or hazardous locations to a speeding driver, and upon reaching this marked location during a different commute the RLS2, will alert the driver whether or not theres a laser/radar being used.

Features
With the retail price of $399.99, the RLS2 is pricey addition to your daily commute, but if you are a person who is always on the go and driving around the city, it’s a valuable resource to have in your car as it will always assist you in the avoidance of speeding fines and altercations with the police force. As a recommendation from TechwareLabs always obey the speed signs and written warnings.
DIM/Menu
The DIM button serves two purposes:
When pressed it will adjust the brightness of your display to help you see it clearly at night or during the day. On the other hand if you hold the DIM button it will bring up the Menu feature that includes the following:
- Voice type – male or female voice audio alerts.
- Audible voice – voice on means you will hear a voice for all incoming alerts, Voice off will disable voice and use tone-only alerts.
- Wake-Up – Length of boot up with 2 features, either a long (5 second) or short load time between first power on and ability to use.
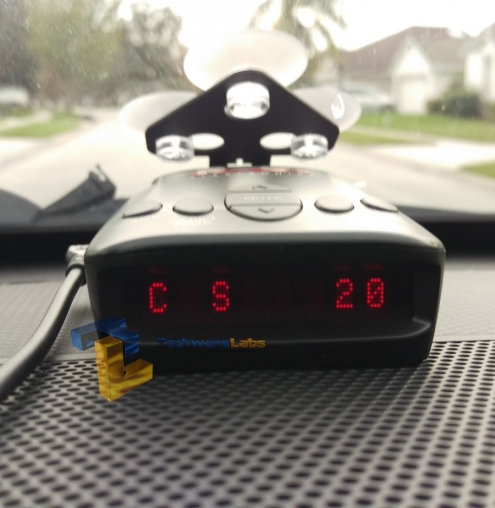
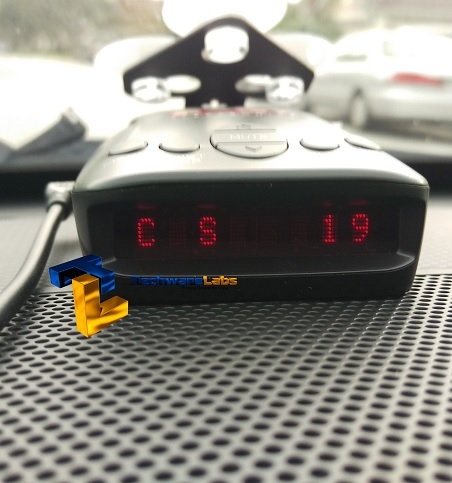
- Speed Display (Can be see in the .gif provided in the Road Test section) – can be toggled on/off to display the vehicles speed.
- Compass Heading – Displays compass heading (N/S/E/W) when driving over 5mph/kph.
- Traffic Sensor Filter – K-Band filtering to reduce unnecessary traffic alerts.
- mph/kph – Choose between either/or.
- Automute – Toggles the automation of lowering the alert volume by 50% after 5 seconds.
- X-Band – Enables X-Band Radar detection.
- K-Band – Enables K-Band Radar detection.
- Ka-Band – Enables Ka-Band Radar detection.
- Laser – Enables Laser Radar detection.
- Mute Locations – Clear all saved mute locations.
- Alert Locations – Clear all saved alert locations.
- Factory Reset – Original Factory Reset.
Filter or Signal Sensitivity
There are 3 levels of sensitivity settings to comply with various driving situations.
- Highway which detects all of North American Police radar signals (K,Ka, X) at maximum sensitivity.
- City that reduces the detection of X-Band by 50%.
- Filter setting reduces K and Ka by 50% and sets X-Band to off.
Quiet Ride
The quiet ride function is my favorite setting as it allows you to completely and automatically silence all radar and laser based alerts when you are driving under a certain speed of your pre-set choice (5-75MPH or 10-120KPH). Visual alerts remain and to access this feature press the Quiet Ride button and you will hear the designated speed for quiet ride ie “Quiet ride, 35, 40, 45…”
This feature is extra helpful in the city during the peak hours of travel from and to work or school.
Mark to Mute and Mark to Alert
Mark to mute allows you to mute any radar band/laser alert that is from a non-police source using a specific GPS location. When used it will mute all outgoing voice alerts within a 1500ft diameter of a marked location. Yon can delete a location by pressing and releasing the mark button and you will be prompted that the location is removed.
Mark to Alert is your own personal favorites tab in the Radar. This allows you to save specific locations like speed traps, low speed limit areas, and bus-stops for future commutes. When you mark and area the RLS2 will automatically alert you that you are approaching the position on the screen with an “Alrt Loc” and through the voice with “Approaching marked location”. When you are in the location there will be an audible BING sound.
Speed Monitor
Speed monitor feature will alert you when you exceed a preset speed. This can be varied in accordance to the setting of 40-100 MPH or 60-160 KPH. When you exceed the speed the RLS2 will emit a beeping tone with a visual display of SLOW and DOWN (repeatedly). This will continue until you reduce the speed to below the set limit.
Guaranteed immunity, performance
For 1 year from the date of the purchase K40 is guaranteeing that it will pay off a ticket that was received due to a Radar/Laser stop. They also guarantee a performance like no other and if you are unsatisfied with their product you can return it in within 30 days of the purchase for a full refund. Lastly they provide a 1 year warranty for a repair or replacement of the device.