Overall Interior
 |
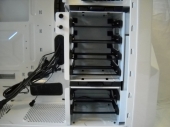
Here we see the inside of the 410, with the white and black theme carried on from the exterior. The inside is fairly roomy, especially for a mid-tower. You can see the large CPU back plate cutout as well as all of the cable management holes. |
| The 410 has two permanent HDD bays in the bottom along with four more in the removable cage. You can also see the optional fan mount on the left side of the removable cage. |
 |
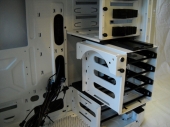 |
A key feature of the 410 is its easily removable HDD cage. By simply pressing in two tabs the cage will slide out, giving increased air flow and support for even the longest graphics cards. |
| Going with the ease-of-use theme so far, the 5.25″ bays are tool-less. They work by pushing in on the plastic, causing the pins that hold the drive in place to pop out. The design is easy and quick but seems like it could fail if used frequently due to constantly bending the plastic back and forth. |
 |
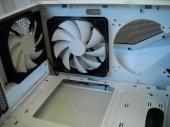 |
From this angle we can get a good look at the rear (120mm) and top (140mm) exhaust fans. You can also clearly see the mounting holes for the optional second 120 or 140mm top fan. |
Behind the Tray
Many people often overlook the area behind the right side panel. But a well designed right side with adequate space is vital to proper cable management and tends to just make your life easier. The Phantom 410 gives you plenty of room to stash cables, even a massive 24-pin power connector.
Also on the ride side is your access to hard drives. I personally like this design because it allows HDD cables to be routed out of sight. But for some this may be an annoyance because the only way to remove a hard drive is to take the right panel off.
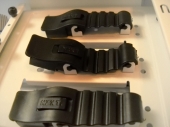
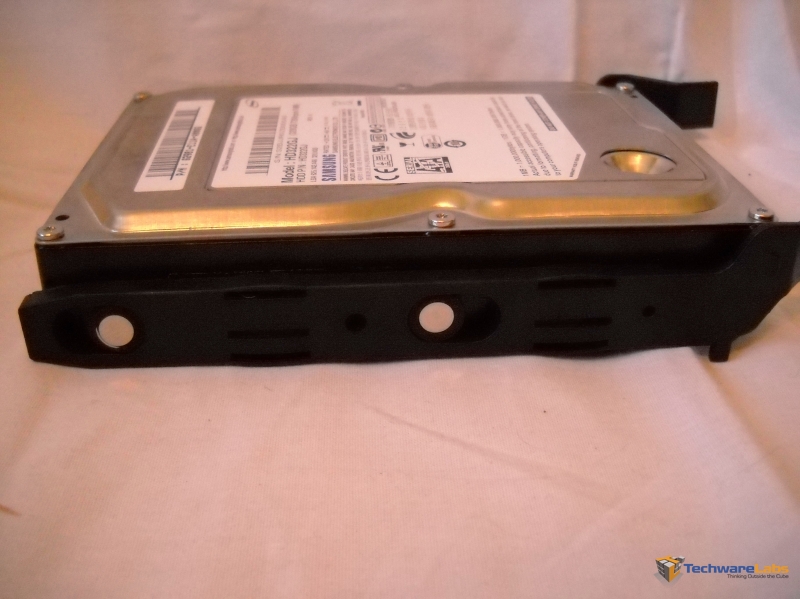
The mounting system for the hard drives is simple. Just press in the tabs and pull out the tray, then pop the HDD into the tray one side at a time. The pins that hold the drive in place have rubber grommets on them, reducing vibration noise.
Related


[…] NZXT Phantom 410 Case @ TechwareLabs […]
[…] NZXT Phantom 410 Case @ TechwareLabs […]
[…] NZXT Phantom 410 Case @ TechwareLabs […]
[…] Gaming MouseBigBruin explores the Antec P280 Super Mid Tower CaseTechwareLabs comes back with the NZXT Phantom 410 CaseTechReviewSource hooks up with the Monaco Extreme ChargePhoronix reports on the Nouveau Project […]