Installation
The TranImp X3 PLUS just like most other drive enclosures because it consists of a tray with mounting screws, a circuit board to connect the drive, and a box to enclose the drive which is held together with two screws. The TranImp X3 PLUS is slightly different because it has a cable running the length of the enclosure to the front for the display. We tested the TranImp X3 PLUS with two drives to see the difference in speeds being displayed on the LCD display. The next step was to take the same drives and connect them directly to the motherboard and run the same benchmarks. Surprisingly the speeds were so close that labeling the screen shots below was very important.
 |
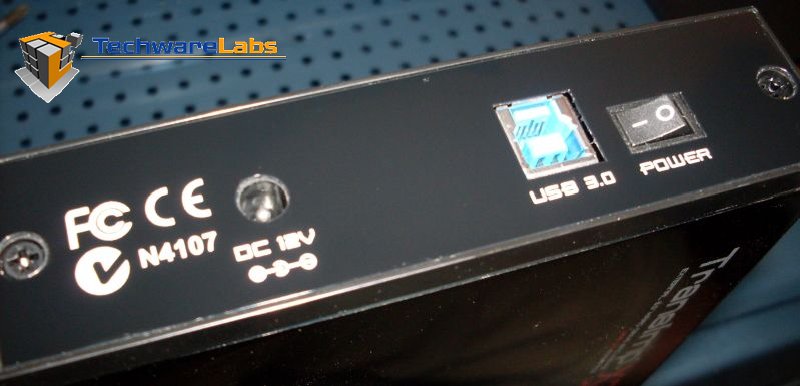 |
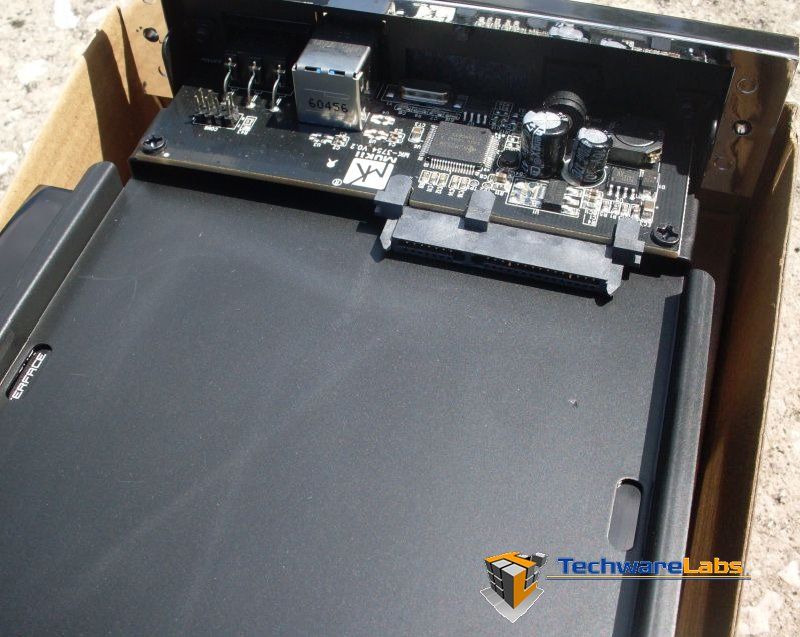
| Looking at the internal tray of the TransImp you can see that it is a simple straight forward design. | Looking at the back of the TransImp you can see the I/O port for the USB 3.0 Plus cable, power plug and power switch. |
The internal layout of the TransImp is a very simple and well engineered for ease of setup and hard drive installation. The TransImp comes with four mounting screws to mount the 3.5″ hard drive to the tray. Once the hard drive is mounted and your ready to reassemble the enclosure you have one additional step which is to connect the display cable to the tray just before you close up the enclosure (shown below). Once the enclosure is closed a simple two little screws hold the enclosure together.
 |
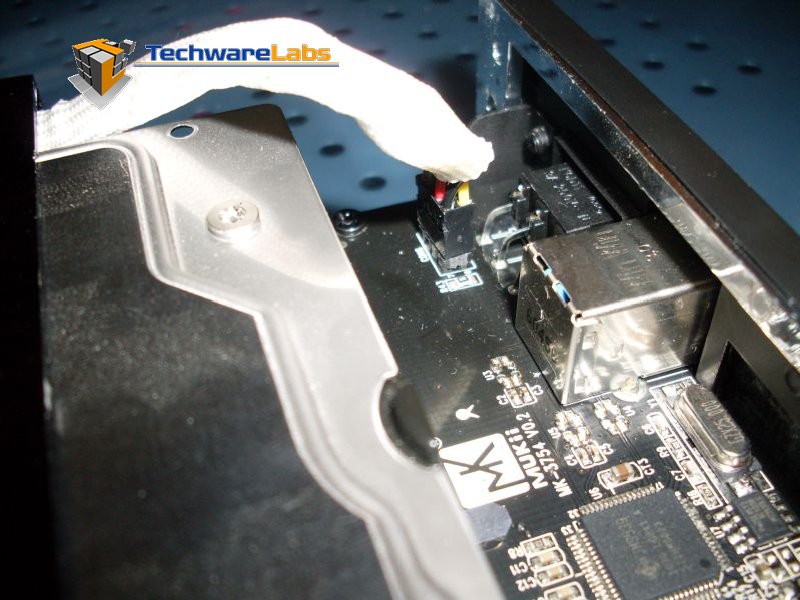 |
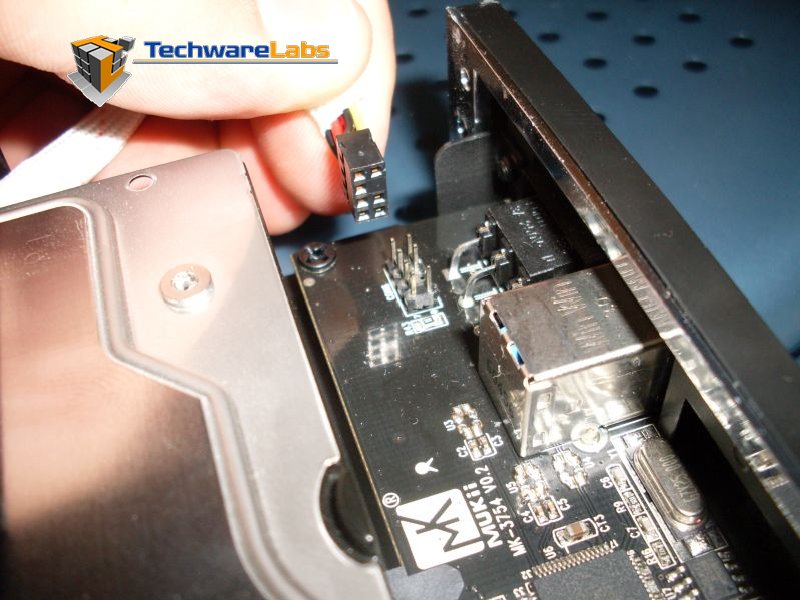
| Connecting the display cable to the tray’s circuit board before closing up the enclosure. | Once the cable is connected to the circuit board the enclosure is ready to be closed completely and ready for use. |
External drive enclosures have never been for the advanced only crowd, so don’t be afraid to pick up an enclosure that doesn’t have a hard drive already. The great thing about enclosures is that are able to be opened and hard drives swapped out is simply that, you can replace the drive whenever. Some store bought enclosures are sealed at the factory and are nearly impossible to open if the need arises.
 |
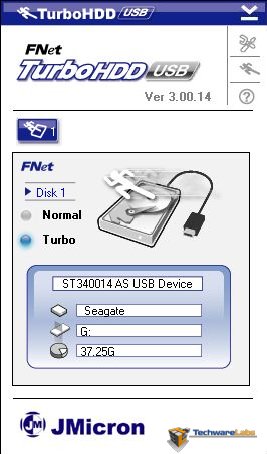 |
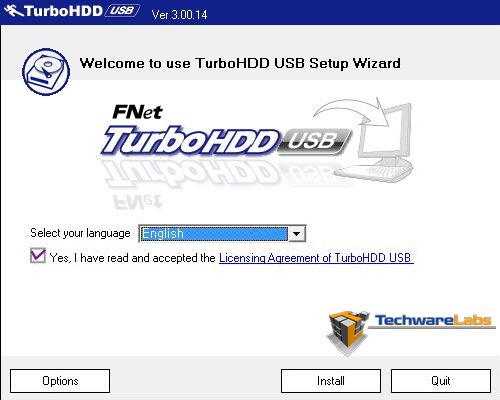
| The TurboHDD software is a simple install and took just a minute. | Once installed, the TurboHDD software auto detected the portable drive. |
The Turbo HDD software is an unfortunate burden to have to deal with but once it is installed you won’t need to install it again. Even though the software came on a small CD-ROM, you can copy it to the portable drive to have it available in the future. Because this software is only available on disc, and is not available to download, the consumer is at risk of running into poor performance in the future if they lose this software.
