|
Thermaltake ProWater 850i
Installation
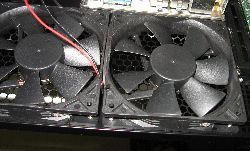
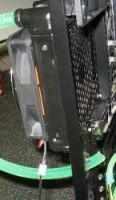
The first step you will need to do before installing your Thermaltake 850i ProWater is find an adequate spot for the radiator. I have an Antec Twelve Hundred, which has 2 fans right next to each other on the back of my case. This does not provide ample room on the inside for the radiator, so I had to do an external installation, which as we mentioned before is ideal anyway. Before I could start to put the radiator on the outside a few things had to be done first. The bottom fan had to be removed and disconnected from the fan controller, after that the radiator had to be reversed (flipped) to suck air instead of blow air. This is done so that the hot air is expelled farther from my case and not inside of it.
Find a suitable fan to replace |
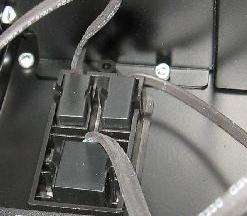
Disconnect the fan |
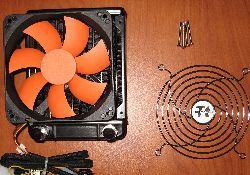
Reverse the direction for external mount |
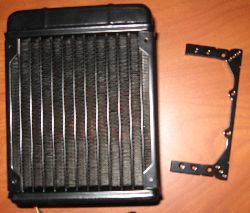
For 120mm fan slot install remove the mounting bracket |
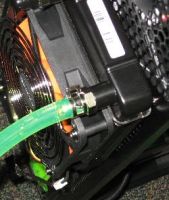
After mounting the radiator it should look like this. Note that for an external mount your case will become longer and more cumbersome to move. Plan accordingly if you are interested in an external mount. Once you actually hook the radiator up it will at least double in thickness due to the tubing. The radiator has on it a fan controller which you can see in the picture below if you look closely. As far as I could tell it was a 3 speed fan, with the highest RPM setting being quite loud, but also moving a lot of air. The other two lower settings are relatively quiet, but still allow for adequate cooling.
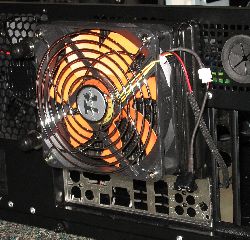 |
After installing the radiator |
None of the other components should be completely installed yet, this is because first you want to test your water cooling system. What does need to be done is for you to have to measure out your tubing and cut it all to length. After that you should connect all the components together in the following order (typically):
Pump out port -> Water block -> Radiator -> Flow meter -> Reservoir
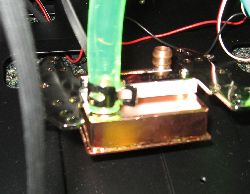
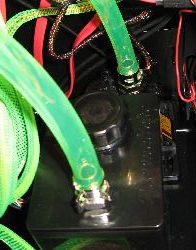
Here are some pictures of me installing the tubing. To install it you first measure the length of tubing required. After cutting it to size you put a clamp on each end of the tubing, then you push it onto the male connectors on all the parts and then use pliers to tighten the connectors over the tube. The connections are easy to make, but very hard to pull off after you install them so try to make sure you have it set up right before you push the tube onto the component.
Size the cables |
Attach them with fasteners |
Connect the waterblock |
Connect the pump |
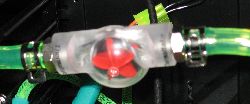 |
Flow meter connected |
Testing and Operation
Before use one should ALWAYS test your water cooling system, even one from a reputable company like Thermaltake.
NOTE: THE FOLLOWING SECTION IS FOR VERY ADVANCED USERS. DO NOT ATTEMPT UNLESS YOU ARE VERY FAMILIAR WITH ELECTRICITY AND ADVANCED MODDING.
We have included and Advanced and Basic testing methods. If you are not sure which to use we highly suggest using the basic method. Each method will ensure a leak free system.
BASIC: We suggest assembling the system but not mounting the CPU waterblock. Leave the standard CPU heatsink in place to test the water cooling system. This means the tubing has been measured and cut, the system has been assembled but outside of the case. You will need a cardboard or plastic box big enough to hold the components. Next take a plastic garbage bag and put the box inside the bag. Put your components inside the box but outside the bag. Connect only the power to the molex connector from the pump and make sure the wire is elevated into the air and not placed in the box. This is easily accomplished by placing the box beside a table on the floor and securing the wire to the side of the table. For this testing the fan on the radiator is not required since there is no heat being transferred to the radiator. The essential idea is to turn the system on ane leave it running overnight but not in a way in which it interacts with your system. This is so that if it leaks you can detect it before it has a chance to drip inside your system. The Thermaltake system is very good and you should not encounter issues if you follow the instructions included. In the morning after your test check the box for any leaks and carefully look for where they originated. Unfortunately with this method you will need to drain the system into a cup or back into the bottle so that you can re-use the fluid before final installation into your system.
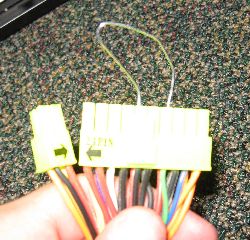
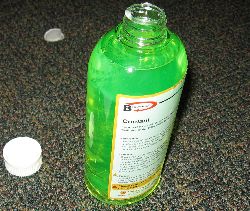
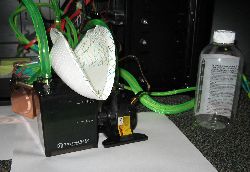
ADVANCED: A good idea is hot wiring your power supply so your motherboard and components are nowhere near. Take a paper clip and jump the green wire to any black wire, if this isn't a reminder or you've never done this before read the quick guide here. This will power your system up and allow you to test everything. Notice how I have not yet installed the waterblock and everything is outside of my computer sitting on white paper. This is to help detect leaks and prevent the damaging of components. Don't forget to pour in the coolant, notice the paper bowl I used as a funnel.
Read guide here to do this |
Pour in the coolant |
Use a real funnel ideally |
Once you've tested your system for a few hours it's time to pop the motherboard in and screw the waterblock on, this can be tricky with just two hands. Once everything is installed you can optionally put this telephone cord type stuff around your tubing. It gives it a neat look, especially if you have a UV light to make the cable light up. To install it just wrap it around the tube anchoring it on the metal clamps holding the tube on.
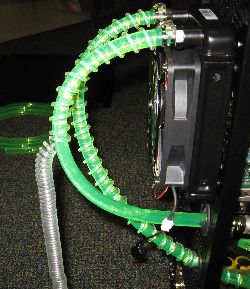 |
Installing the anti-kink wrap around the tubing. |
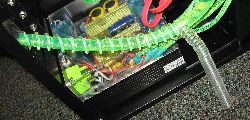 |
Additional tubing inside the case. |
See the next page for the conclusion and final pictures.
REAL TIME PRICING


