|
CRU DataPort 25 USB/SATA to Dual Drive SATA RAID
Closer Look -
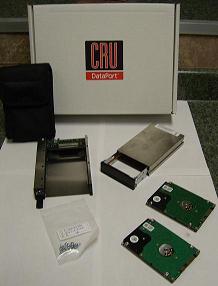
Click on photo for larger view
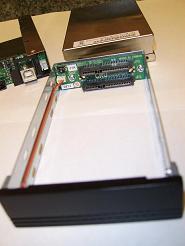
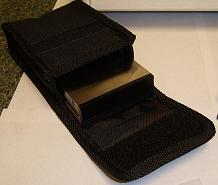
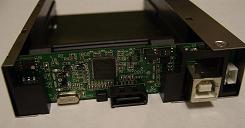
The CRU DataPort 25 comes with just a few packed extras and is one of the easiest devices to install in a PC that we have tested. The hard drives are NOT INCLUDED. TechwareLabs would like to thank Seagate for sending us two of their high quality 160GB Seagate 2.5" Momentus 5400.3 drives Part Number 9S1134-508, which spin at 5400RPM for this review. The package from CRU DataPort as shown above contained the docking station, removeable carrier, carrying case that clips on ones belt, USB cable, SATA cable, molex power cable and mounting screws for the hard drives.
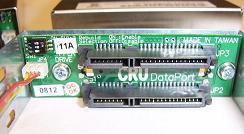
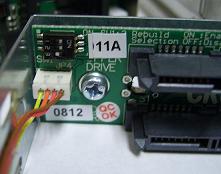
First we took apart the hard drive carrier to configure the Dip switches on the backplane of the carrier before installing the hard drives. Below you will see a close up photo of the carrier's dip switches which allow you to configure the drives in a mirror, or Stripe or JBod set. We configured the carrier as a stripe set in order to see what kind of performance we could get out of the DataPort 25.
 |
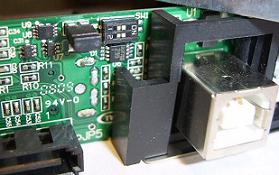 |
Carrier Dip Swtiches |
Dockingstation Dip Switches |
Click on Photos for larger View |
|
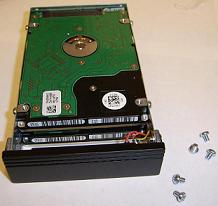
The installation of the two Seagate hard drives was very simple since the SATA connection was a simple click-in and then screw in of the four mounting screws. Once the drives were mounted, we simply slide the drives into the carrier's metal sheilding and used two more mounting screws to lock it into place.
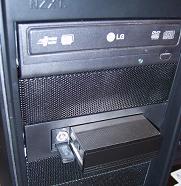
Installation of the docking station into our workstation was also very easy. The docking station is made of very sturdy aluminum and slid right our NZXT case’s 3.5 drive bay and with the case’s quick mounting rails, we were able to mount the drive bay in under 2 minutes. Next connecting the power cable to a Molex power cable and then connecting the SATA cable to the motherboard took another 2 minutes. All in all, the assembly and installation of the CRU Dataport 25 took all of 20 minutes.
Click on Photo for Larger View |
|
The Docking station comes with keys to lock the carrier in place. These keys are necessary in order to engage the carrier, so do not lose them! So, once the carrier was installed in the docking station and the keys used to lock the carrier, we turned on the workstation and the Vista OS found the new hardware right off and after formatting the drive, it was ready for use. So, with the DataPort 25 configured with a Stripe, we took some benchmarks. Keep in mind, with our choice of a Stripe configuration, we will not have the redundancy of a fail-over drive.If one of the drives fail in the carrier all data will be lost. Recovering the data from the drive may be salvaged by some third party company which will cost about $3,000.00 and would take a week or two. The DataPort 25 is meant more for RAID 1 Mirror than for a RAID 0 Stripe since the hard drives only spin at 5,200 RPM and 3.5" drives spin faster. So, if your looking portable and fast, then you will more than likely would look into large 3.5 portable drives which support eSata.
REAL TIME PRICING


