

|


Overclocking Pros and Cons
 |
Our Test Build:
I would like to tell you how I managed to overclock my system to a stable level, so you gain a better understand on how it works. For List of overclocking terminology, as well as a step-by-step guide, please consult our Overclocking Guide.
Test Rig:
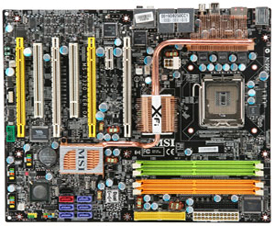
- MSI P6N Diamond Motherboard
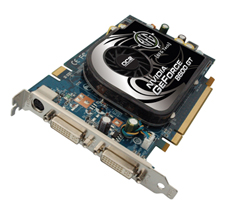
- BFG nVidiaGeForce 8600 GT OC2 256MB PCIe Video Card
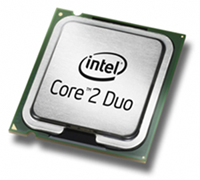
- Intel Core 2 Duo Desktop Processor E6750
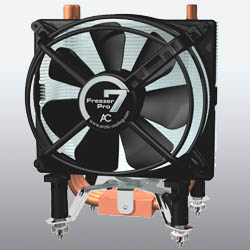
I spent about 2 days gradually overclocking my cpu in the BIOS menu. Fortunately, my cpu temperature never went over 50 degrees Celsius, but I knew that this processor could still handle higher temperatures than 50 C, because I added a AC Freezer 7 Pro Heatsink+Fan to the cpu, instead of using the stock heatsink and fan that came in the box with the processor. I managed to set the FSB in the bios to 383 MHz, from the default 333 MHz. The CPU clock multiplier was set to 8x. So my cpu clock speed went from the default factory values of (333 MHz) x (8) = 2664 MHz to (383 MHz) x (8) = 3064 MHz. After I went above the 3064 MHz clock speed, my system became unstable, so I forced the values in the BIOS back down to the stable build at 3064 MHz. At 3064 MHz, my processor idles around 34 degrees celsius, and around 42 degrees celsius on a full load.
My video card core bus began at 620 Mhz and could only go up to 710 Mhz to avoid instability issues. Unfortunately, the video card is extremely hot to begin with at the factory clocked level. The card runs idle at 56 degrees celsius and reaches about 65 degrees celsius on a full load at the overclocked speed of 710 Mhz. This card model was not so friendly to overclock. I used nTune to adjust and save my video card clock speeds. I ran stress tests on this video card with nTune and 3DMark06.