

| Windows Vista Wireless Connection Guide |
|
|


Connecting with Windows Vista:
Now that you know what the menu's will look like here is how you connect.
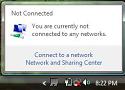
Left click on the connection icon in the task bar that looks like the image to the right. |
|
|---|---|
Click on "Connect to a Network" |
 |
Select from the available wireless networks from the listing. Only select a network that is open or one that is listed as "Unsecured network" as these will be the only wireless networks you will be able to connect to without knowing a passphrase or wireless key that allows you to join. Make sure the selection box at the top shows "Wireless" instead of "All" so that you are assured of trying to connect to the right network. |
 |
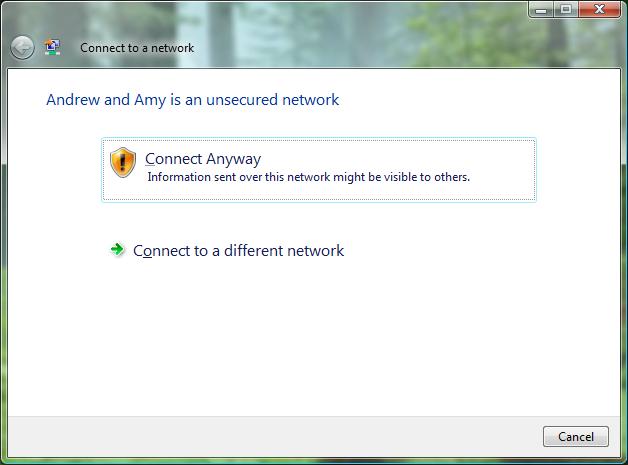
Select the "Connect Anyway" option in the dialog box that opens. This menu is warning you that the network is unsecure and that your data may potentially be accessible by other people. Even though this is true, most public networks have security enabled that prevents one user from accessing another files. |
 |
This screen shows you the progress of your attempt to connect to the network you chose. |
 |
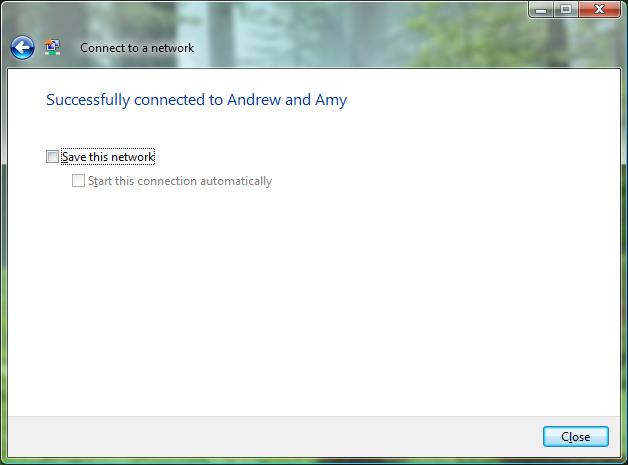
When you have sucessfully connected to the network you chose you will be asked if you want to save this location so that Vista automatically connects to this network again if you come back. Select the"Save this Network" and "Start this connection automatically" if these are your preferences. |
 |
Finally you need to wait till the connection icon on the task bar goes from a state of "connected to the wireless network" to a state of "connected and also has access to the internet". You will know that this has occured when the connection icon changes from two overlapping computers to two overlapping computers with a globe in the lower right corner. |
|
We hope this guide assists you in connecting to networks while you are on the go. This guide is not intended to help you troubleshoot connection issues or problems with intermittent access while connected. We will be publishing additional guides to address those issues.

| « Windows Vista versus Windows XP Connectivity | More Guides » |