|
CoolerMaster Centurion 590

Component Installation
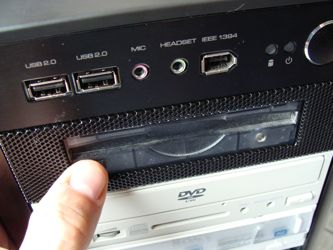
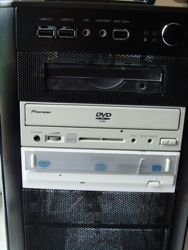
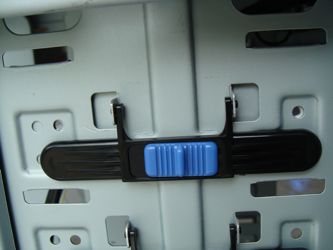
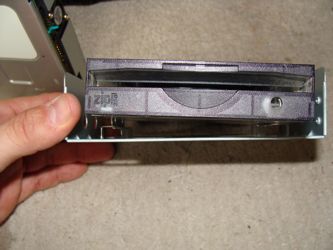
I have a big, legitimate gripe with the “tool-free” design of this case as Coolermaster describes it. If I read “tool-free” as written on their website, I don’t think it’s unreasonable to expect the ability to install all necessary components, save motherboard and power supply, needing only my fingers to turn screws. While, yes, you can use the plastic brackets to secure one side of a drive, you’re left with the opposite side loose and unsecure. For most uses, this is fine, but those who take their computers to LAN parties or other functions will want to break out the screwdriver and finish the job.
 |
 |
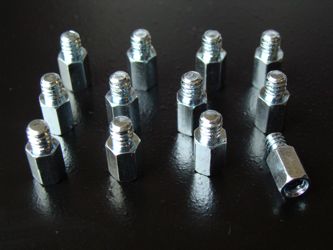
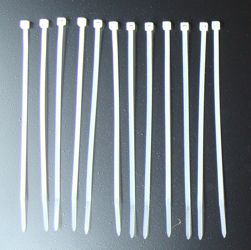
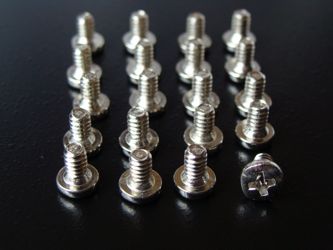
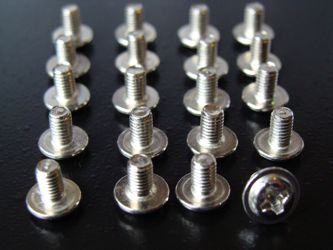
To make installation trouble-free, Coolermaster includes every screw I would ever need to install a full ATX motherboard, a drive in every bay, a power supply, a couple fans and still have some left over to replace the ones I drop behind my desk. On top of that, a dozen or so zip ties were included to secure loose or hanging wires.
 |
 |
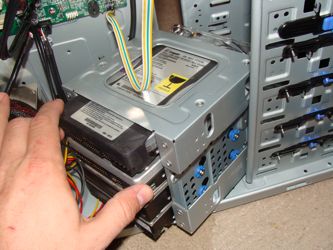
After installing my loosely fitting zip and optical drives, I moved lower in the case to install hard drives. I was impressed with the design that allowed up to four hard drives in a removable cage, but disappointed that, in order to remove the cage, I, once again, had to use a screwdriver. From this point on, I’m no longer going to consider this case “tool-free” because, quite frankly, it’s not. After installing my four hard drives and reinstalling the cage, I was very happy with how clean and organized the inside of the case still looked.
 |
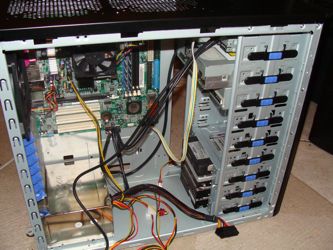 |
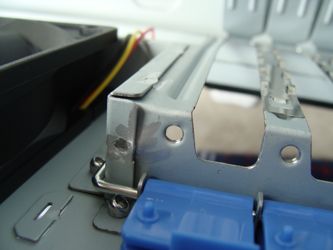
Installing the motherboard and expansion cards were simple and straightforward. It would have been nice to have a removable motherboard tray, but with all the room inside the case allowing for easy installation, this was merely a thought and not a complaint. The only component of this case that is truly tool free is the mechanism that secures expansion cards. The little plastic clips are effective at holding cards in place and can be replaced or supplemented with regular screws if necessary.
 |
I wish it were just a few inches longer
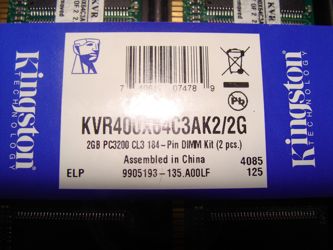
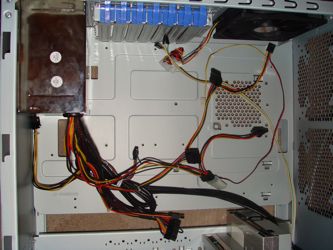
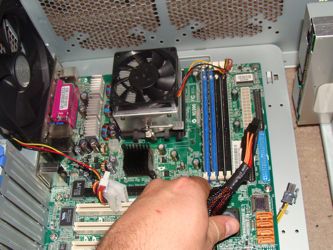
I can see why mounting the power supply on the bottom of a case would be a great idea; it frees up space in the top of the case, it keeps a fan near the floor to reduce noise and it allows for excellent rear cable management. In this case, the relocated power supply allowed me to easially install my 2 GB DDR400 RAM kit from Kingston without scraping my knuckles on the optical drives like I usually do. Unfortunately, at the bottom of the case, the power supply is just far enough from the motherboard to make connecting the two impossible. Of the two power supplies I had to test, both of their wiring harnesses were about six inches too short. If purchased with the optional power supply, or if Coolermaster had included a six to eight inch power supply extension cable, this wouldn’t have been an issue.
 |
 |
REALTIME PRICING


