

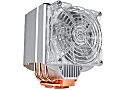
| Cooler Master Hyper 6+ |
|
|


Inside the Package and Installation
What's in the Box?
The Hyper 6+ comes with quite a bit of accessories, including rubber grommets, all needed mounting hardware, and some thermal paste. The 100mm fan is very quiet and seems to be engineered well. The manual is quite detailed.

You can see the brackets in the accessories. They include everything to mount the Hyper 6+ to whatever processor you have. The brackets screw into 4 holes around the copper CPU slug that you will see below. You can also see multiple screw holes, this is where the large screws attach to the bracket and then go down into the holes on the motherboard.
The heatsink itself is very large, the 100mm fan fits on it perfectly with 4 long screws, all of which come with rubber grommets. The fan lights up with nice blue led's.
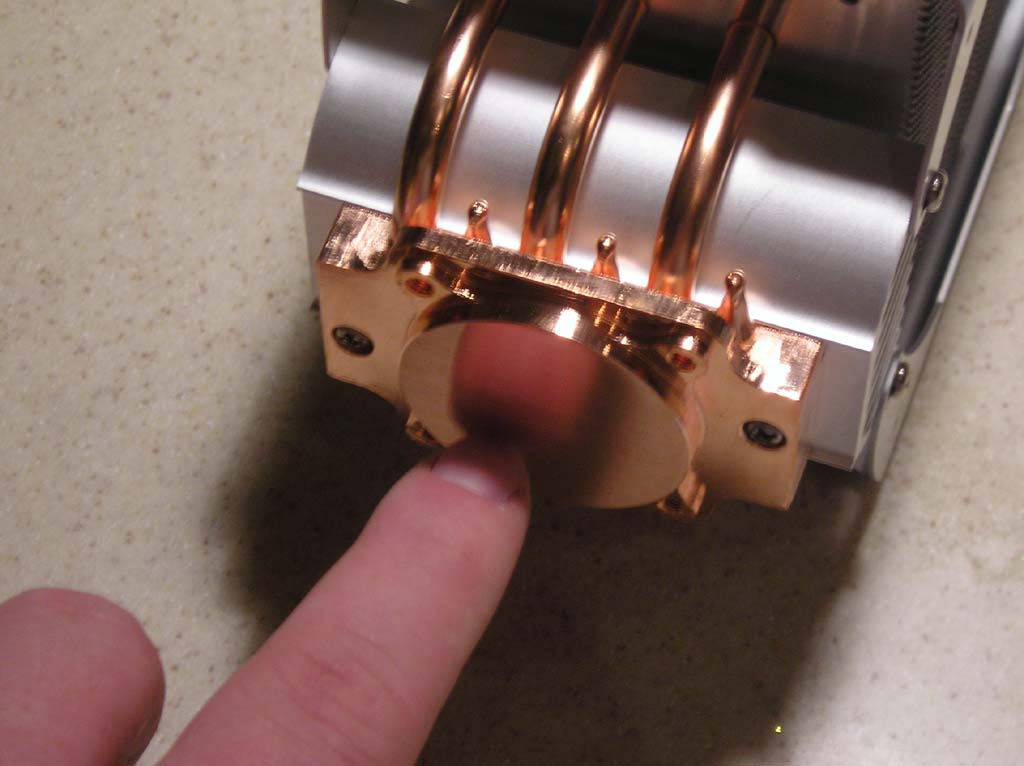
The base itself is finished quite well with no noticeable grooves. You can see the six copper heatpipes which lead up to the fins. Notice also the four mounting holes that attach the mounting brackets to the heatsink base.
Installation Commentary
Installation of the Hyper 6+ was a bit challenging. The heatsink includes multiple mounting brackets. It's mounting system consists of a back bracket and a top bracket that screws directly into the heatsink base. There are two screws that initially screw into the top bracket and then go to the back of the motherboard and two nuts to secure them tightly.
The first problem I had was that the two screws that are supposed to finalize the attachment to the motherboard didn't fit the top brackets, the screws themselves were just too big. I had to make a trip to the local hardware store to get two nuts and bolts to attach the heatsink. This wasn't the ideal solution but I had to make do. Coolermaster mentioned that this problem has been fixed.
After that problem was fixed I was able to assemble everything and mount it to the motherboard. As you can see from the pictures, this thing is very large but clears all motherboard hardware.
The finished product after everything is running. All 4 DIMM slots on my motherboard can be populated without any interference from the Hyper6+. However, there is a small problem with the fan interfering with the side-mounted case fan that I have.

If you do have problems with the mounting of the heatsink you can always turn it! That is one of the cool things about this heatsink. Since you can put the brackets any way you like and you can mount the fan on either side, it gives you unlimited ability to maximize performance.
| « Introduction | Benchmarks » |