

| Windows Cleanup Guide |

|
|


Windows Cleanup Guide
Step 2 The Cleanup Process:
First we are going to delete the files which are located in several areas that tend to accumulate and not only eat up space but also slow down your system. Open your C drive and then the Windows folder which may be protected. Click on "Show the contents of this folder" to open and view the files.
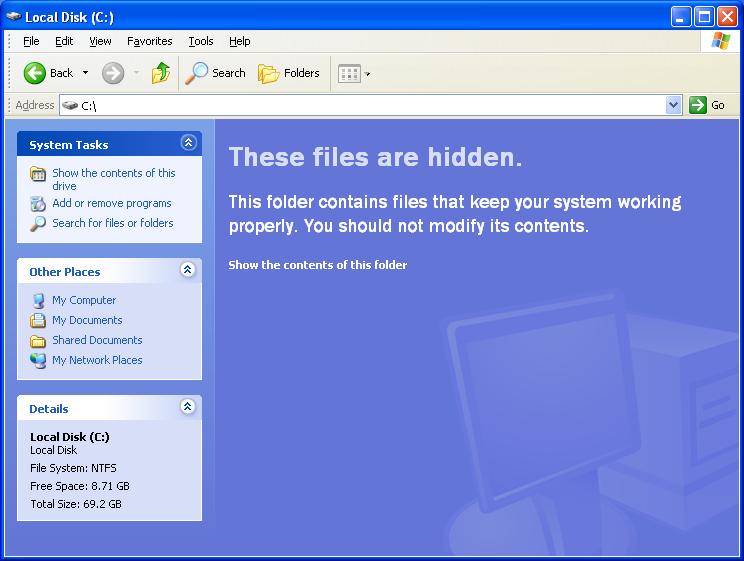
Before we go much further we need to turn on hidden files and folders so you will be able to locate and delete certain files. To do this go to Tools, then Folder Options in the menu bar at the top of your currently open folder. With the menu new window open click on the second tab named View then under Hidden files and folders, select the second radio button named "Show hidden files and folders", then click Apply and OK. This will allow you to view system files you would ordinarily not see. Let's return to the C: drive.
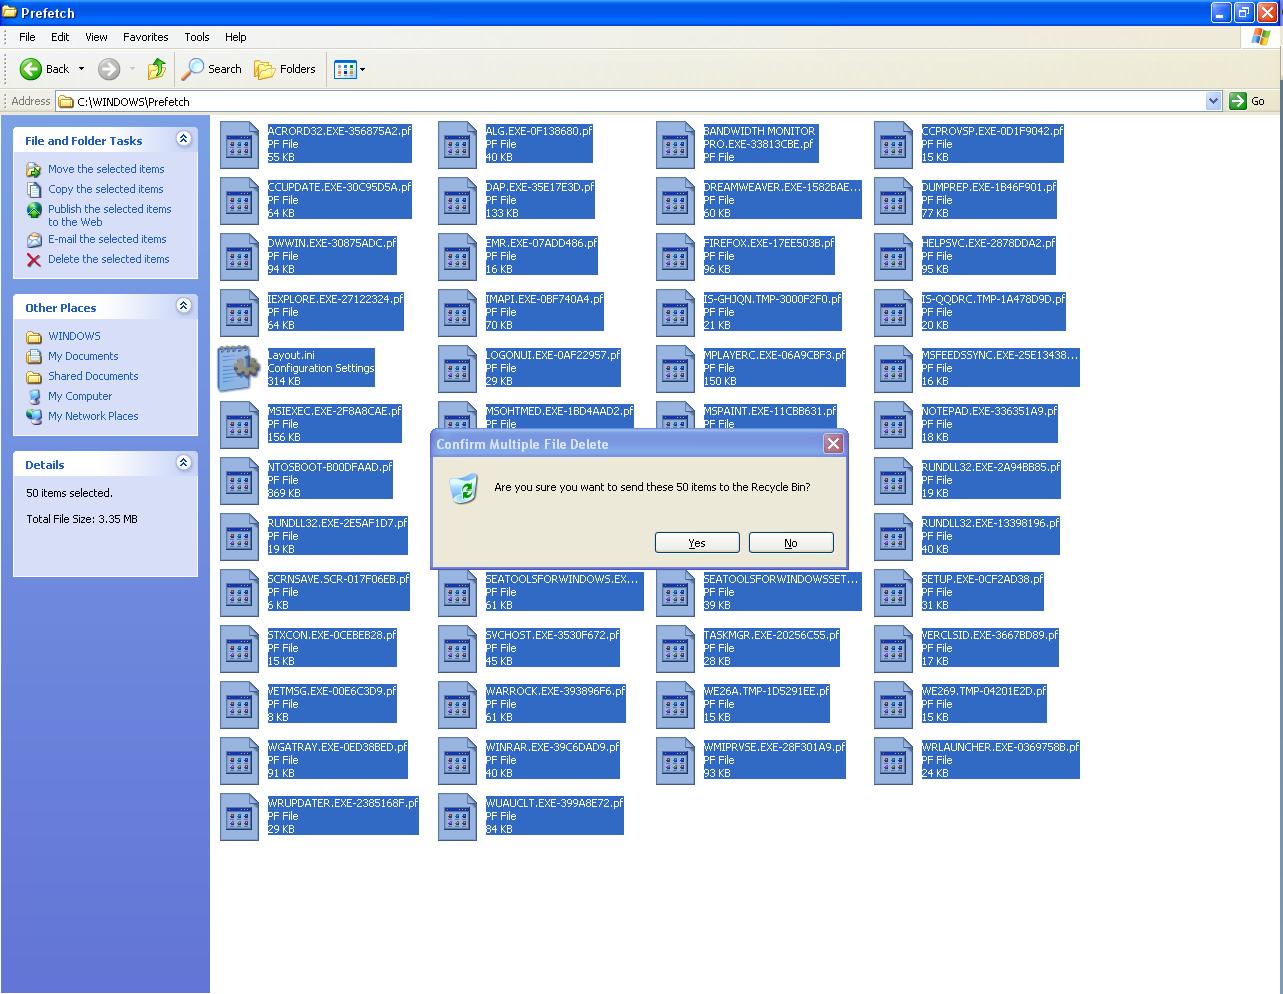
Once open find the Prefetch folder and open it. The Prefetch folder is used by windows to speed up loading programs that windows thinks you will need before you click on them. The reality is that Xp often tries to prefetch applications that you do not need which causes wasted memory and space. By deleting the contents of this folder you allow XP to start the prefetch determination process over again. If you have not deleted the contents of this folder in the past you could well speed up your PC by deleting the contents, this will force XP to re-learn the applications you regularly use which will result in the prefetch more accurately serving your needs. Once the folder is open, select the entire contents by selecting Edit, Select All or hitting the control + A combination with the folder open. hit the delete button on your keyboard or go to file delete.
In a similar manner delete the files in each of the following folders. Replace USERNAME with the user you are currently logged in as. You will be logged in as the same name you clicked on to get to the desktop from safe mode, click on the start button and the name at the top is who you are logged in as.
- C:\WINDOWS\Temp
- C:\Documents and Settings\USERNAME\Local Settings\Temp
Those users with Internet Explorer 7 installed can open I.E.7 and click on the Tools, Delete Browsing History and then click on the following Three buttons
- Temporary Internet Files
- Cookies
- History
We suggest you do NOT click on Form data or Passwords as these areas may contain information you wish to keep.
Next click on the Start button and then the Search tool. Select "All files and folders" then set the location to "Hard Drives" where it lists all of your drives. In the first text box labled "All or part of the file name" type the following "*.tmp" (Star dot tmp), the star can be created by typing Shift +8. This tells the OS to find all files with the .tmp extension and to search all of your hard drives for them. .TMP files are temporary files that are no longer neede once the application that created them is closed. Unfortunately some applications litter your computer with these files without deleting them after it closes. We will be deleting them in this process. If you have not cleaned your OS in a while it could find many of these files. Once the search is complete, select all of the files using the process we discussed earlier and delete all of the files without mercy.
Once done, close all open windows and return to the desktop. Right click on the recycle bin and click Empty Recycle Bin.
Now that this is done, lets look at that messy desktop again.
| « Step 1 Safe Mode | Steps 3 and 4 Organization and Clean Manager » |