

| Windows Cleanup Guide |

|
|


Windows Cleanup Guide
Step 3 Organization:
The process of cleaning up your computer also involves some organization of files and folders. IT administrators are well aware that too many files and folders on the desktop of your windows machine can slow down the process of logging onto the machine and therefore recommend removing all but shortcuts from the desktop. While this guide is not aimed at the network user we also suggest removing all but the shortcuts from your desktop and organizing the removed files and folders into the My Documents area. In this process you may find there are many files and folders which are no longer needed. Delete these files and folders at this time. If you are uncertain if a file or folder is needed you best bet is to keep it and simply move it to your My Documents. There are no known applications which install themselves to a folder on your desktop or to the desktop directly so its a safe bet that you can move any of the icons on your desktop with the exception of the following:
- My Documents
- My network Places
- Internet Explorer
- My Computer
- Recycle Bin
- Outlook (If installed)
These icons are not removable by default without setup modification. You may want to take some time and organize the files in your My Documents folder into further folders. While this will not help speed up the system it will help you find what your looking for at a later date.
Step 4 Standard Cleanup:
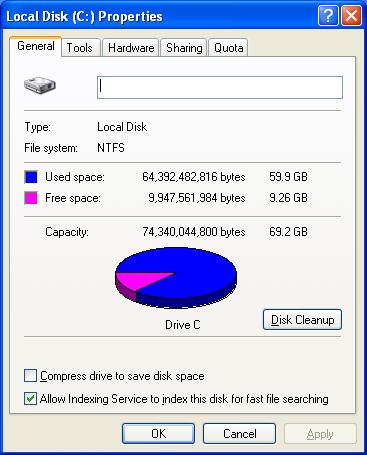
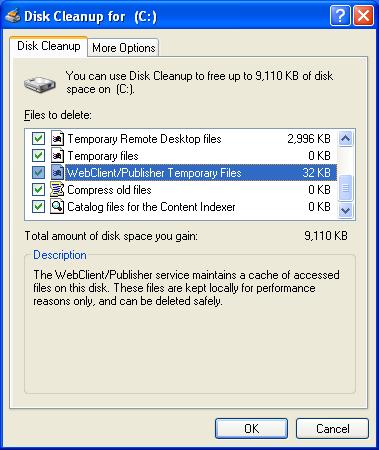
We are now going to let windows go through a standard cleanup where it will find files and delete them on its own. Click on the Start button and then the My Computer icon to open it and display your hard drives. Now right click on C: and select Properties. A new window will open showing the Local Disk C Properties with the General tab highlighted. Click on the button that says Disk Cleanup. A dialog box will open searching your hard drive for files that can be cleaned from the system, this tool should find additional files which can be deleted. Once the search is complete you should be presented with a menu similar to the image below. Select all options except the Compress old files then click ok. Depending on the number and size of files that the clean manager found this process could take up to an hour. When the cleanup is finished the Disk Cleanup window and progress dialog box will close and you will be left with the Local Disk C Properties window open.
Step 5 Disk Defragment:
At this time you should use our Disk Defragmention guide to defragment your hard drive. We suggest as per the guide that you allow the tool to run at least three times. Once you allow this tool to run three times you may restart your computer and allow it to boot normally into windows. You should notice that it not only boots faster but that file access time is improved.
Congratulations you have cleaned up your operating system.
Additional Optional Steps:
Spyware and Adware . We recommend that you use a free program like Spybot Search & Destroy or Ad-aware that can help get rid of these programs and files known as malware which make their way onto your system. Malware can severely slow down your system as well as cause long term harm. Some malware is worse than others. We suggest you check out the installed programs list in the Add or Remove Programs applet of the Control Panel to find out if there is anything installed that you do not use or want.
| « Step 2 The Cleanup Process | More Guides » |