|


Thermaltake Kandalf Case

Installation of PSU, HDD, motherboard:
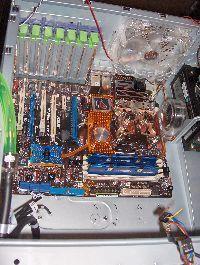
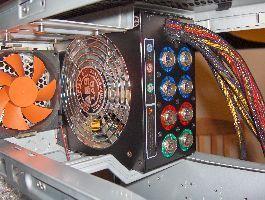
First we started with our power supply - the Tagan BZ900. We start by taking off the motherboard side panel, and removing the rear HDD cage. The power supply was quite difficult for me to install, though I've heard others say it was quite easy. It took me literally 20 minutes to muscle it in, and I'm afraid I scratched the PSU a couple of times. There really isn't any room to slide it in, due to the bent rod below the PSU, and the low clearance on the adjacent panel. I cut my finger pretty good on some stray metal and had to take a "clotting and first aid break." I finally got it installed though...
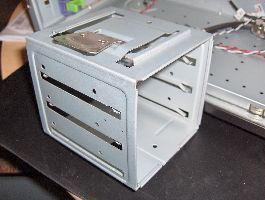
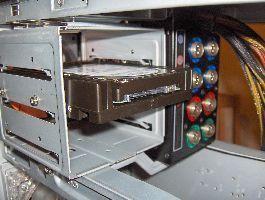
Since the HDD cage was out, we installed the hard drive. This was quite painless as it only requires 2 accessory screws on each side. The cage locks back into the chassis easily.
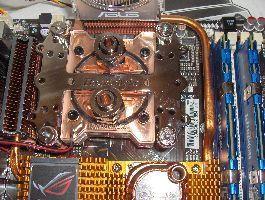
After taking the CPU water block and hardware out of the box, we assembled it as shown in the instructions. This proved to be quite simple, though the water block doesn't seat too stable. The copper motherboard standoffs were installed in the case and the motherboard was seated and screwed down. This was also quite simple. Normally, I would test a liquid cooling system for leaks before installing any hardware, but the ASUS Striker II motherboard has a liquid cooled northbridge, so I decided to throw it in the loop. Why would products this nice leak anyway?...