

|


Thermaltake Kandalf Case

Installing the Liquid Cooling System
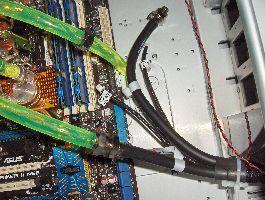
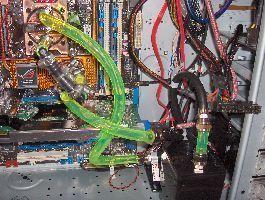
By this point, my fingers were saying "we're hurting, and now we have to install a liquid cooling system?" I had already spent 4 hours on this installation, but went on routing the tubing anyway. Thermaltake has patented a quick connector for liquid cooling tubing. A cap is unscrewed, the tube is fed through the cap, and then screwed in place. This provides a very nice seal which is essentially leak-proof. I used small pieces of tubing to run from the CPU to the northbridge, which then used ASUS's form of tube mounting. This did not seem as fool-proof as I'd hoped, but it seemed tight.

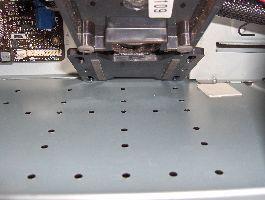
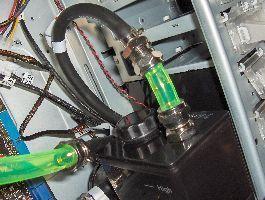
There is a loop of tubes at the bottom of the case which includes the tube to the reservoir, the tube from the CPU, and the three fan connectors from the front. All of the tubes were plugged in the way the manual told us to, and now we mount the reservoir/pump. Following the instructions seemed easy, but my pump doesn't line up with the holes on the floor of the case! I settled for two of the 4 screws since it was late at night.
After finally getting the tubing installed, I filled it up with coolant and plugged only the pump into the power supply to let the coolant move through the tubes.
When I woke up in the morning, I was greeted with:
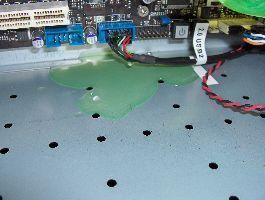
Turns out the ASUS connectors were loose! Later that day, they broke in half and I had ~500ccs of coolant all over my table. This delayed plugging in my system to install Windows...