Tuniq - Tuniq 3 Chassis

Installation and Issues
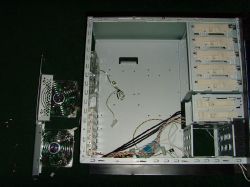
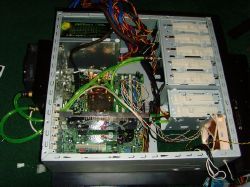
After discovering all of these amazing features, I could no longer wait to start installing my system into Tuniq's Tuniq 3. This is where I ran into my first problem. In order to install the motherboard, I first had to remove the fan bracket which was attached onto the case with 4 screws.
After removing the fan bracket, I and installing the motherboard, I set upon installing the the front fan, where I ran into another interesting issue. Apparently it is incredibly difficult to install front fan without removing the hard drive cage and impossible without removing the front cover. As you can see from the pictures, the screws that hold the fan in place go through the 4 indentations in the front of the case. The front fan is located in front of the cage so after removing the cage, I had to hold the fan in place with on had while using the other to secure the screw on the other side of the case.
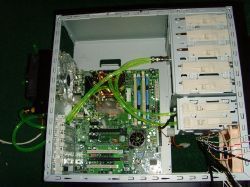 |
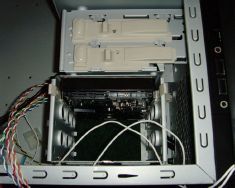
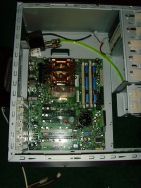
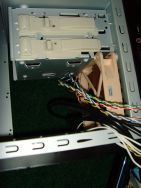
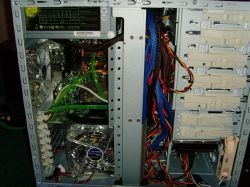
With the front fan in place, I proceeded to installing the power supply, water cooling system, reinstalling the HDD cage, and the fan bracket. At this point I noticed that the 7800 GTX was a little too big for the current fan bracket configuration, so I had to rotate the the lower fan to a position parallel with the graphics card. Also, as you may hove noticed from the right picture, the installation of the bracket did not go as smoothly as I had hoped for. The twin 120 mm fans take up quite a bit of space which greatly reduced the amount of space available for the loose power cables and liquid cooling tubes.
REALTIME PRICING