Feeding the beast: Installing parts.
Test Rig:
Motherboard |
Asus P5B Deluxe |
Processor |
Intel Q6600 cooled by the Vantec AeroFlow FX92 |
RAM |
AData Vitesta G-Series Memory 4gb DDR2-800 |
PSU |
Antec 500watt power supply |
Secondary HDD |
Seagate Barracuda 7200.9 500GB |
Primary HDD |
Western Digital Raptor 150gb 10k SATA Hard drive |
GPU |
EVGA Nvidia 8800GT KO Video Card |
Sound Card |
Sound blaster X-fi XtremeGamer Fatal1ty pro Series |
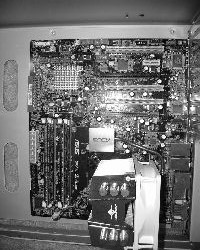
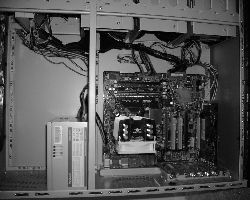
First before beginning, I would like to take the time to say this has been one of the most enjoyable cases to work on. That being said let us begin. First thing I did was set the standoffs for standard ATX. By default the case does not have any pre-set, so I went to the bag of screws and parts and grabbed the proper amount for ATX mother boards. After lining up the proper holes and setting the I/O back plate, the motherboard went in very easy, this was mainly due to the large amount of open space to work with inside the case. The only stickler I had was lining up the holes properly for an ATX motherboard. As the holes are all predrilled for ATX, MP dual, and Micro ATX, this is really not an issue. I just thought it would be nice if the standoffs were pre-inserted for what makes up the majority of mother boards, ATX.
 |
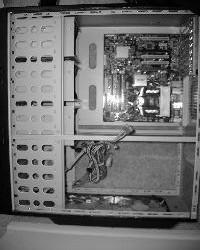 |
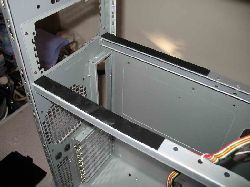
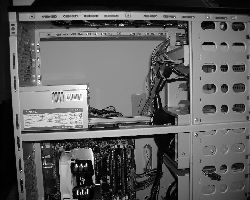
As you can see in the pictures, even after the motherboard is installed there is still quite a lot of space around the board. The two holes to the left of the motherboard are fed through slots for cables; these slots lead to a space about 1/2 an inch wide behind the back panel. Once the motherboard is installed, its time for the power supply installation which much like the motherboard goes very smoothly due to the large amount of room available. One thing I'd like to note about the power supply mount is that it has rubber on the mounting surfaces which in practice reduces the amount of noise that vibration of the power supply causes.
 |
 |
 |
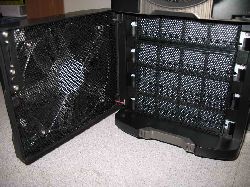
As you can see from the two pictures above, there is a lot of available room for expansion or just about any size motherboard or power supply you could want. One of the big benefits to having all this room is the ability to have virtually any size graphics card. Now all that's left is to install my remaining components. Going back to my original statements about the new SMART hard drive enclosure, as you can see below the plastic front plates and the metal EMF shielding. EMF shielding is used for grounding out high frequency magnetic, static and microwave fields, this is very useful for a computer as static can potentially damage or destroy the sensitive components that make up a computer. Unfortunately for all the good these shields are doing they are also a pain to remove requiring the unclipping of the front plastic and the removal of screws holding individual EMF plates on, you must remove three plates in order to remove one hard drive bay. Each hard drive enclosure or batch of three 5.25" bays has its own 180mm colored fan accounting for the three fans on the front of the case. By supplying this much cooling to these areas you do several things, you create a great steady airflow throughout the system as well as providing powerful cooling on your drives, there is nothing like a large fan to keep things frosty.
 |
 |
|---|
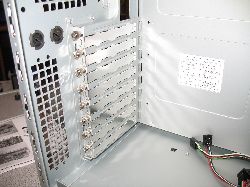
The 8800GT and the X-FI sound card went in without a hitch thanks to the great idea for the expansion slot covers. They also decided to use aluminum blockers secured with thumb screws. These thumbscrews require a little force or a screwdriver to remove the first time as they are tightened pretty well. Other than that though they come off and go back on pretty easily. There are enough slots (8) for just about as many cards as your motherboard could possibly handle.
 |
After the break its time for the light show...


