Assembly
The assembly of the system is relatively easy. The included instructions lack directions for how the resistor box is hooked up, but the PDF available on ASTEK's website explained everything. The challenging part (if you think so) is making sure the tubing is cut to the correct lengths. Now, of course, if you cut the tubing too short, you can purchase more at a local hardware store. The kit comes with a VGA water block, which was not hard to install, but the challenging point would be getting a second water block to fit on a video card with dual GPUs.
The hose clamp locks are an extremely nice, with a simple insertion of the hose into the fittings for the connection process. Then, to disconnect the hose, you simply press down on the blue collar on the fitting and the hose comes right out. NOTE: While cutting the hoses to fit your system make sure you make a clean cut perpindicular to the hose, in order to make sure the hose clamps seal completely. As with any watercooling system, it may be a good idea to test the system outside the computer before installation, to confirm there are no leaks.
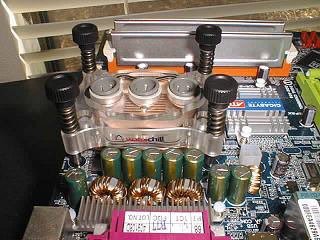
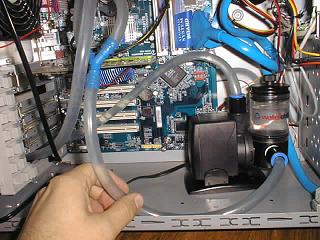
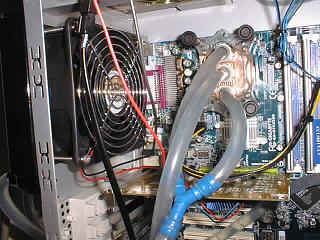
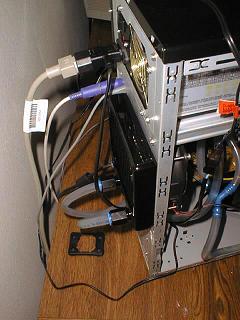
The installation of the CPU water block was a slight challenge. At first, the mounting bracket that came with the original heatsink refused to come off. But, after the bracket was finally removed, the installation of the water block was quite simple, which is a welcome change from busting your fingers against metal clamps found on most heatsinks. Below are a few photos of the kit installed in our Silverstone case. Click on the thumbnails to see larger photos.