| Cooler Master V8 Heatsink and Fan |
|
Cooler Master V8 Heatsink and Fan

A Closer Look
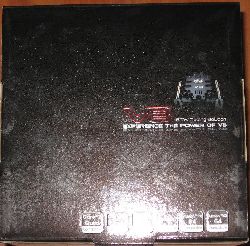
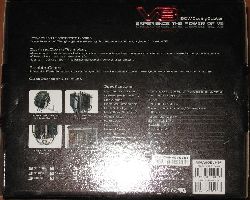
The Cooler Master V8 comes in a shiny black box that is quite heavy. My first reaction upon picking up the box was wondering how my motherboard would be able to handle the weight the moment this heatsink was attatched to it. The box is left relatively plain to give the V8 a clean and sophisticated look.
|
Front of Box
|
|
|
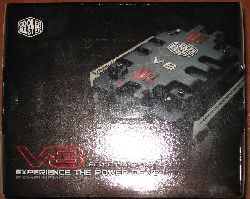
Side of Box
|
Back of Box
|
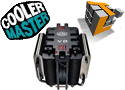
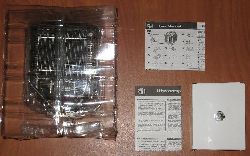
Here is a picture of what you get inside the box.
|
After Removal From Box
|
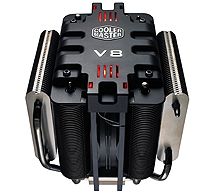
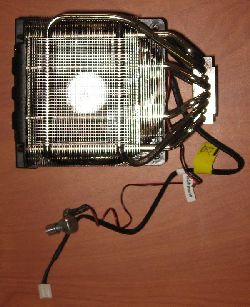
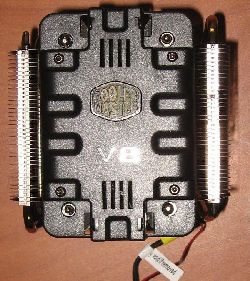
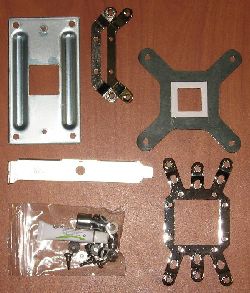
These next photographs really show off the interesting look this heatsink has. You can see all the aluminum parts as well as the 120mm fan sandwiched between the two giant heatspreaders. In the bottom right is the accessories that come with the heatsink that you will probably need to install it.
|
|
Head-on View
|
Side View
|
|
|
Top View
|
Mounting Brackets
|
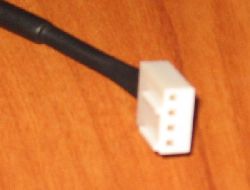
The Coolermaster V8 is powered by a standard CPU fan plug and has a variable fan speed controller that allows you to more than double the RPM of your fan if you need the extra cooling power.
|

|
Power Connector
|
Speed Controller
|
Installation
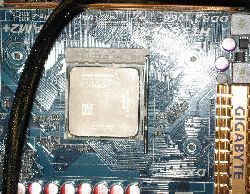
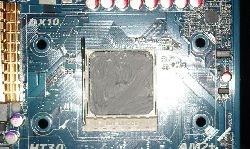
Before installing the heatsink you should polish your CPU cover to a dull shine and then apply thermal paste. The thermal paste helps seal any tiny holes that may exist in either surface and will allow for better heat transfer
|
|
|
Thermal Paste
|
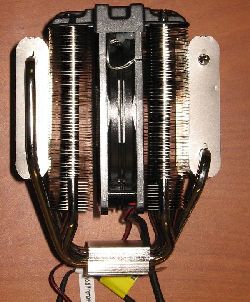
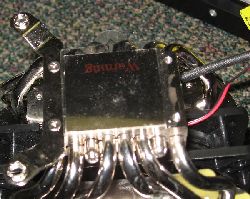
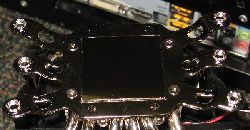
Shown here are the different types of mounting brackets that would be used with the most common types of processors out there. Pictured here is the mounting for an LGA775 and AM2 brackets. These two pictures also display very well the mirrored finish of the bottom. It may seem strange that the bottom of the heatsink that nobody sees would have a mirror like finish, but there is a legitimate reason for this. It’s done because by being a very shiny surface it shows that the microscopic holes in the metal are very small; meaning it will make better contact with the top of your CPU thus removing more heat. (This is because heat removal is based largely on surface area)
|
AMD Mounting Bracket
|
|
Intel Mounting Bracket
|
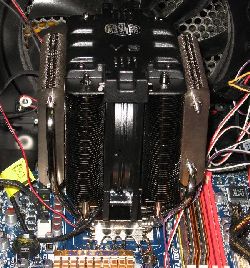
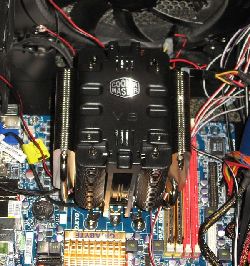
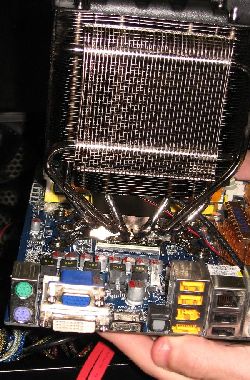
After seating the motherboard and attaching all of the cables this is what we are left with. Take a look at how beautiful this heatsink is and the interesting top panel that they added. Notice how large the heatsink is compared to the other components in my computer. You can see it next to the RAM DIMMs and I think everyone has a good idea about the size of those. This heatsink is massive and it weights about .8 Kg. That’s almost 2 pounds!
|
|
Side of Heatsink
|
Heatsink in the case
|
|
Side of Heatsink
|
|
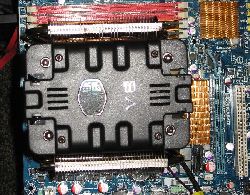
Top of Heatsink
|
Installation of the V8 is pretty straightforward with one exception. The screws that the heatsink uses to attach to its backplate actually go BACKWARDS. That’s correct, they tighten to the left, this took me a while to figure out and isn’t made clear in the instructions. It also required me to remove my motherboard completely from my case in order to use their special backplate and nuts. The nuts do turn to the right (which is opposite of standard nuts) and thus this thing works well if you turn the nuts and not the screws. To me this is an extremely backwards way of doing something - literally. Take note of this if you have to install one of these.
Next we'll test the Coolermaster V8 and see how it stacks up.