

|


Tagan 900W Power Supply

A Detailed Look:
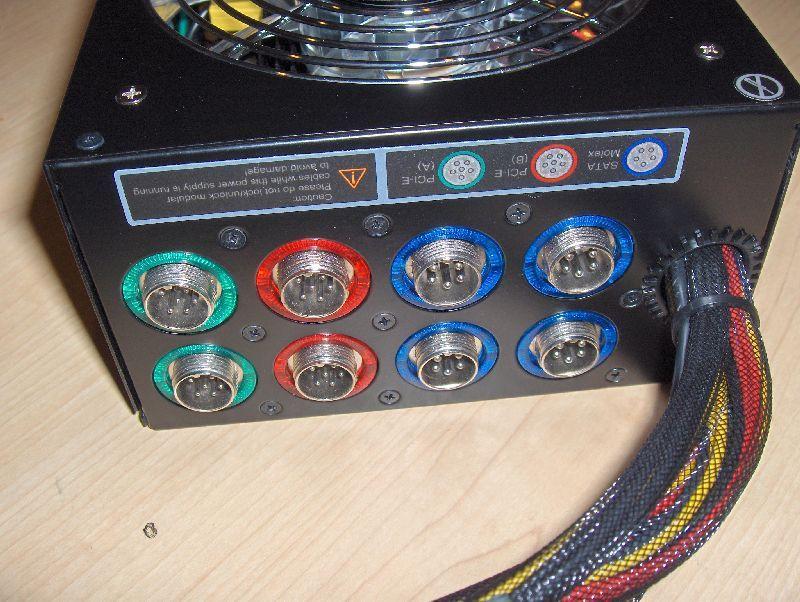
An initial look at the Tagan BZ900 shows us a slick black power supply with a black and chrome ABS Certified logo, and a 135mm clear fan with a chrome grille. Your eyes are immediately drawn to the red, green, and blue connectors on the side, which warmly welcome the eight cable attachments. If you are going to purchase this power supply then a case with a window is a must.

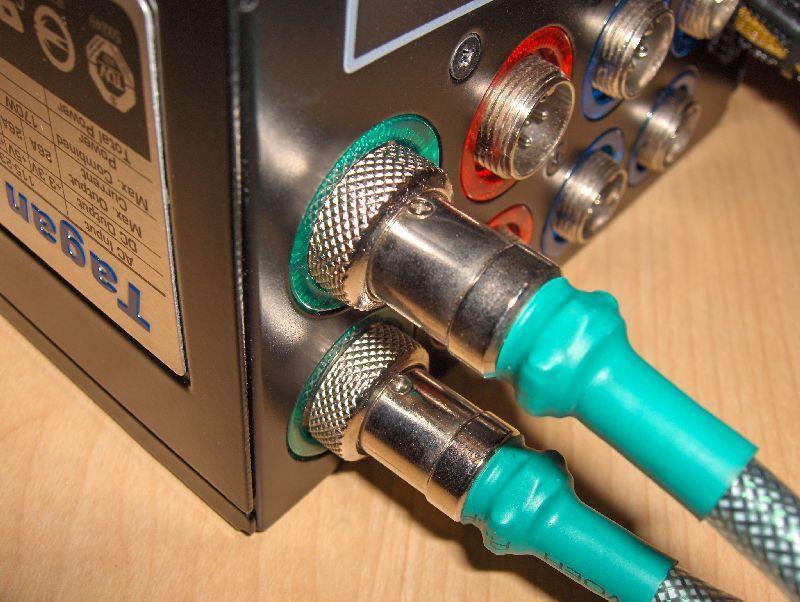
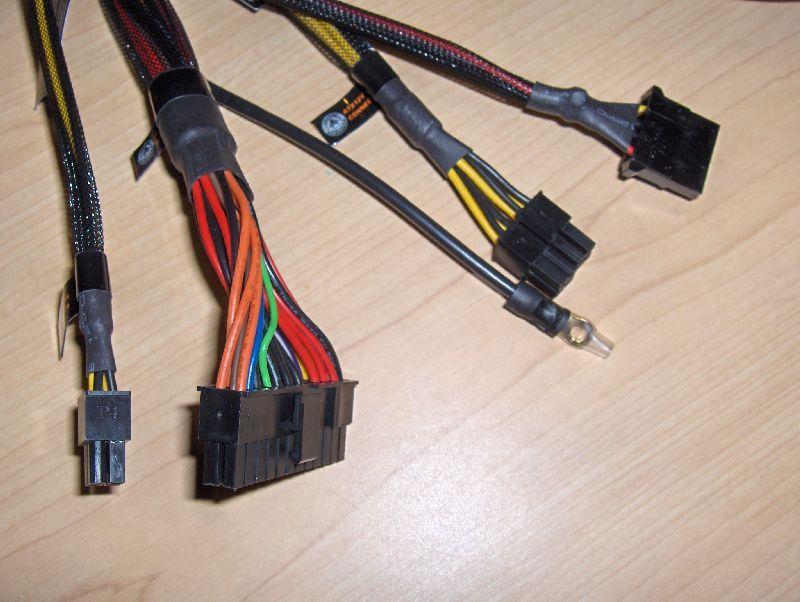
The included cables are plugged in and secured by a threaded screw cap. There are no plastic teeth to break off, and no loose plugs to fall out. Once the cable is firmly attached to the main unit, it is solid. There is a set of plugs that are permanently attached to the power supply - the 20(+4) power plug, 4-pin CPU power plug, 8-pin power plug, one molex, and the ground cable for the power supply. All of the cables are sleeved in a plastic mesh which has become quite standard with recent power supplies. Where the Tagan cables shine is in their plastic tubing sleeving which color matches the plug in which they are to be used. The resulting rainbow of cables definitely looks cool inside your case.
Once the PSU is installed in the test unit with all of the cables attached, we get a good look at the beast in its new habitat.
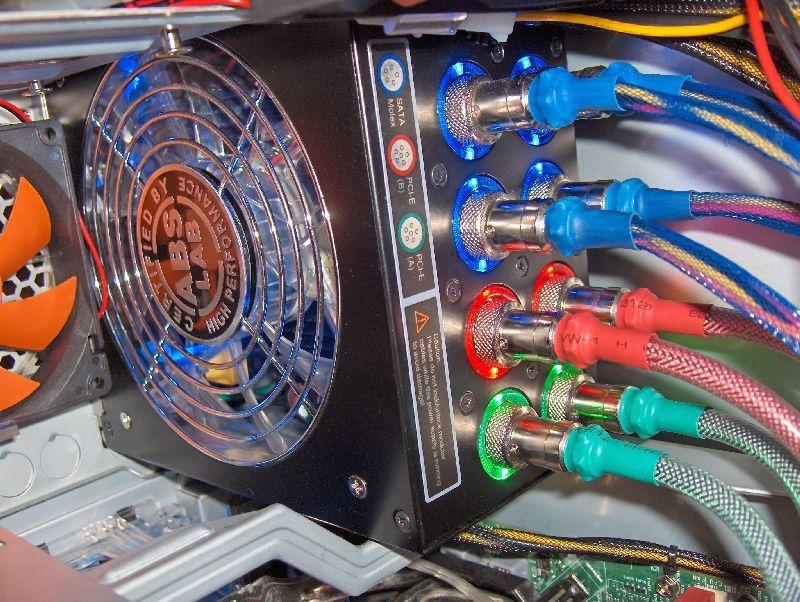
Now that we've teased you, check it out in the dark...

The light ring is only on when the cables are plugged in. You'll also notice when you look at the back, there is a clear rubber sheath over the power switch. This keeps dust out of the switch mechanism, and oily fingers off the part with the most interaction.

Testing:
I couldn't wait to test the BZ900! The installation into our case was quite simple, and the power supply is very quiet. Our test rig has the following specs:
- Thermaltake Armor chassis
- EVGA nForce 650i motherboard
- Intel E6550 2.33GHz Dual-Core processor
- Kingston HyperX 2GB DDR2-1200 performance RAM
- Nvidia GeForce 7900GS video card
- 200GB Maxtor SATA HDD
- Thermaltake MaxOrb CPU Cooler
The test was performed using Orthos for stress testing, and a RadioShack digital multimeter for voltage testing. A clean copy of Windows XP Professional was installed on the computer, as well as all of the Windows Updates. No other programs (other than Orthos) were placed on the computer. Voltages were taken from the +5V line and the +12V line on the computer boot-up, idle, stress tested with Orthos, and shut-down. We also recorded the voltages recorded by the BIOS.
Voltages: |
+12V |
+5V |
+3.3V |
|
without +12V TURBO |
Boot-up |
12.20-12.22V |
5.04-5.06V |
~ |
Idle |
12.22V |
5.05V |
~ |
|
Stressed |
12.20-12.22V |
5.05-5.06V |
~ |
|
Shut-Down |
12.18-12.22V |
5.04-5.07V |
~ |
|
with +12V TURBO |
Boot-up |
12.21-12.23V |
Same as above |
~ |
Idle |
12.23-12.24V |
Same as above |
~ |
|
Stressed |
12.22-12.23V |
Same as above |
~ |
|
Shut-Down |
12.17-12.24V |
Same as above |
~ |
|
BIOS Readings |
12.03V |
4.96V |
3.28V |
|
The readings were quite impressive! The 12.17 and 12.18 voltages above were very brief, only for a second during the last moment of shut-down. While the BIOS readings weren't very accurate, there wasn't a large enough difference for it to matter.
| « Tagan Introduction | Conclusion » |