| Gigabyte GA-MA78GPM-DS2H Motherboard |
|
Gigabyte GA-MA78GPM-DS2H Motherboard

Up close look
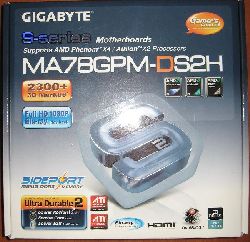
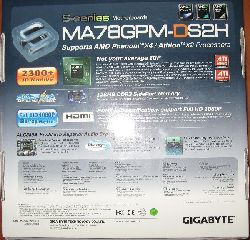
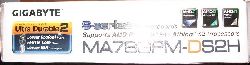
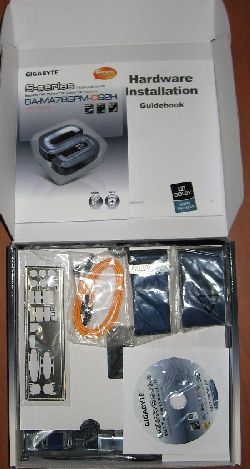
The GA-MA78GPM-DS2H came in a medium sized box that was just big enough to fit the moderate sized motherboard in. The box is shown below and as you can see they are really trying to advertise the features mentioned on the previous page. There is considerable effort spent trying to differentiate their board from everyone else’s.
 |
 |
|
Front of box
|
Back of box
|
 |
|
Side of box
|
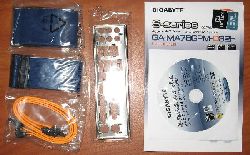
Upon opening the box I was greeted by some cables, a driver CD, and a cardboard cutout that hid the familiar static protection bag. As a side note here, the manual for this motherboard is fairly well written. It’s missing a lot of the spelling and grammar errors one has almost come to expect in electronics manuals.
 |
|
Box opened up
|
 |
|
Accessories
|
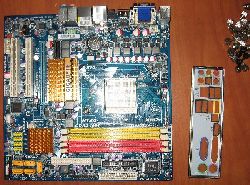
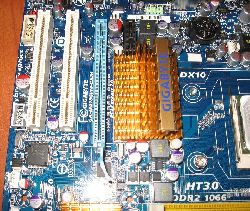
After pulling the motherboard out of the anti-static bag, I was instantly greeted by the bright colored motherboard Gigabyte is famous for. The board opts for passive cooling in all locations and looks sharp. As you can see in some of the photos, the CPU fan mounting bracket is removed so that it’s easier to see the actual board. When that bracket is gone, the GA-MA78GPM-DS2H has a surprising amount of room to mount all but the largest of heatsinks.
 |
 |
|
Overview of the motherboard
|
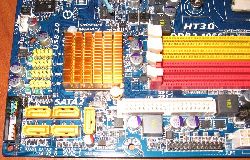
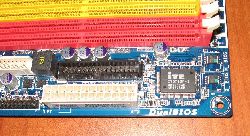
Here are some close ups of what I call the action packed sections of the motherboard. In the photo on the left you can see the sideport memory, the SATA connections, the IDE interface, the southbridge, the power/reset/hdd active pins, and the side of the DIMM slots. On the right we have the northbridge, the PCI-E slot, PCI slots, the corner of the CPU, and a few other miscellaneous connectors.
 |
 |
|
Southbridge
|
Northbridge
|
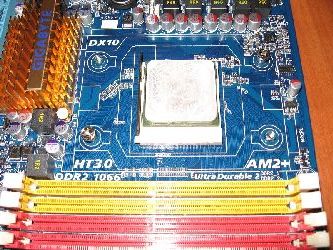
This last close up shows clearly the DIMM slots, both BIOS chips, the ATX power connector, and the floppy drive connector.
 |
|
BIOS chips and DIMM slots
|
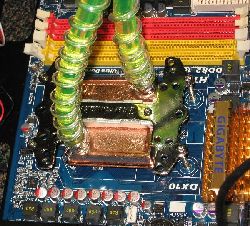
The next step is to install the CPU onto the board. I will not be installing the CPU fan onto this board because I have a Thermaltake ProWater 850i that will provide much more cooling.
 |
|
CPU installed
|
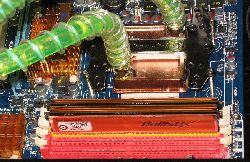
Lastly, I connect everything else up to my case and give it a go. Make sure to have a small child nearby because fitting your hand in some of the nooks and crannies of a micro ATX case is impossible. Notice the color coded DIMMs indicate dual channel capabilities and so should be used properly to take advantage of this.
 |
 |
|
Waterblock installed
|
RAM installed
|
Next let’s look at the software that both came with the board and could be found online for it.
REALTIME PRICING ON THIS MOTHERBOARD