

|


CE-Secure Vault Edition

Installation:
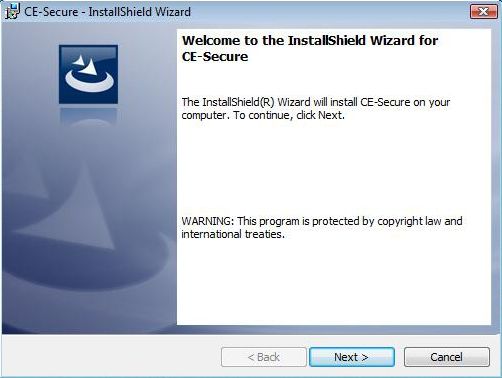
The installation of CE-Secure is rather easy, and pretty straight forward. If you have ever installed an application before, this is just a walk in the park. Listed below is a simple set of instructions that will walk you through the installation process.
1. Insert Disk into your DVD-Drive to start the installation of CE-Secure.
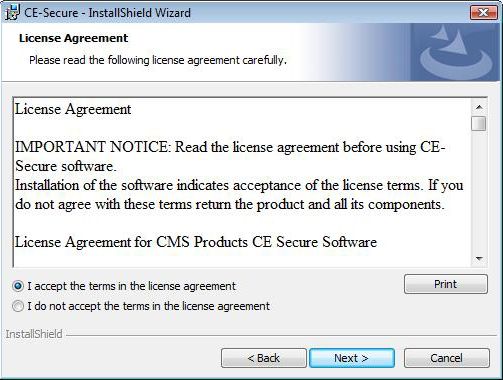
2. The first step in the installation, like most others, is to accept the EULA (End User License Agreement). By accepting this, you promise to use the software as intended to be used, and you will not rip it off as your own.
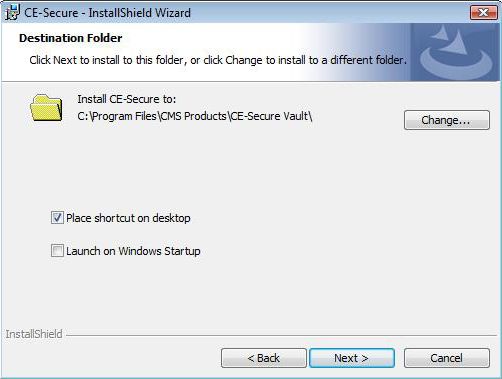
3. After accepting the EULA, you are given the choice of where to install the software (note: this is not the place your vault will be stored). You are then given the choice of adding a shortcut to your desktop, and also the option of having it launch on startup.
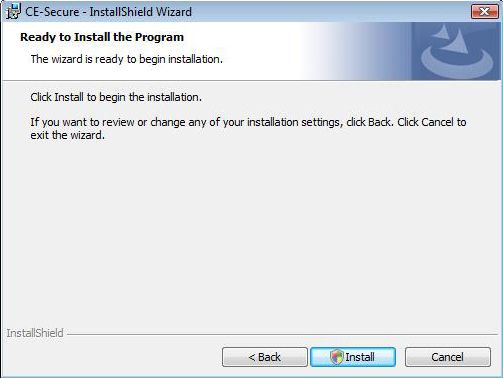
4. Next is the comfirmation step, this is a transition comfirming whether or not you want to install the program. Once ready, click on install to begin the installation to the selected directory.
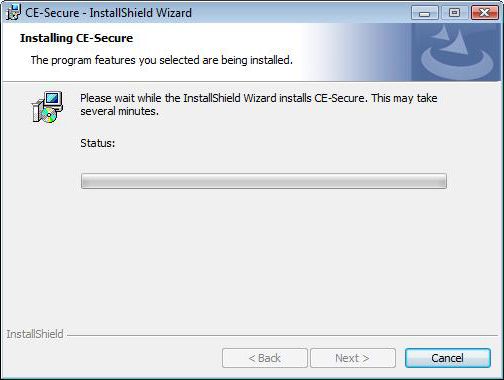
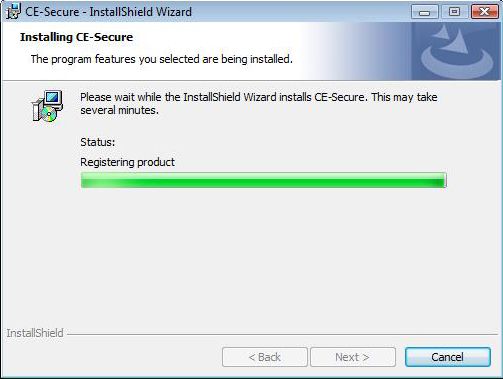
5. Once the installation has begun, it will take only a few minutes to finish.
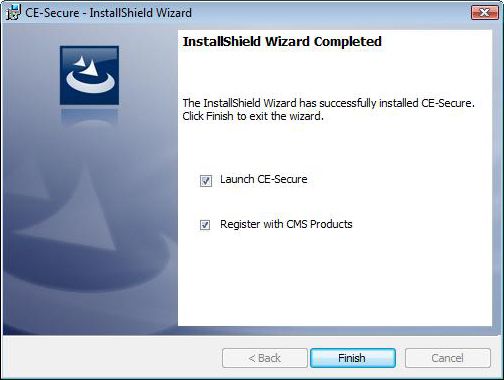
6. Once finished, you are given the choice to launch the program and/or to register it with CMS Products.
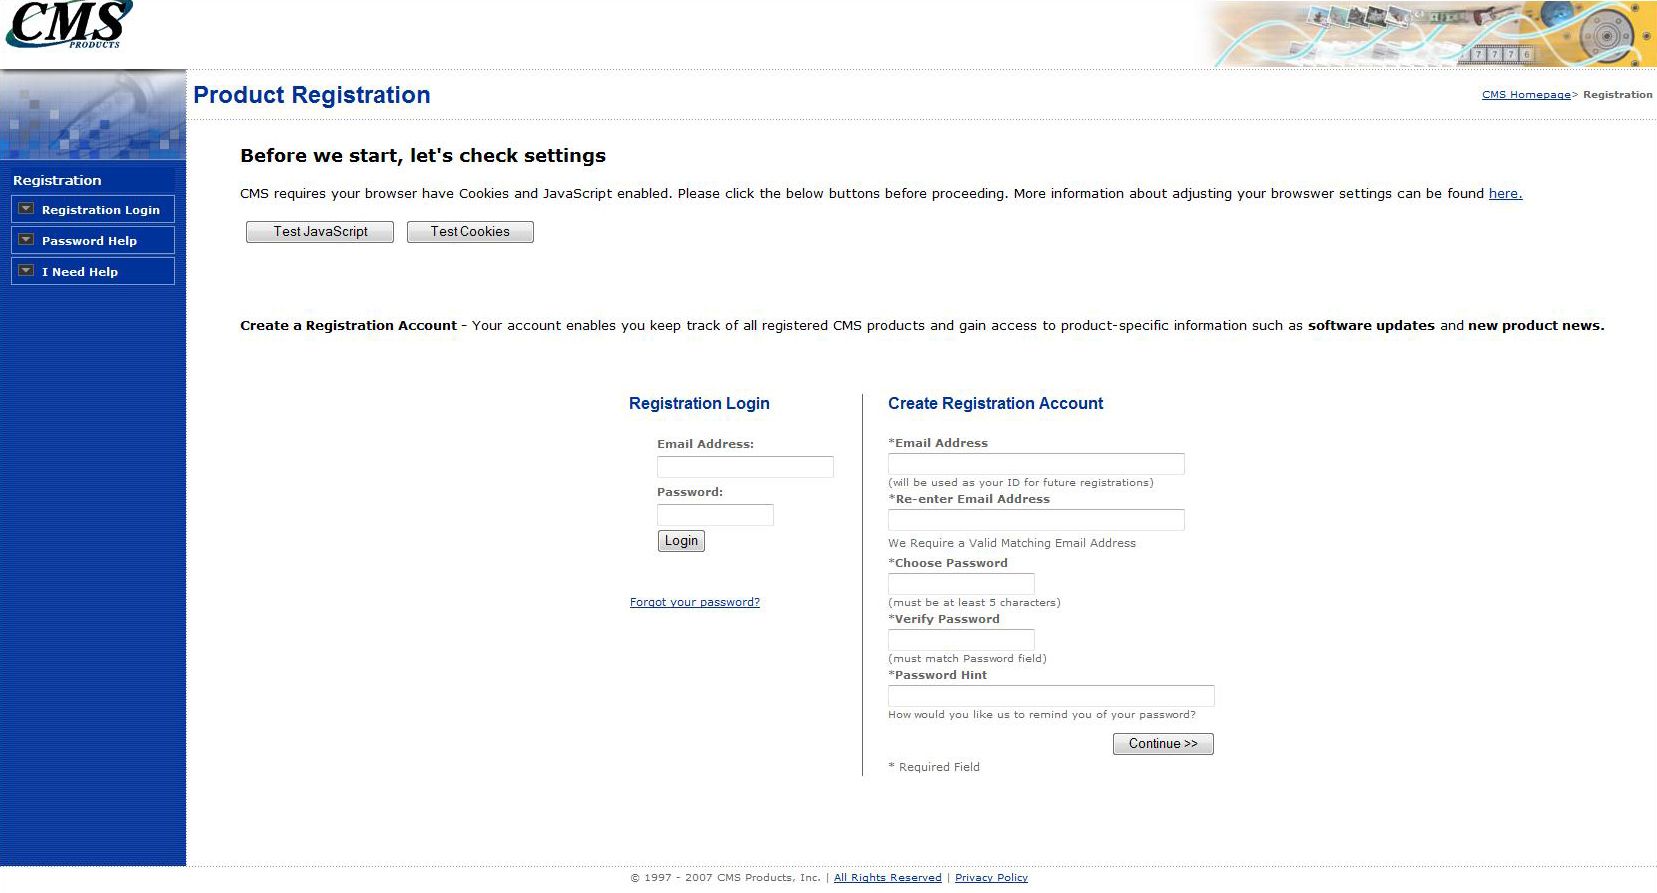
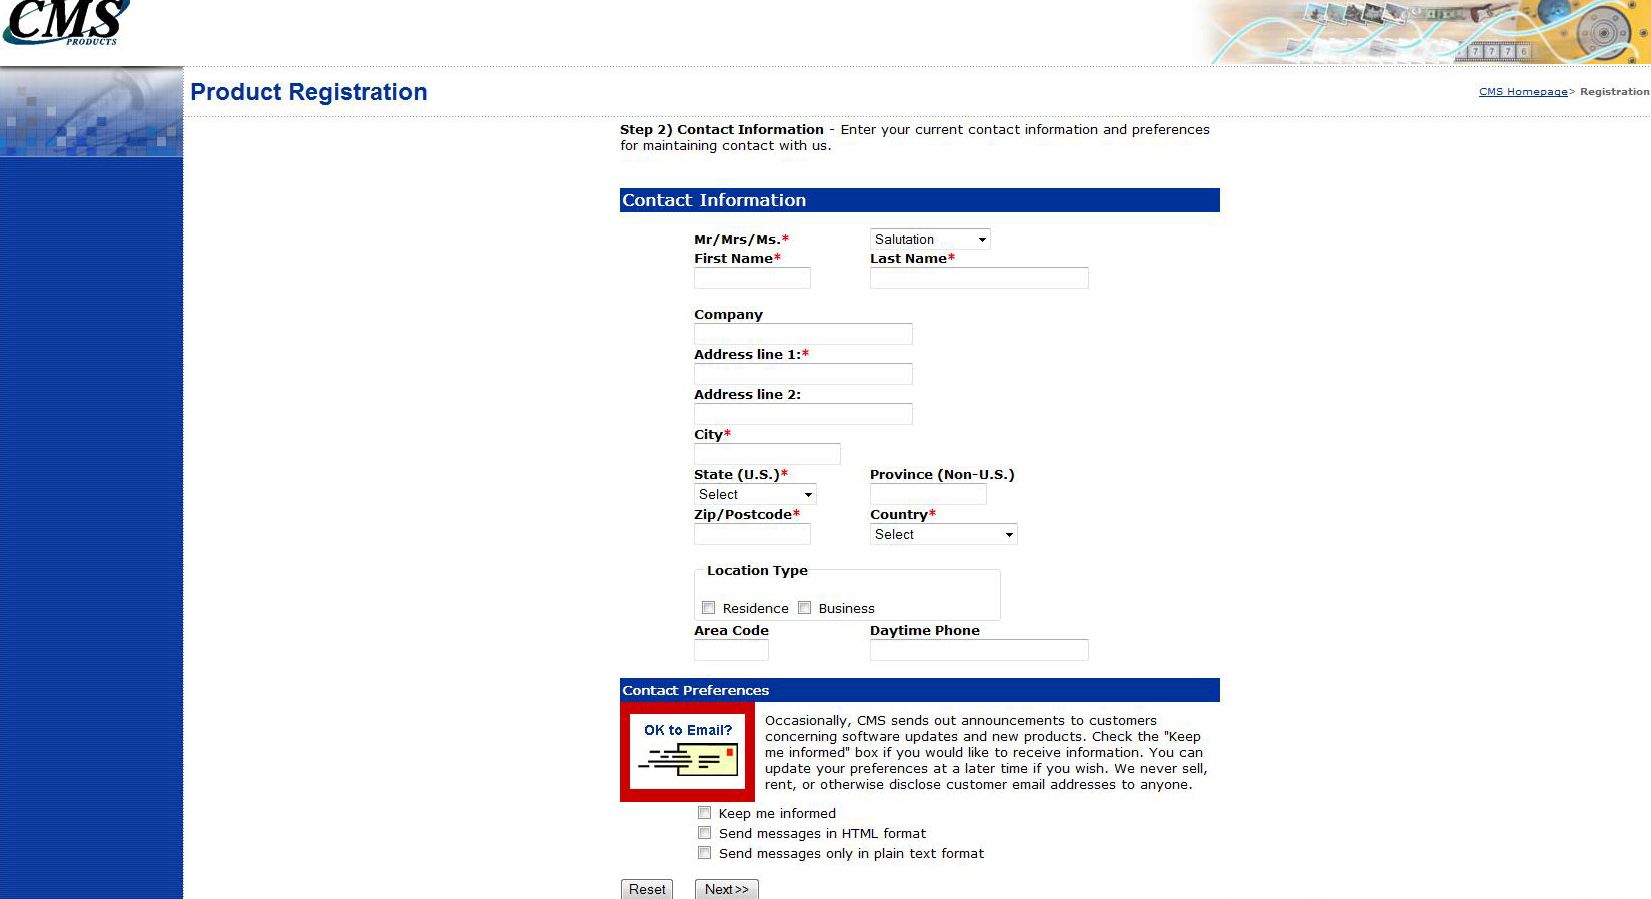
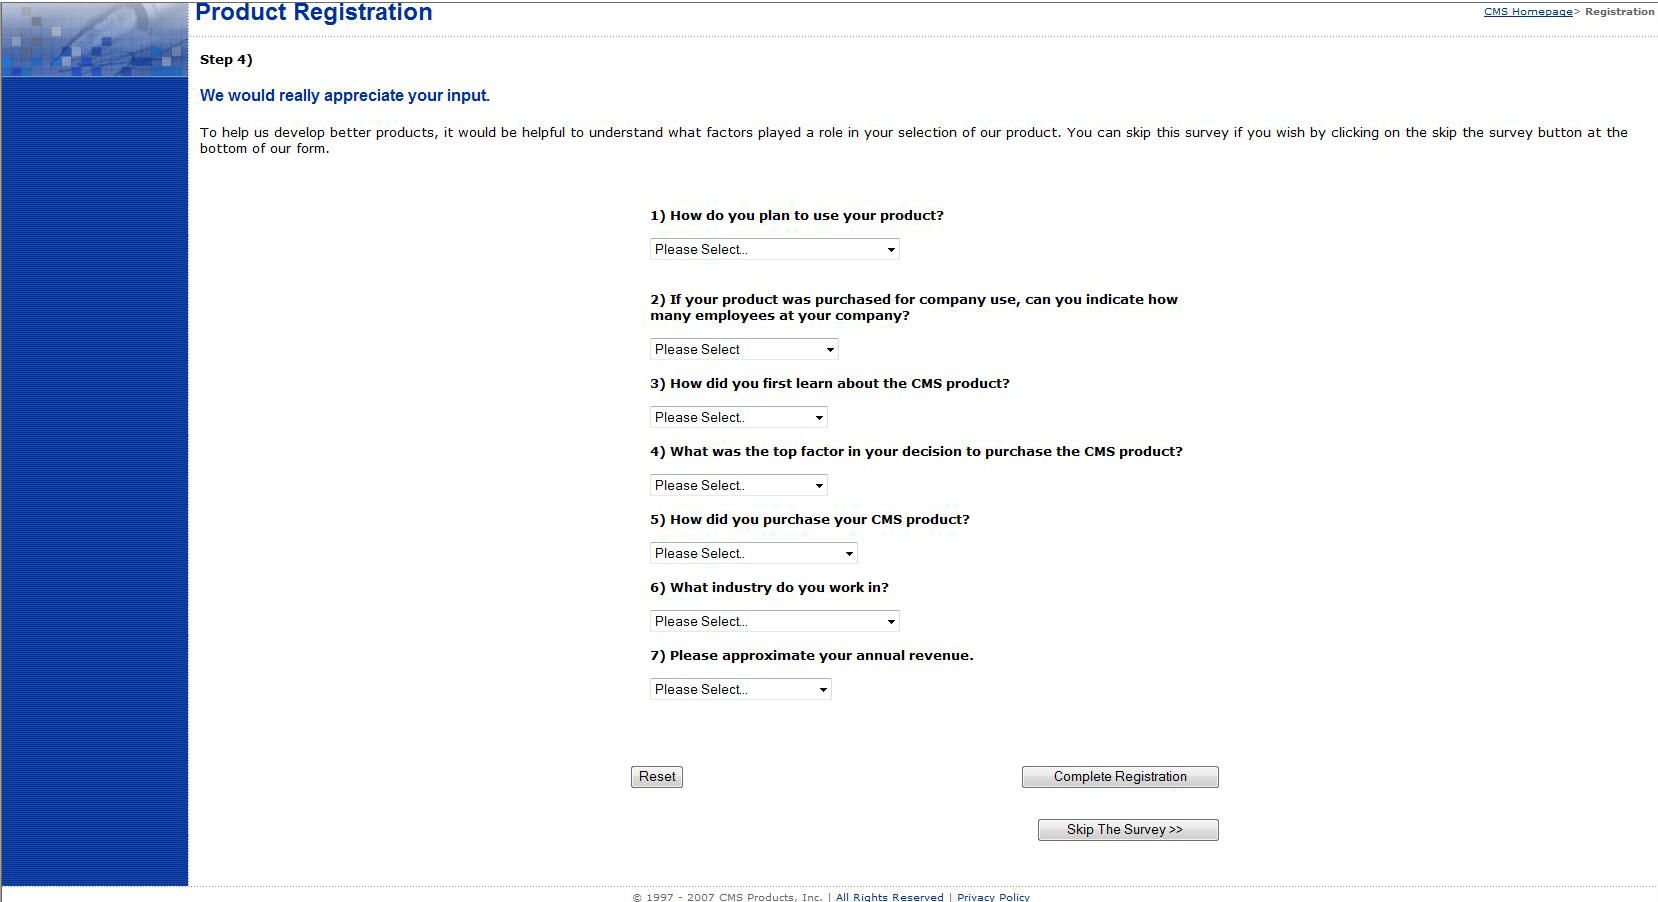
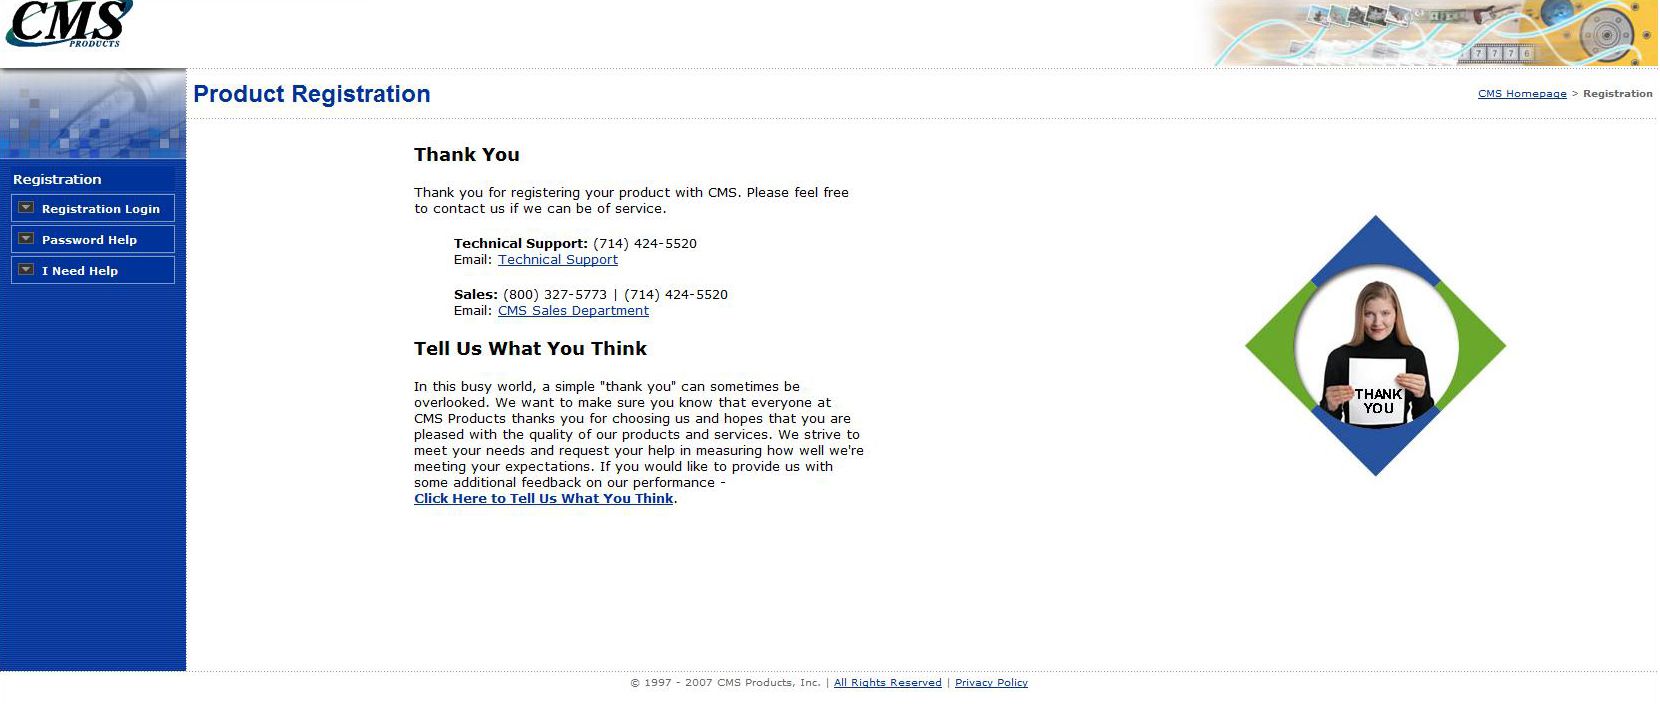
Registering CE-Secure with CMS Products
The registering process is rather easy, once the installition is finished make sure that you have checked the "Register with CMS Products" box. If checked, it will open the registration page once you click "finish". During the registration process it will have you answer general questions, mainly about who you are, what product you purchased, and how you plan on using that product. It is with this information that CMS Products will base future software on, so answer it truthfully and completely if at all possible. The following five pictures show each step of the process:
 |
 |
 |
 |
| « Introduction | CE-Secure Control Panel » |