|
Closer Look Continued:
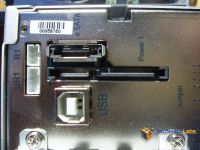
Interfaces |
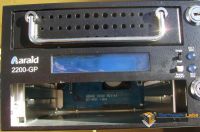
Front minus one tray |
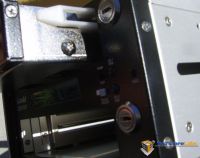
Tray slightly removed to show Rail |
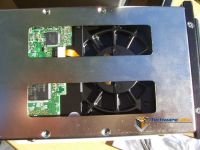
Bottom of tray to show ventilation. |
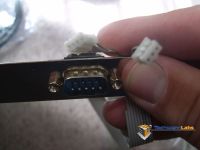
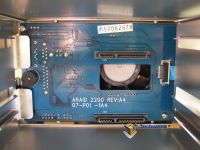
| Serial cable to be used for monitoring | Back plane |
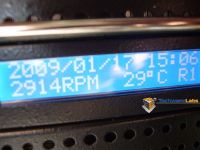
One of two screen shown after power up. |
Second screen showing RPM and Temp of drives. |
Installing the ARAID 2200-GP is very simple. Hard drives are mounted in the two drive trays with four screws each and the trays slide into the chassis with ease. Cabling is also made easy with nothing more than a molex power, a SATA power connected to the back. Next was a one SATA cable which ran to SATA0 on our motherboard. Lastly was this awkward monitor cables which was connected to a 9pin serial gate. The 9pin Serial port is then connect to a 9pin serial to USB cable which connects to your systems motherboard. I'm not quite sure why ARAID chose this configuration when they could have had a USB interface on the back of 2200-GP which a cable would run from this USB port to a USB port on the motherboard which would keep all the cables within the case. Maybe on future models ARAID would incorporate this.?.. The structural build of 2200-GP is very rugged to say the least. The case and trays are made of solid metal and are very sturdy. The fan which is mounted on the back is not small by any stretch and due to its size, it spins at low RPM which keeps noise to a minimum. After the 2200-GP is powered up, the display gives you stats of the drive(s) and what the RPM, and Temp of the drives.
REALTIME PRICING


