|
Setup
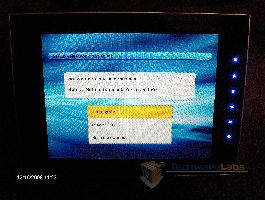
The set-up of the frame was easy, but if your wireless network isn't behaving, it might be a different story. We first turn on the device using the Power button on the remote, and are greeted with "No wireless router connected." This is normal for the first time. By clicking "Scan Again," our list of wireless networks show up.
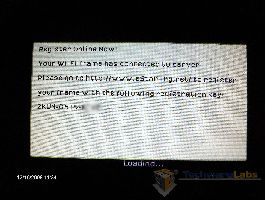
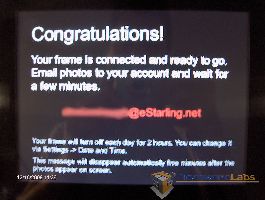
Simply click "enter" on the name of your wireless network, and you are greeted with a message:
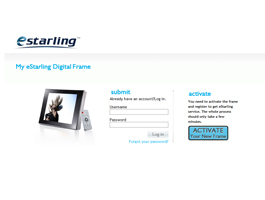
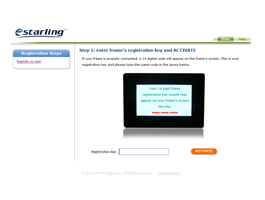
This message is very important since it gives you the registration key at the bottom. Write it down! Now we go to http://www.estarling.net/ to register the frame. Once you reach their website, you're greeted with an "Activate your new frame button." After clicking on it, we're taken to a page where we must enter in a registration code. This is the code in the picture above, I told you to remember it!
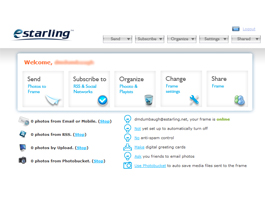
It will actually assign you a new email address which you can send photos to. Once you have filled out your information, you are taken to the main page. You can send photos or videos to the frame from here, as well as organize photos and adjust settings (email, time, etc). From here, you can add users on the photo frames account. For instance, if I gave the photo frame to my mother for her birthday, I could add my email, as well as my fathers to the account. By emailing her eStarling email address, my attached photos appear directly on the frame.
Once the frame is set up, it will come alive with the following image!
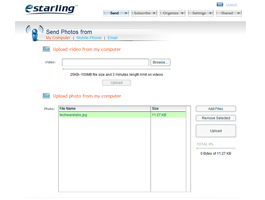
We can now navigate to the "Send" option on the Home page, and we're taken to the following screen. You may select a photo or video to upload to your device. Files can be added, removed, and transferred from this screen. Transfer time varies on your wireless network, but it only took ~15 seconds to transfer our favorite picture.
The photo obviously looks terrible compared to what you really see, but unfortunately cameras can't catch the brightness and clarity of the screen. That's all thats needed for setup, now we move on to testing!
OUR OTHER RELEVANT REVIEWS


