|
ASUS Striker II Extreme Motherboard
 |
Installation:
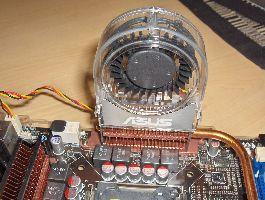
Now we move on to installation of the ASUS motherboard into our case. We started out by placing the optional fan on the top heatsink in our loop.
Images of the installation into the Thermaltake Kandalf case were not taken, since it is exactly the same for any other motherboard installation. After the standard 9 x brass standoffs were installed and the backplate was switched out, we placed our motherboard in the case.
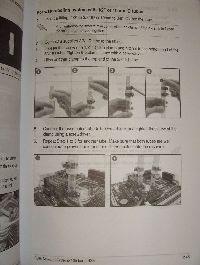
We broke out the liquid cooling parts from the motherboard, and opened up our directions. I didn't immediately notice that the white plastic tube instructions were for 10mm or 1/2" systems only! There is a small blurb on the left page about 3/8" systems, which will pertain to most of us. We get to avoid the plastic tubes altogether and just strap our 3/8" tubing straight onto the Fusion block.
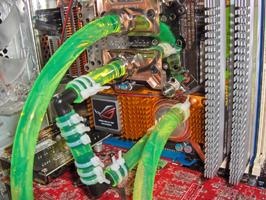
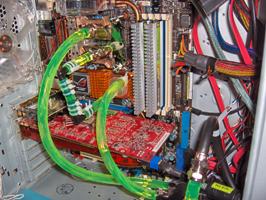
We installed our processor as well as the hardware for the CPU water block. After following the instructions, we proceeded to place the 3/8" tubing on the Fusion Block. While metal fixtures will hold tight, we decided to use zip ties since we'd need 90 degree elbows in our system. After applying three zip ties to each connection, I feel safe there will be no leaking. The RAM, audio card, and video card were then installed.
Other cables (SATA, 24-pin power, 4-pin CPU power, etc) were connected.
Installation Thoughts:
- POST LCD readout ground wire snapped while trying to install
- Instructions not extremely clear about the plastic liquid cooling tubes
- The ASUS Striker II box says "NSE", the Manual says "NSE/Extreme", the motherboard says "Extreme"....hmmm.
Real Time Pricing:


