

|


LG Voyager Cell Phone
Testing:
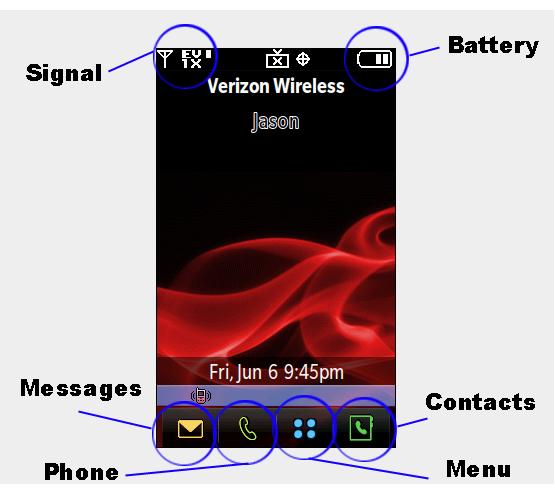
Now that our new Voyager is activated, it's time to test it! I immediately plugged it into the USB cable. Using BitPim 1.0.5, I transferred some pictures and music over to the phone, since I didn't have my MicroSD card yet. The external screen and internal screen are 240x400, and 400x240 respectively. Using the QPST 2.7 build 231 Display Capture, we start out by showing you the main screen.
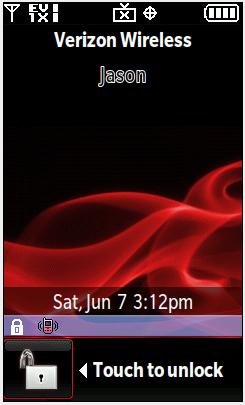
Unlock:
The only feature I think LG could improve upon thus far is the Unlock feature. It is not as responsive as I'd like, and after attempting to unlock it twice, it wont let you try again for like 3 seconds. This is to prevent it from unlocking in your pocket. Half of the time, I just unlock it using the slide switch on the side.
Contact List and Phone:
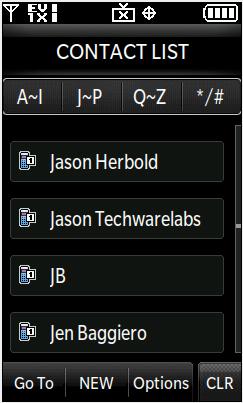
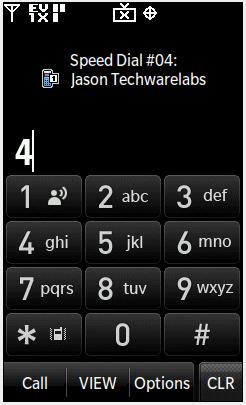
First we'll show you the Contact list and Phone. We will cover the Menu more in depth on the next page. The screen you see above is a touch screen (if you didn't know already). By lightly touching the Contacts button, it opens the contact list! It is neatly divvyed up into "A~I", "J~P", "Q~Z" "*/#", gives us the options of "Go to", "NEW", "Options", and "Clear". You can also press and drag your finger across the screen like with an iPhone, which makes the names scroll. Moving on to the Voyager's Phone section, you'll note that pressing the speed dial numbers displays the options at the top. By hitting "Call", it will call the name of the person listed at the top.
 |
 |
Contact List |
Phone |
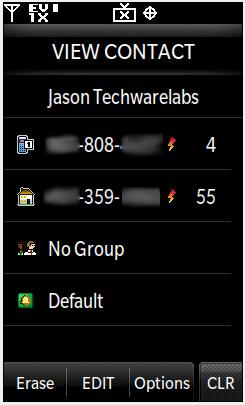
There are also "Options", "Clear", and "VIEW" buttons. By clicking the VIEW button, it opens the speed dial name to display the stored settings:
Let's move on to the Messages and Menu buttons...
Real Time Pricing: