

|


LG Voyager Cell Phone
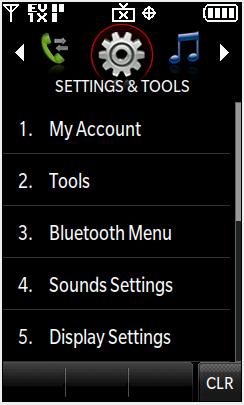
Settings & Tools:
The "Settings & Tools" screen on the LG Voyager gives us the "My Account", "Tools", "Bluetooth Menu", "Sounds Settings", "Display Settings", "Phone Settings", "Call Settings", "Touch Settings", "USB Auto Detection", "Memory", and "Phone Info" buttons. This is one of the largest sections of the phone, and is the root of customization for the phone.
- My Account takes us directly to our account using the Browser. This uses internet, so make sure you can spare the minutes!
- Tools goes to Voice Commands, Calculator, Calendar, Alarm Clock (there are three), Stopwatch, World Clock, Notepad, Ez Tip Calculator, and USB Mass Storage. USB Mass Storage allows your computer to access your MicroSD card as a drive. This becomes very useful if you want to add music, because you don't need to take the card out of the phone and find an adapter each time. It will also allow you to move pictures you've taken from your phone to your computer. We will use this at the end of this page.
- Bluetooth Menu allows you to add and manage devices
- Sounds Settings
- Master Volume
- Call Sounds
- Alert Sounds
- Keypad Volume
- Service Alerts
- Power On/Off
- Display Settings
- Banner
- Backlight
- Wallpaper
- External Wallpaper
- Internal Wallpaper
- Screensaver
- Display Themes
- Menu Fonts
- Dial Fonts
- Clock Format
- Phone Settings - this includes shortcuts, languages, location, security, NAM select....the usual.
- Call Settings - Options for answering and ending calls, TTY mode, One Touch Dial, etc.
- Touch Settings - Auto Lock, Vibrate, Sound, Calibration
- USB Auto Detection - Sync Music, Sync Data, Ask On Plug
- Memory - Save Options, Phone Memory, Card Memory - you can set your devices to save to a default location...either the phone or the MicroSD card.
- Phone Info - This is where we went earlier to find our MEID, includes My Number, SW/HW Version, and Icon Glossary
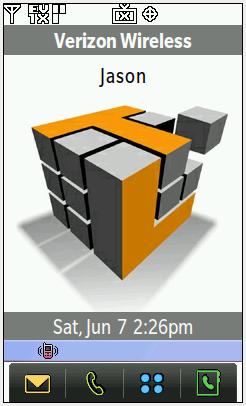
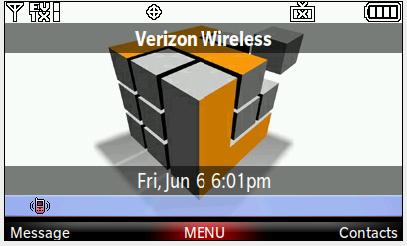
Setting the Background:
We can't just let the Verizon background stay there. Since we've already installed the drivers on page 4, we can plug the Voyager into the USB cable. After your add/remove hardware sounds stop, go back into the tools menu to that USB Mass Storage we listed above. Your phone should now pop up as a different drive on the computer. Simply drag and drop music and picture files to their respective directories!
(click to enlarge)

After dragging our favorite 400x240 and 240x400 pictures onto the phone, we go back into the Settings & Tools ->Display Settings ->Wallpaper, and select "External Wallpaper." After selecting our favorite picture, we can back out and see our new wallpaper. This can also be done with the internal wallpaper.
Real Time Pricing: