![]()
Introduction
With the plethora of inexpensive m-ITX cases out there each one looking more dull than the previous ones, how does one stay ahead of the curve and bring to the LAN party something that even not geeky people will find cool? Well leave it to the design team at In Win Design to design a case that will surely turn heads. The problem with good looking cases, however, is that they are difficult to work with and do not offer good expandability. Join me as I dissect the Dragon Slayer case from In Win to find out if it makes the cut in the TechwareLabs book.
![]()
Features and Specifications
|
Case Size:
|
Mini Tower
|
|
|
|
|
|
|
|
|
Dimension(HxWxD):
|
430 x 196 x 426 mm (16.9” x 7.7” x 16.8” )
|
–~~~~~~~~~~~~–
Packaging and a Closer Look

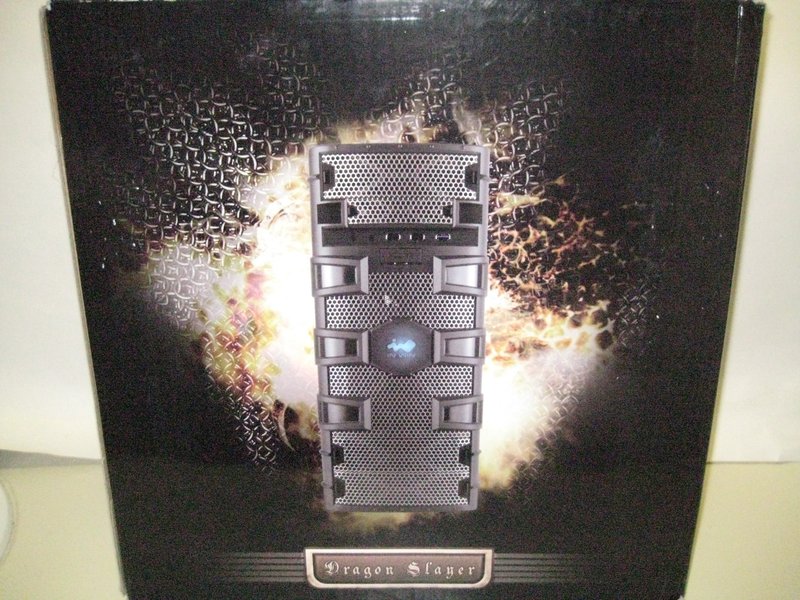
The concept behind the case is chain mail armor form the medieval times . And what are medieval times without dragons, dungeons and quests? The entire thing smells like adventure. With such a fun theme for the basis of a case the design is only to be limited by the creator. It seems that the designers did not hold back even on the box the case came in. On the side of the box you are faced with a duel between a dragon and a knight. On the flip side there is an image of the case.
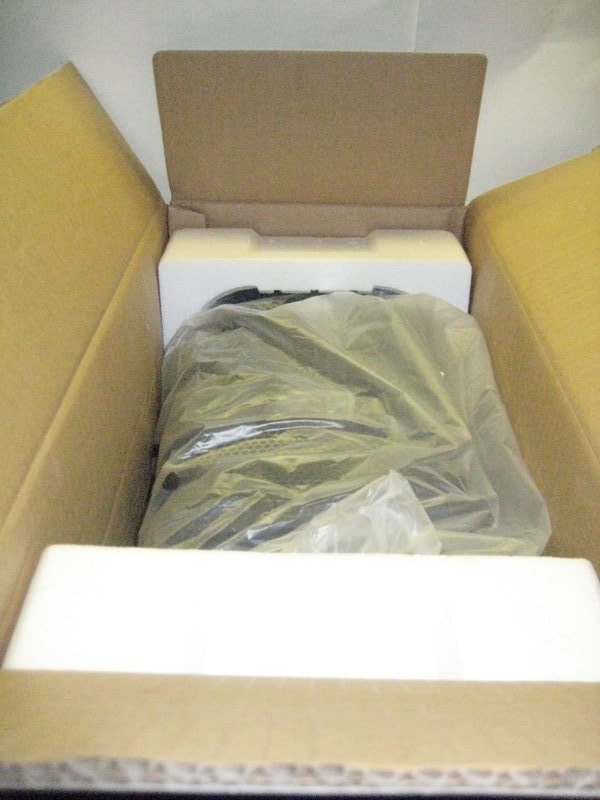
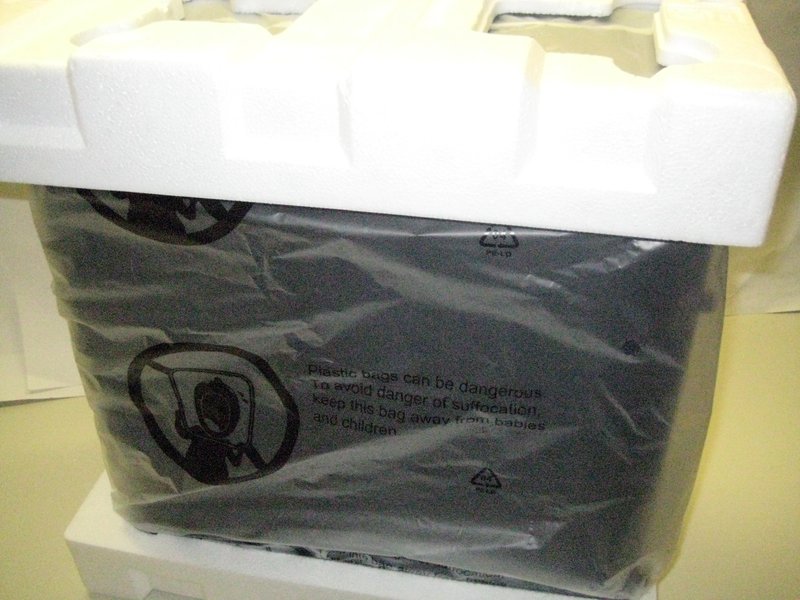
Unlike the decorations on the outside, the packaging was fairly standard. The case is wrapped in a nylon bag strapped by 2 foam. This can be seen in the pictures below. While lacking the colors and imagination present on the outside of the box, the foam is an effective way to protect the case. The case arrived without any damage.
 |
 |
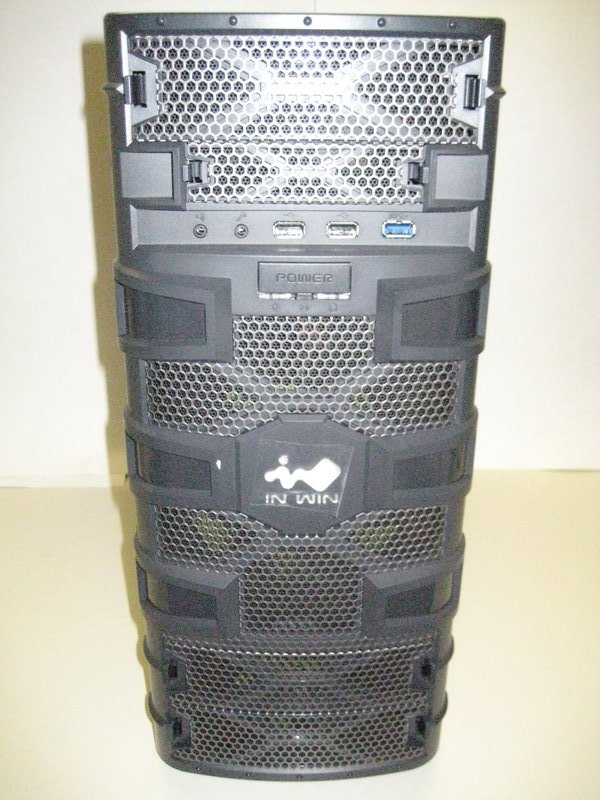
Once I have unwrapped the case, I took a snap shot of the front of the case form the front as well as the pictures of the items included with the case. The case is closely representative of the concepts form which it was built. The goodies found inside the case include screws, hard drive rails and an instructions manual.
Installation
 |
|
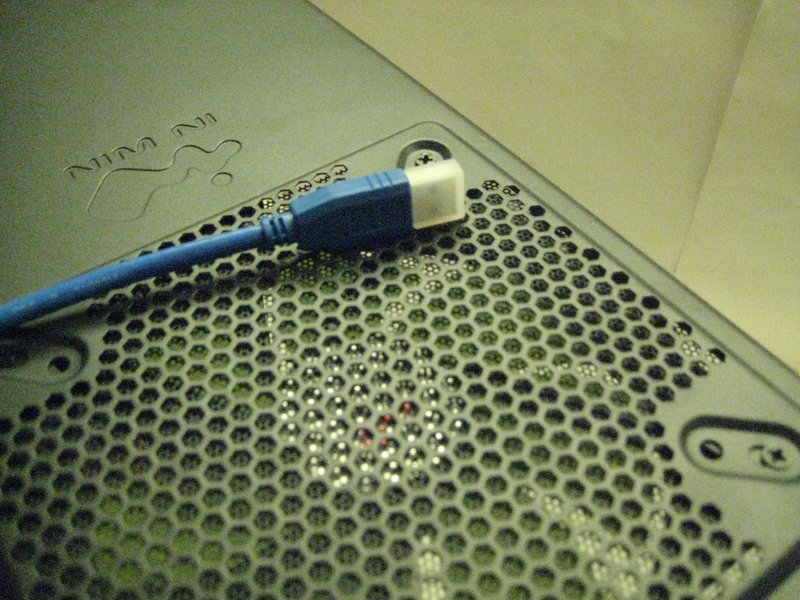
USB 3.0
The Dragon Slayer case does come prepared with a USB 3.0 jack. However most of the motherboards developed up to date do not come with USB 3.0 headers. Due to that, InWin has decided that it would be more appropriate to make the jack into a USB 3.0 external jack which can then loop around to the back of the case and plug into the fixed USB 3.0 slot on the motherboard. In a sense you can consider this as USB 3.0 extension cord of sorts thanks to which you would not need to reach to the back of the case in order to plug in your USB 3.0 device.
–~~~~~~~~~~~~–
Disk Drives
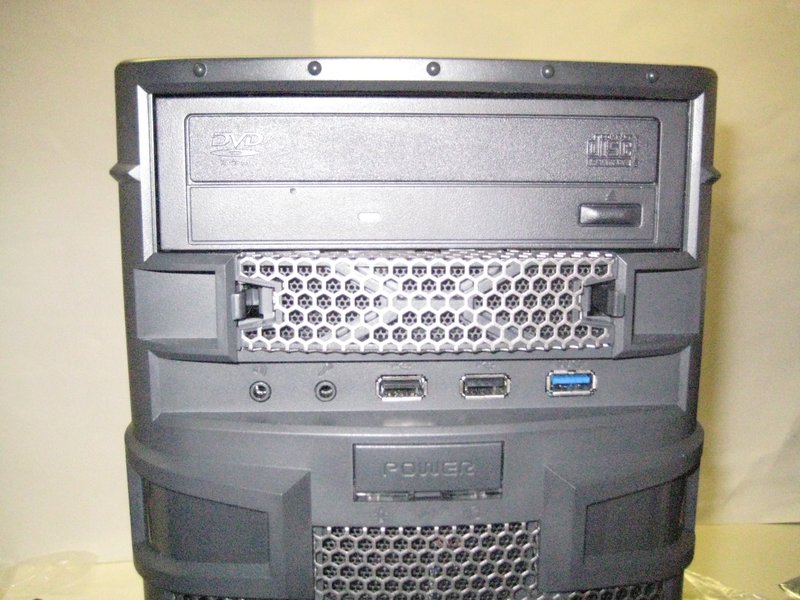
The Dragon Slayer case has space for an optical and floppy disk drives. The floppy disk drive bay can also double as a hard drive bay. The installation of the optical drive was quite easy. I removed the cover from the front panel as well as the tool-less secure pins and just slid the drive into the bay. Below the pictures showing the secure pins and the look of the drive from the front. In most cases the addition of an optical drive somehow takes away from the overall elegance of the case. I was pleasantly surprised that the addition of the optical drive to the Dragon Slayer case in fact adds to the good looks of the case. It gives off the impression that it somehow belongs exactly where it had been put.
 |
 |
Motherboard
 |
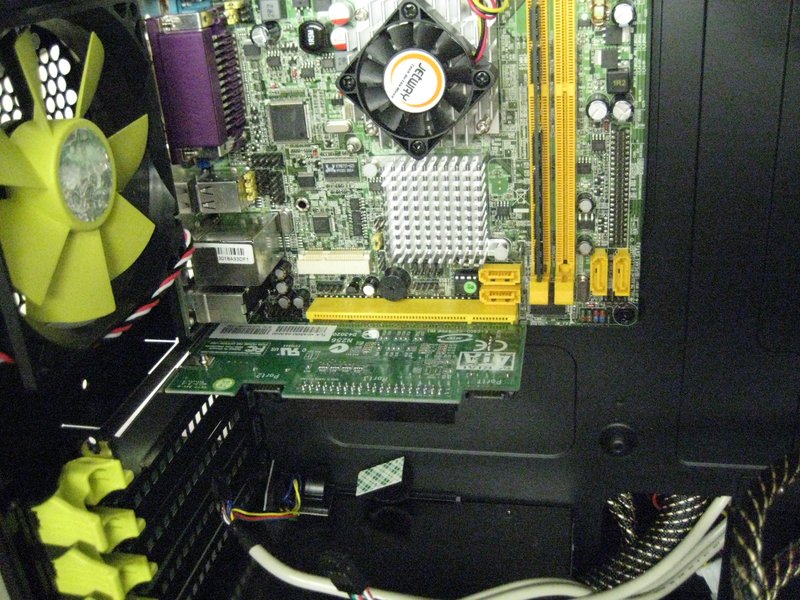 |
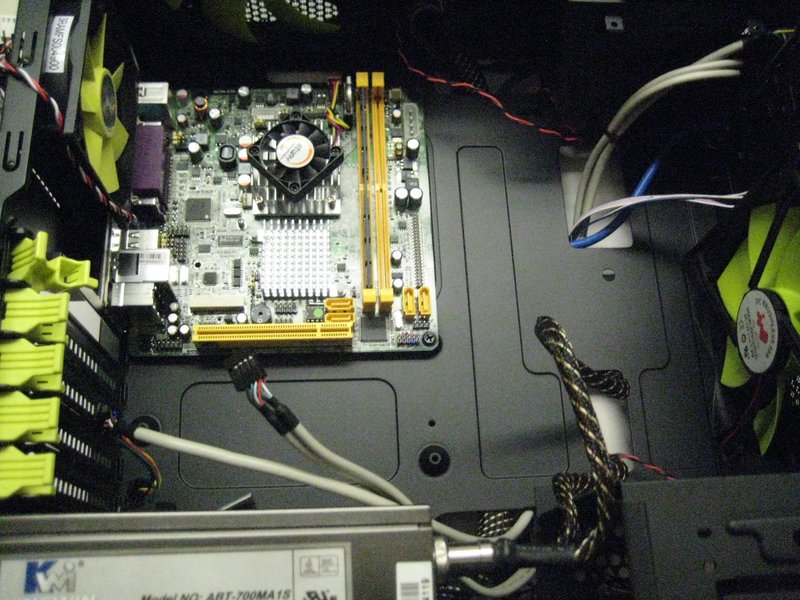
The installation of the motherboard was an easy task to accomplish as the case has ample room. The motherboard that I have installed in the case has 1 slot, however, the case will fit motherboards with up to 5 slots. It will also fit large graphics cards with relative ease as can be seen by the ample space in the pictures below.
Hard Drives
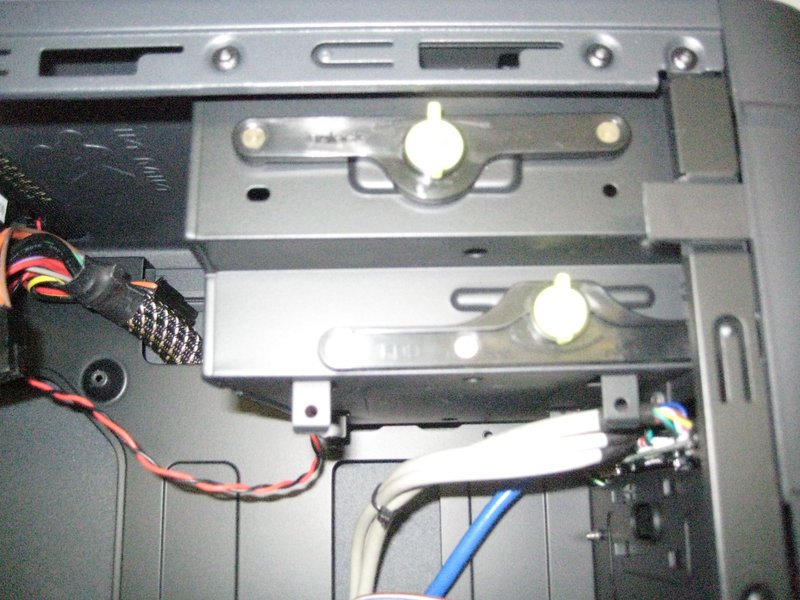
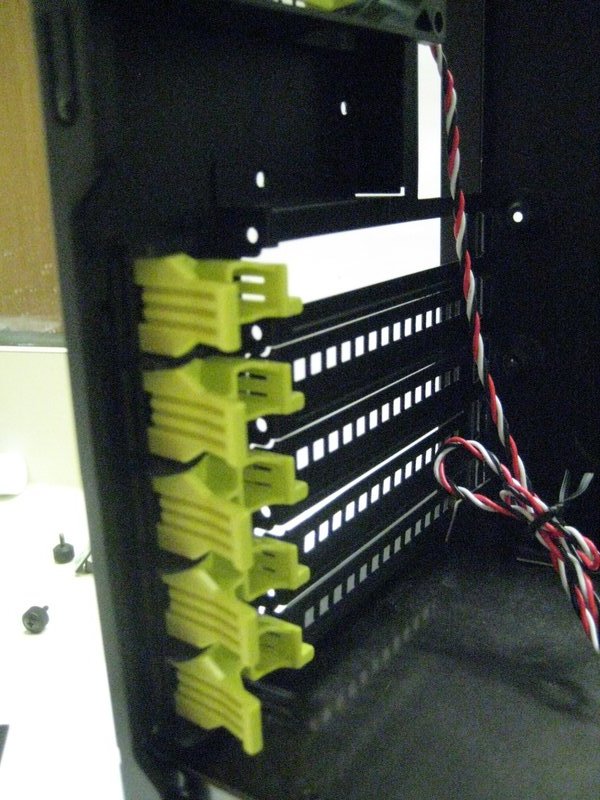
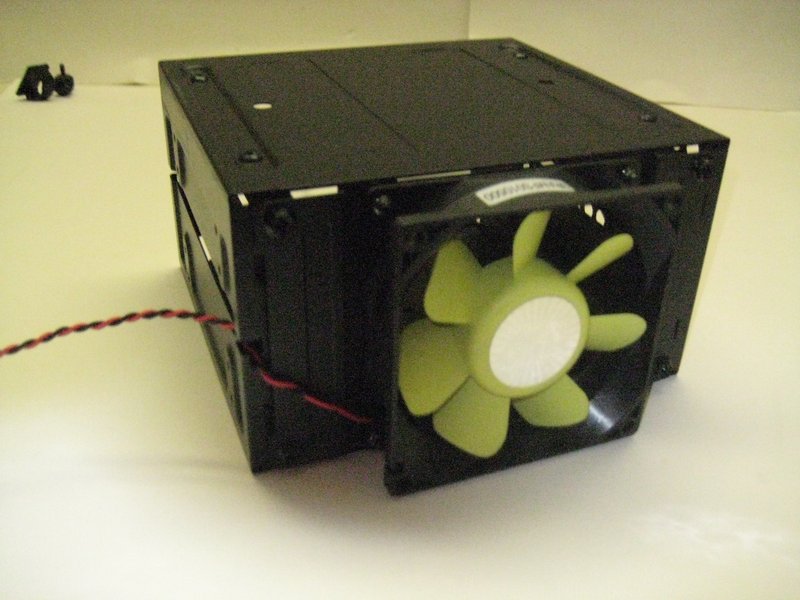
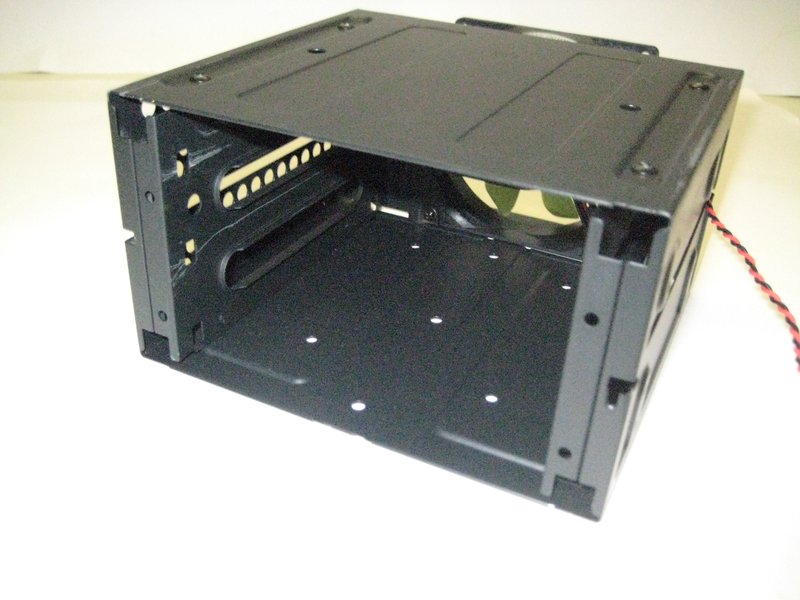
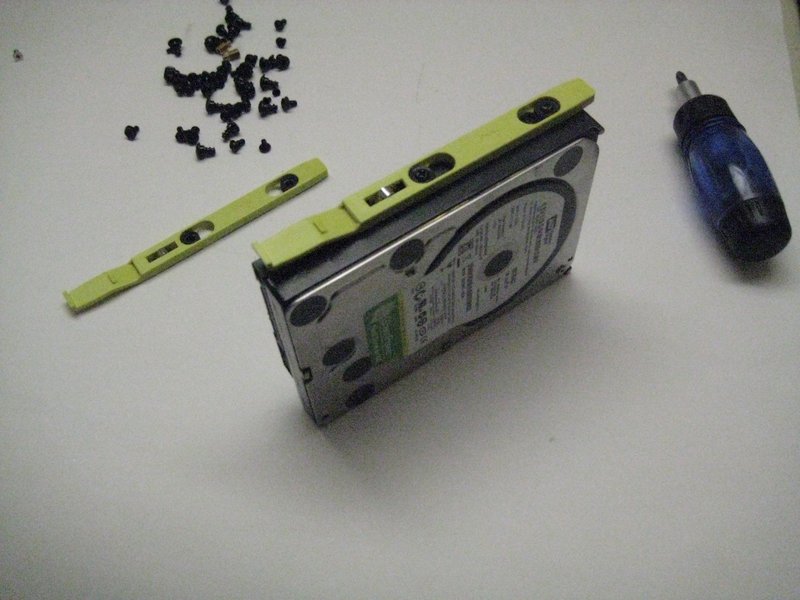
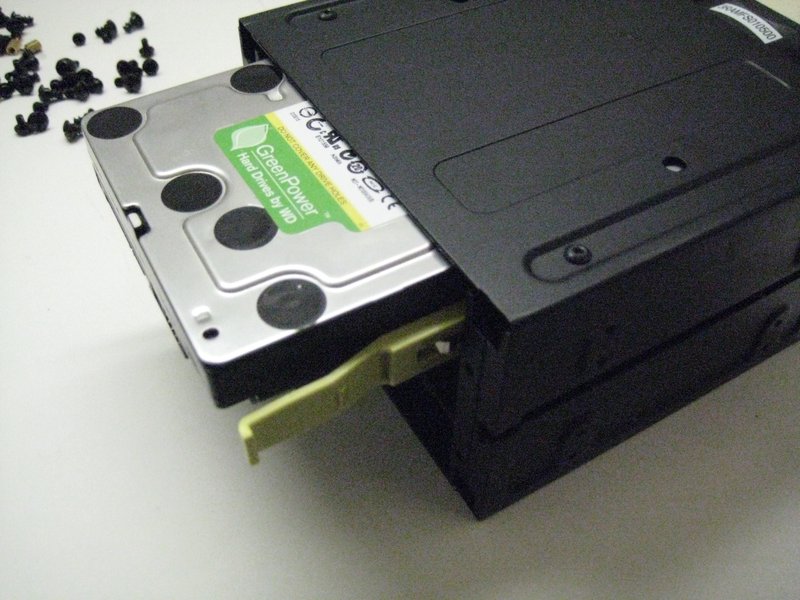
The hard drive cage in the Dragon Slayer cage is removable. In fact in order to install the drives inside the cage, the cage first has to be removed from the case. This can be done by removing the 2 pins on the side of the cage, remove the 2 front covers on the front of the case and the slide the hard drive cage out. While this may seem like a cumbersome task, it does facilitate the installation of the hard drives. The slide rails are then attached to the hard drives by screws and the hard drives just slide into the cage. This process is illustrated in the pictures below.
 |
 |
 |
 |
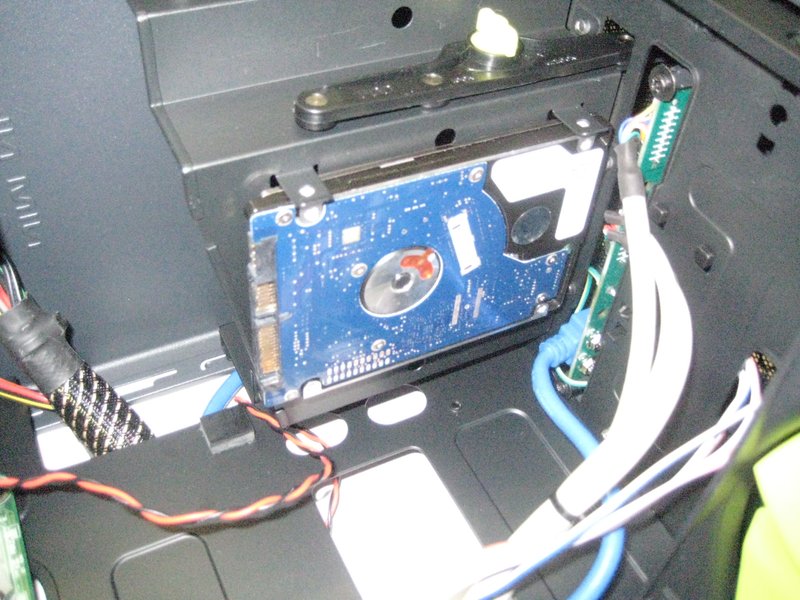
The Dragon Slayer also includes spaces for hard drives other than in the hard drive cage. As you can see in the pictures below there is a slot available for a 2.5″ hard drive. As I have mentioned before, another hard drive can be added into the space for the floppy disk dive. This means that at any one time there could be a total of 4×3.5″, 1×2.5″ hard drives.
 |
 |
–~~~~~~~~~~~~–
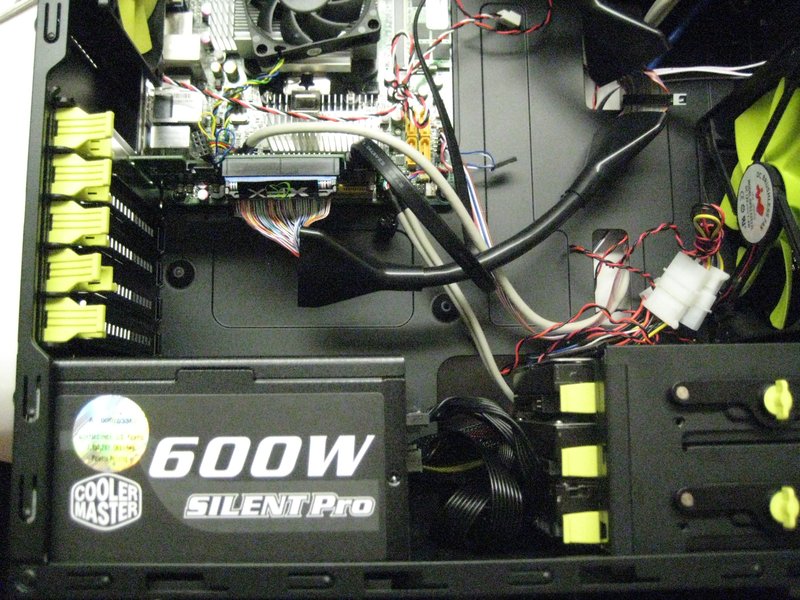
Power Supply
As you can see from the picture below, the power supply fits snugly into the slot. The 600 W power supply is relatively small in comparison to some of the larger power supplies and only has the ability to sustain 1 2x8pin cards.
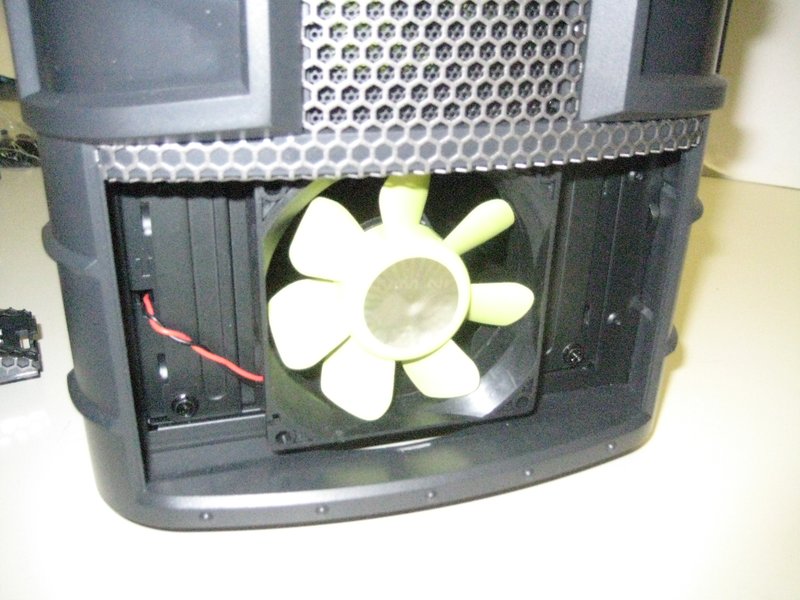
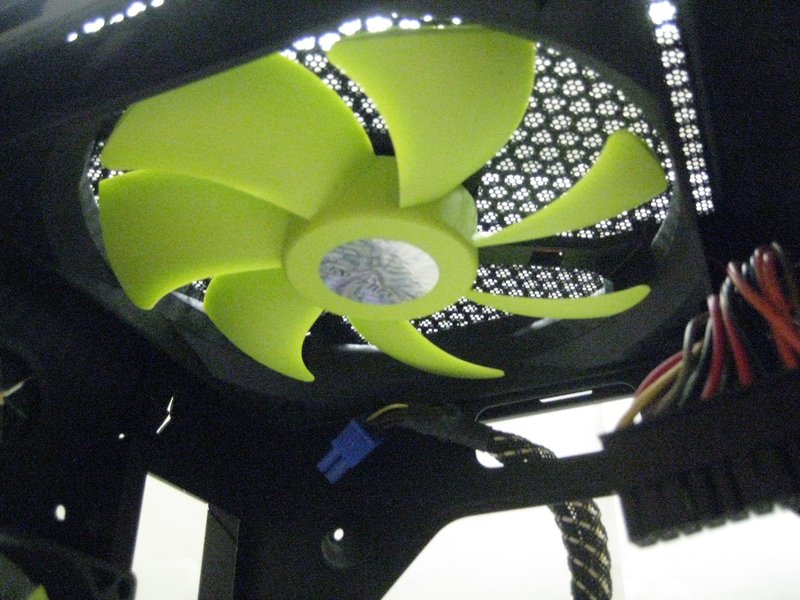
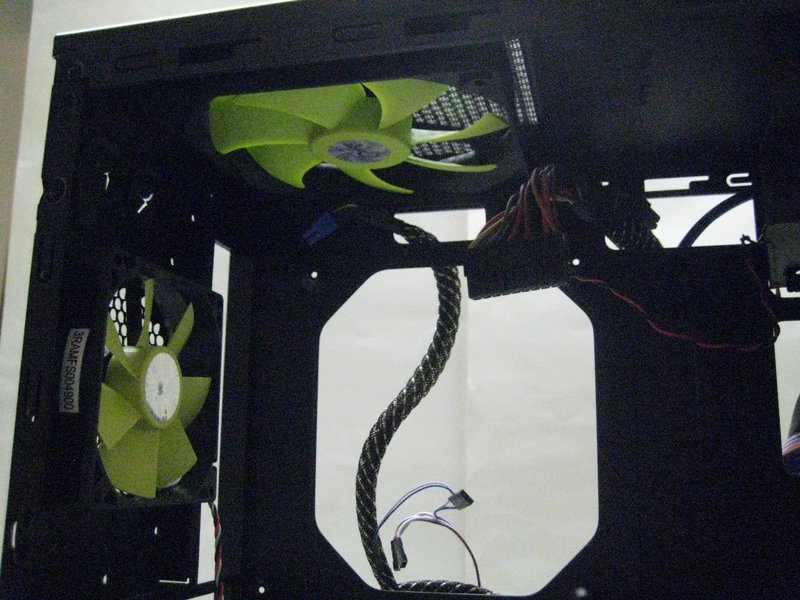
Cooling
In addition to the large fan in front of the case and the HDD cage there are 2 additional fans on the rear of the cage. The 2 rear fans can be seen in the picture below. The motherboard tray, while not removable, provides further cooling features via the hole in the back of the plate.
 |
 |
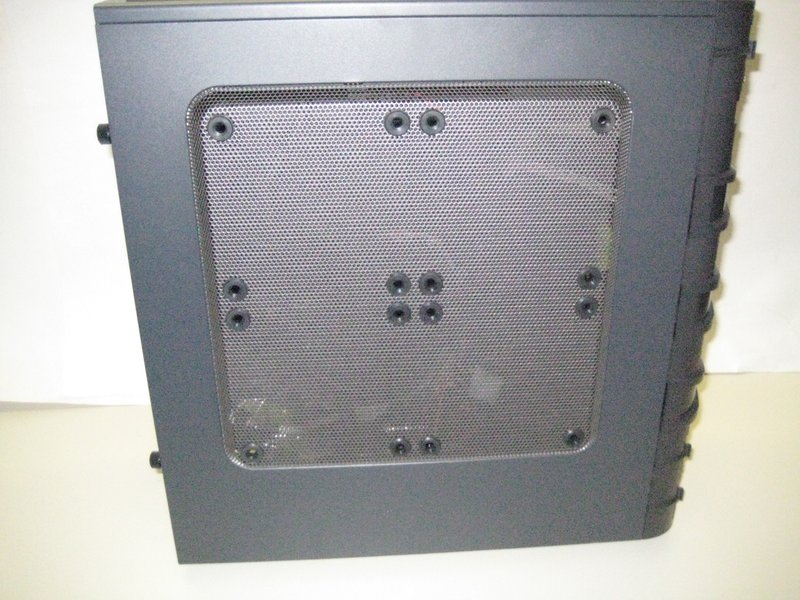
More cooling features of the case include the space for a 4 120 mm fans on the side of the case. The user has enough space to choose the cooling configuration.
Conclusion
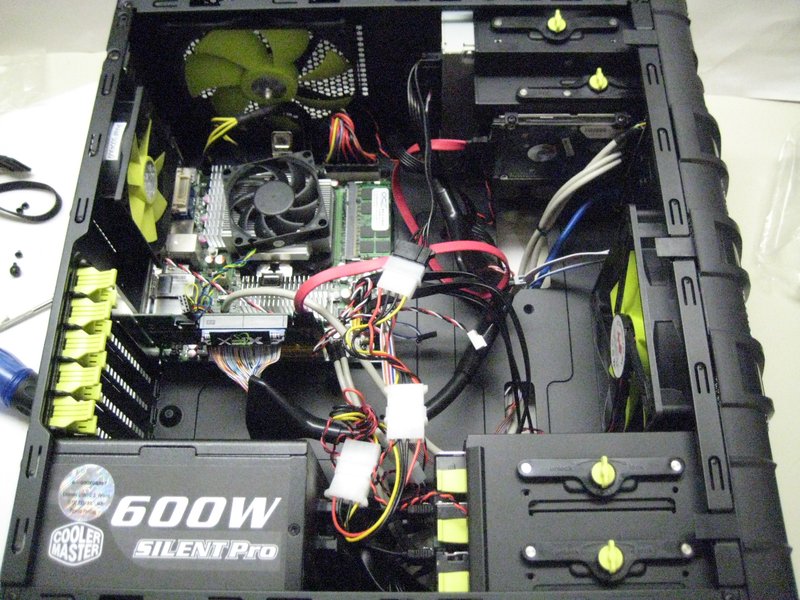
The Dragon Slayer form InWin offers appealing elements from both worlds. It is appealing to the eye, but does not sacrifice usability to do so. The Dragon Slayer is bigger than the average m-ITX case, however, it does offer space and features that are difficult to find other m-ITX cases. As demonstrated in the picture above, the case had enough space in order to store a total of 3×3.5″ drives a 2.5″ drive, a 600 W power supply, a full size CD drive and a PCI expansion card. Not only fit all the hardware, but there is still some space to spare.
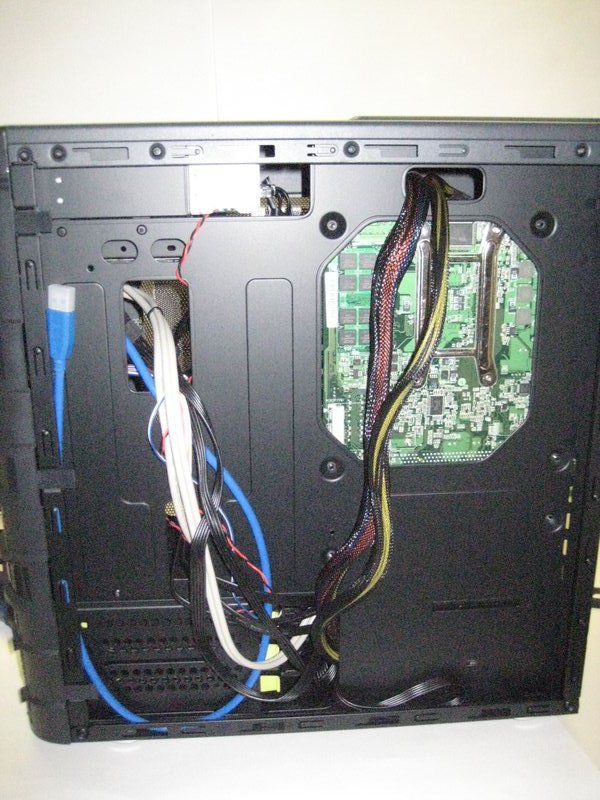
In addition to the space, the case offers cable management options. This can be done by removing the back panel and routing the cables to their respective plugs on the motherboard and peripheral components. This is demonstrated in the picture below. Overall you can get you shiny and brand new Dragon Slayer for about $82 which in my book is a bargain for getting a case with the amount of features that this one has.

[…] Hardware takes a look at the Lian Li Tyr PC-X2000FTechwareLabs shares its thoughts on the InWin Dragon Slayer m-ITX CaseHow about a video card? Anybody need one of those? Benchmark Reviews – AMD Radeon HD 6870 and […]
[…] tower Enthusiast Gaming Chassis Review @ OverclockersHQ Lian Li PC-8FI Mid Tower @ Pro-Clockers InWin Dragon Slayer m-ITX Case @ TechwareLabs BitFenix Colossus E-ATX Computer Case @ Benchmark Reviews Antec Lanboy Air Case […]