Packaging
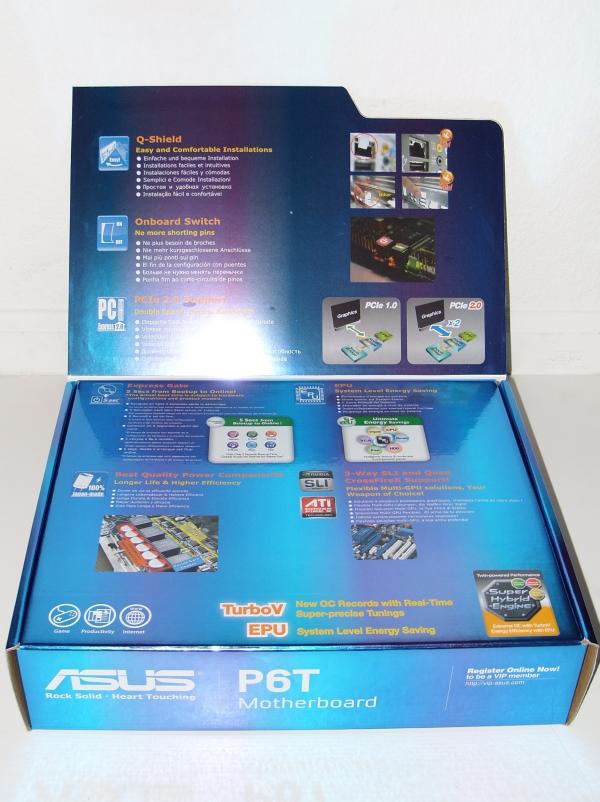
The ASUS P6T came in more or less colorful attire. On the front of the cover there was a name of the motherboard along with the feature highlights such as 3 way SLI and Quad CrossFireX support, 8+2 Phase power design, solid-state capacitors, and the ASUS exclusive Express Gate.
 |
 |
 |
On the inside of the front flap, there were pictures of the particular components stated on the front of the box along with a more detailed explanation of what the feature did. The explanations were in multiple languages including the major ones like English, Spanish and French.
 |
 |
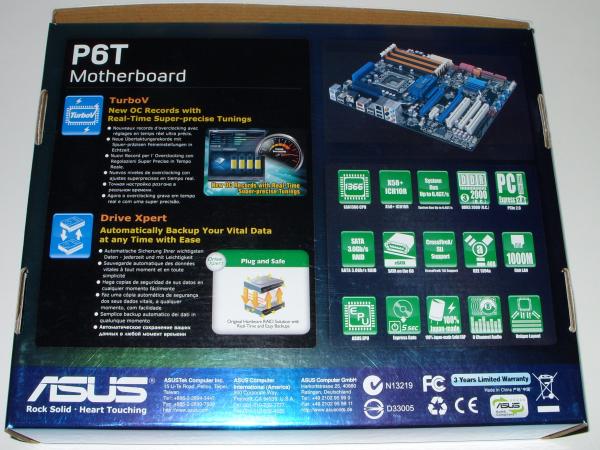
On the back of the box there were more features and their representative thumbnails. Starting at the top left there is a symbol of the LGA 1366 cpu socket followed by the ICH10R south bridge icon. In my opinion if a person is considering buying this motherboard, this visual list would definitely make the decision making process much easier. After looking through the whole list, I feel that despite the fact that the P6T is not the top of the line motherboard currently offered by ASUS the features list of the motherboard is quite extensive.
On the left side of the back of the box, there are two more features, again in several languages. These features are perhaps one of the most important out of the entire motherboard. These two features are Turbo V and Drive Xpert. The Turbo V is a utility that operates from Windows and allows the user to change the BIOS settings on the fly. The Drive Xpert is an option that has already been integrated into the South Bridge controller. With Drive Xpert the user has the ability to plug in two hard drives into the orange colored SATA sockets marked by the “Port 1 and Port 2” signs and have the computer back up the data onto the second hard drive in real time.
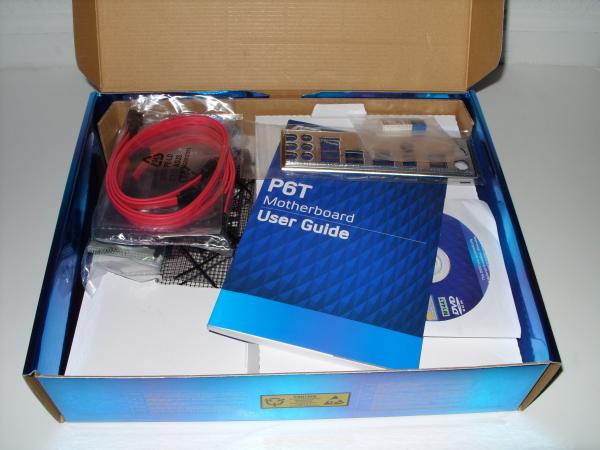
Inside the box there were:
- 3 Way SLI connector
- A CrossFire Ribbon
- A IDE cable
- A Floppy Cable
- 4 SATA Cables
- The Q-Shield (Backplate)
- A Driver DVD Rom
- An Installation Manual
- Q-Connector (An easy connect for the output pins for the front of the Computer case)
- Case Badge
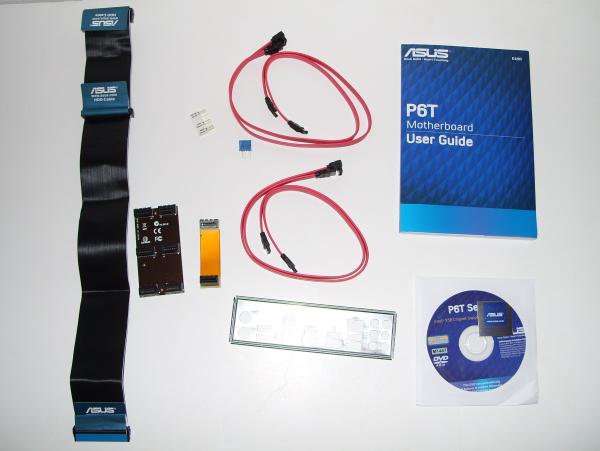
As you can see there is aren’t really any special things to mention here, except for the Q-Connector. The Q-Connector is definitely a time saver, which brings me to wonder of why other companies have not thought of implementing a similar design. Instead of having to plug in all the case cables into their respective sockets on the motherboard, all one has to do is plug them all into the Q-Connector and then plug the connector into the motherboard.

