Bios
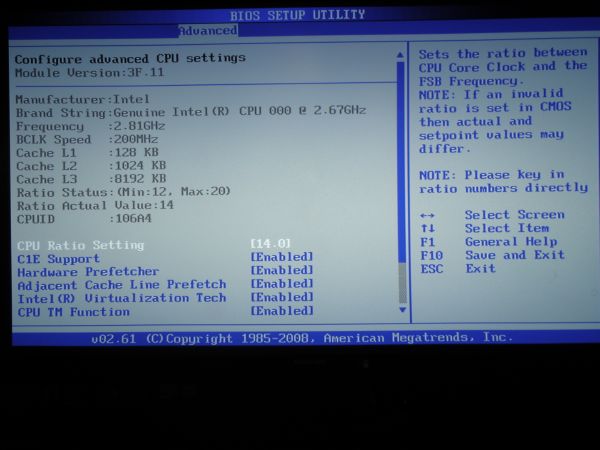
With the introduction of the Core i7 the bios took some drastic changes. With the Nehalem processors there is no more need to modify the Front Side Bus (FSB) to change the speeds. The main settings that affect processor speeds are the multiplier and the base clock setting. The Core i7 920 allows a multiplier of 27 maximum while the 965 is set at 63. The total frequency can be obtained by multiplying the base clock frequency by the multiplier.
 |
 |
 |
|
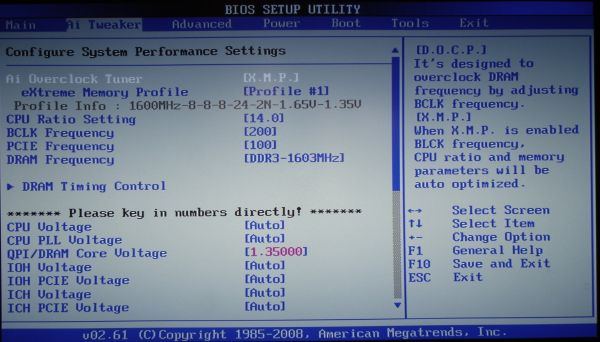
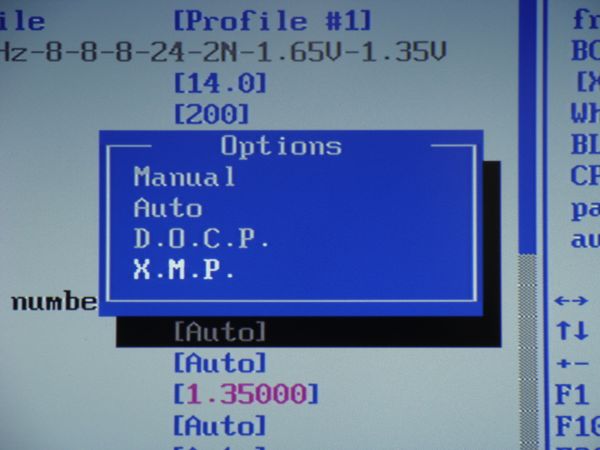
Another set of interesting features on the ASUS P6T is the memory settings. Unlike in the previous bios settings, you can select from 3 automatic settings to operate your RAM or set the RAM settings manually. The three options are “Auto”, “D.O.C.P.”, and “X.M.P.” The “Auto” setting is the setting that everyone starts out with. The “Auto” setting sets all voltages to what would be considered a safe operating conditions. This means that if you have RAM that operates at higher frequencies than 1333 MHz, you will most likely have to reconfigure the settings in the BIOS.
The “D.O.C.P.” or the DRAM Overclock Profile uses the block frequency to overclock the RAM. Since the Block frequency is directly tied into the processor frequency, by increasing the block frequency you are effectively overclocking your processor.
The X.M.P. is probably the most interesting of all the preset settings. “X.M.P.” or eXtreme Memory Profile is similar to the nVidia’s SLI memory and the Enhanced Performance Profiles (EPP). XMP will only work properly with the XMP compatible RAM. XMP ram comes already with preset values for the multiplier, block frequency and voltage settings. All the user has to do to overclock the system to the manufacturer specified settings is to enable the XMP profile. The base clock, the multiplier, and the voltage settings will be automatically set to predetermined values.
 |
 |
More advanced user that do not wish to go along with the manufacturer specified values have the ability to further modify the settings manually. In my personal experience I found that the XMP setting is a good starting point for overclocking. After setting up the XMP, I was able to go down to the voltage and the base clock settings and further alter them to my liking. According to Intel, DRAM voltage should not exceed 1.65 V to avoid damage to the processor. While overclocking, I found that 1.7 V did not fry my processor and made the overclock more stable.
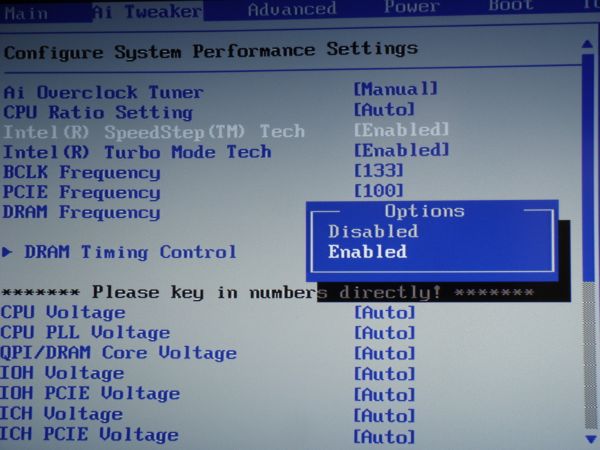
There are also SpeedStep and Turbo Mode Tech options in the AI Tweaker window. The SpeedStep option reduces the consumption of the CPU by decreasing the processor speed when the processor is not being used. The Turbo Mode Tech, on the other hand, increments the speed of the CPU by overclocking it based on the loads on the processor. The speed of the processor is either increased or decreased by adjusting the multiplier. Speed Step and the Turbo Mode Tech options can only be enabled and disabled.
 |
 |
 |
 |
 |
|
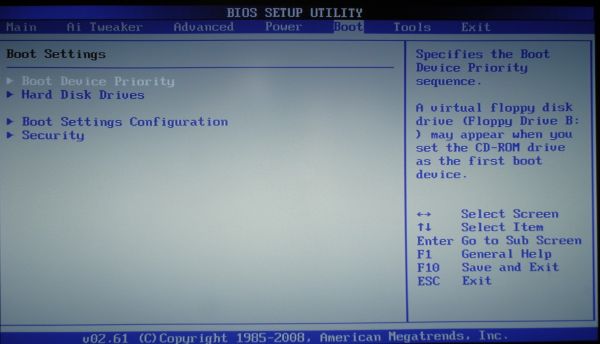
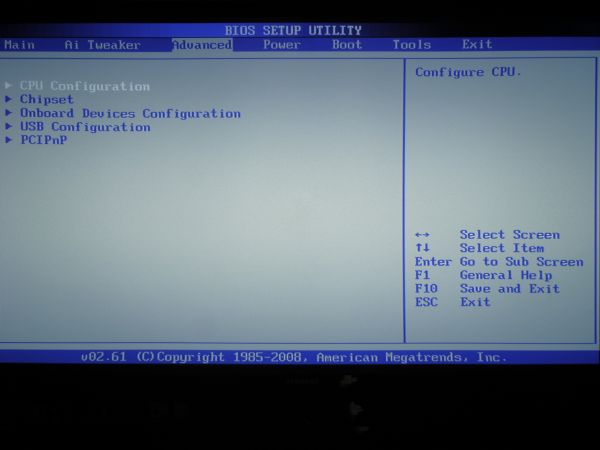
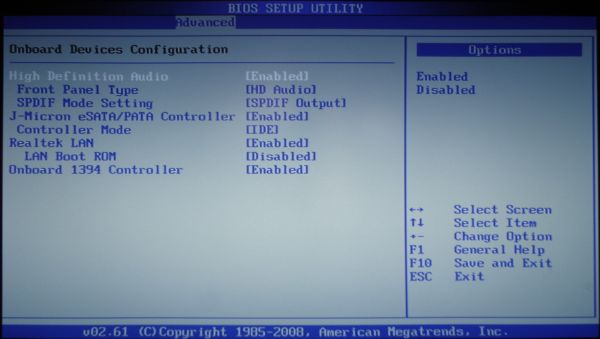
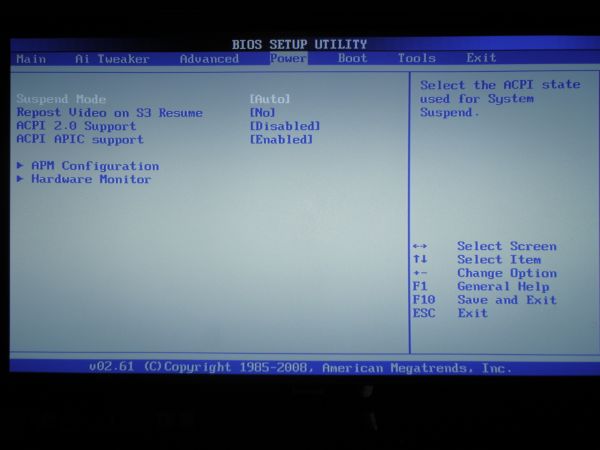
Similarly to the previous bios revisions, there are options to enable and disable the, Virtualization technology among others in the “Advanced > CPU Configuration” menu have not changed much from the previous revisions. The images below display the options available in each of the tabs in the BIOS.
 |
 |
 |
|
 |
|

