Installation
While the case packs quite a bit of features, none of these features complicated the installation. The motherboard tray can be easily accessed by unscrewing the topmost screw and removing the top panel of the case. The motherboard is then placed directly into place on the motherboard tray. As you can see from the pictures, chenbro packed all the necessary SATA cables and power cables in a corner and out the way. The motherboard attaches with a total of 4 screws located in the corners of the motherboard.
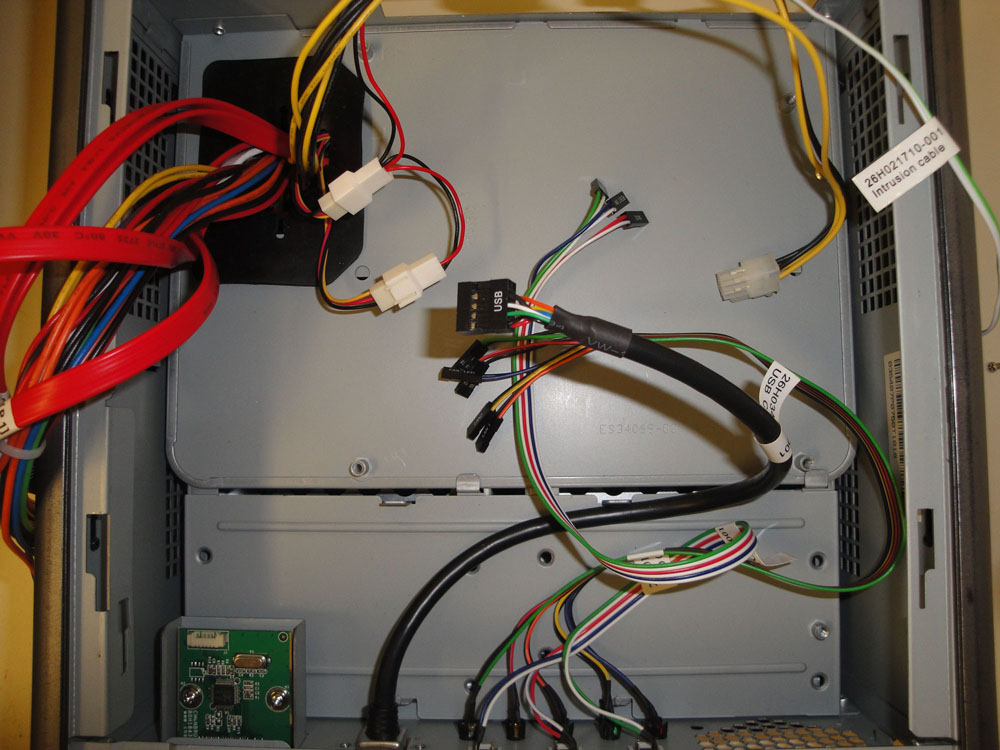 Motherboard tray without motherboard |
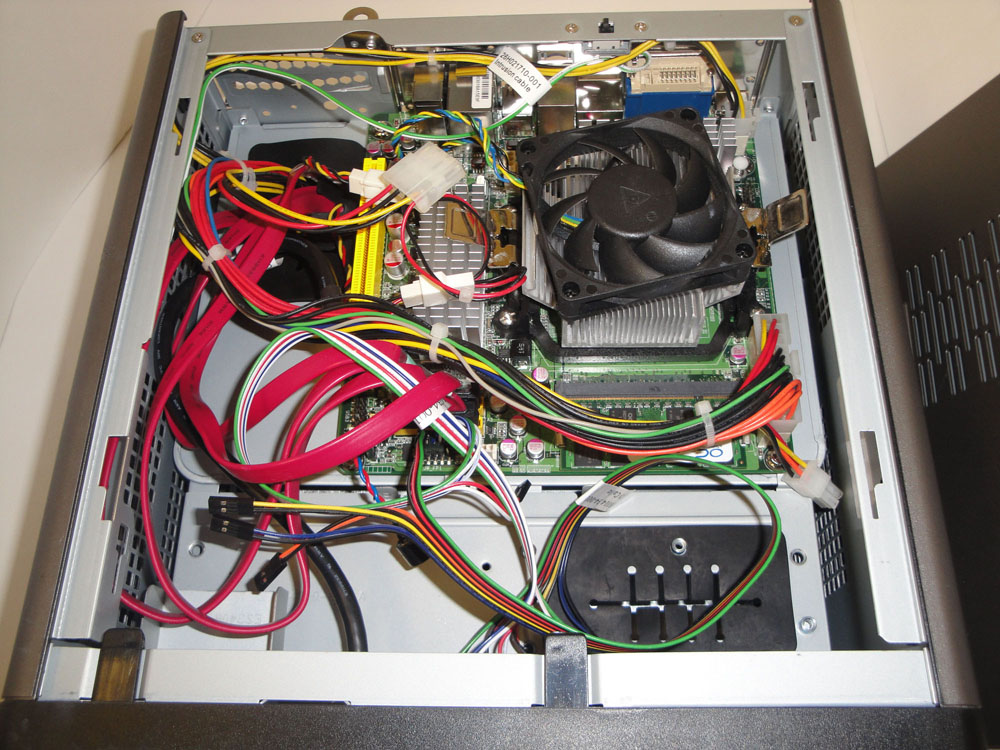 Motherboard tray with motherboard installed |
After completing the installation of the motherboard, I continued installing the hard drives. The hard drives are attached to the hot swappable trays with 4 screws – 2 on each side of the hard drives. It is important to note that while the hard drive trays are hot swappable, proper configuration must be set in the motherboard’s bios in order to be able to plug in and unplug hard drives on the fly. It is also important to note that the hard drives must be secured to the hard drive tray in order to be able to properly remove them. Once the hard drives were secured in place, the only thing that was left was to insert the trays into the bays.
 ES34169 Front without front panel |
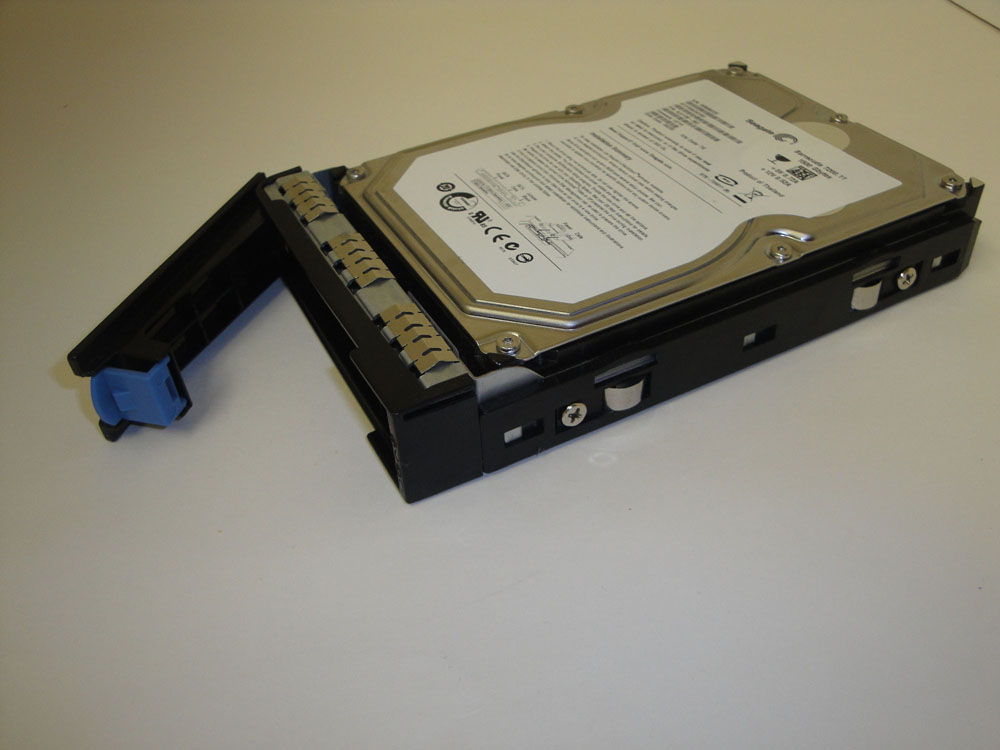 Hard drive in removable tray |
Optional installation options include installing things such as a Slim DVD-Drive and Card reader and the IR module. Interestingly enough, the installation of the optical drive was extremely similar to that of the hard drives. The optical drive also resides in a removable tray to which it has to be affixed. Much like the hard drives’ tray, the optical drive tray is also removable. As can be seen in the pictures below, the optical dive tray is removed by pulling the green handle at the top of the tray. The front plate and drive cover must first be removed in order to remove the optical drive tray.
 Back of the front panel. Card reader. |
 Back of the front panel with optical drive tray installed |
The card reader also sits on its own removable tray. Much like the other peripherals, it must also be secured to the tray and the plugged in. Unlike in the case of the optical drive, removal of the front plate is not necessary for the installation of the card reader. The IR module also sits on its own tray to which it must be affixed with a screw, however, the tray is not removable.
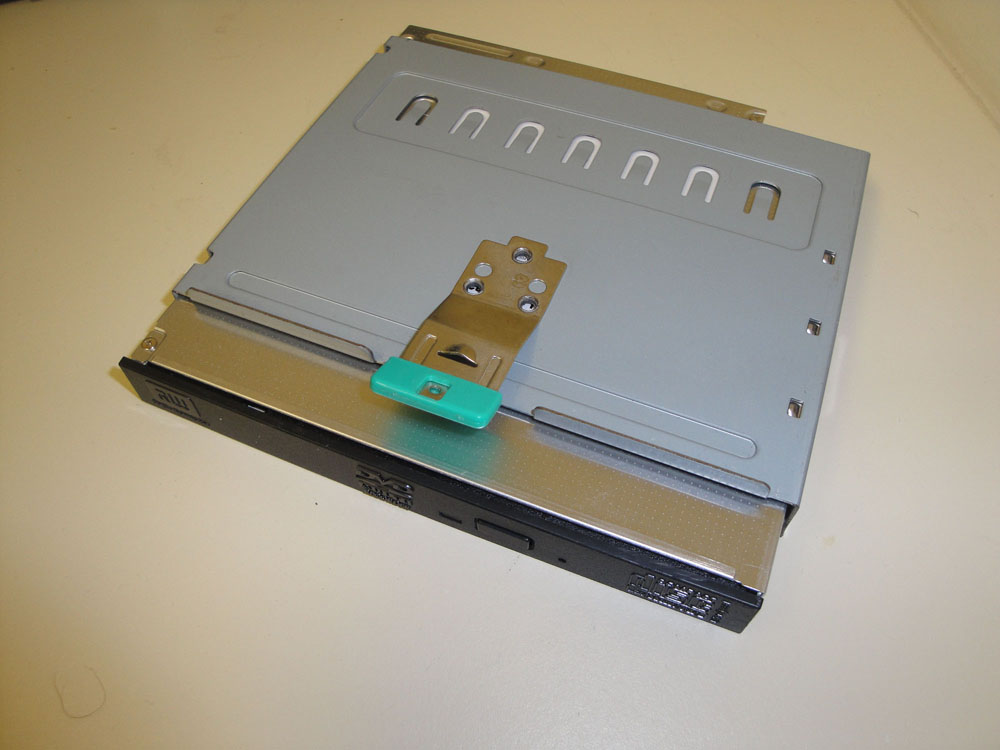 Disk drive in removable tray |
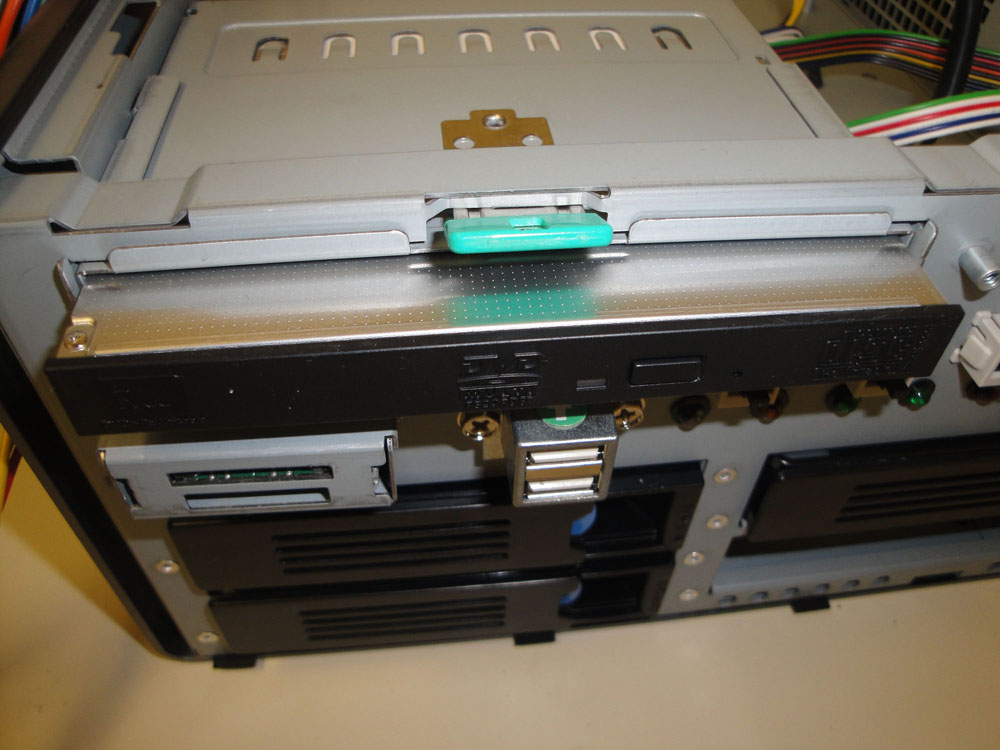 Front of the chassis with the optical drive installed |
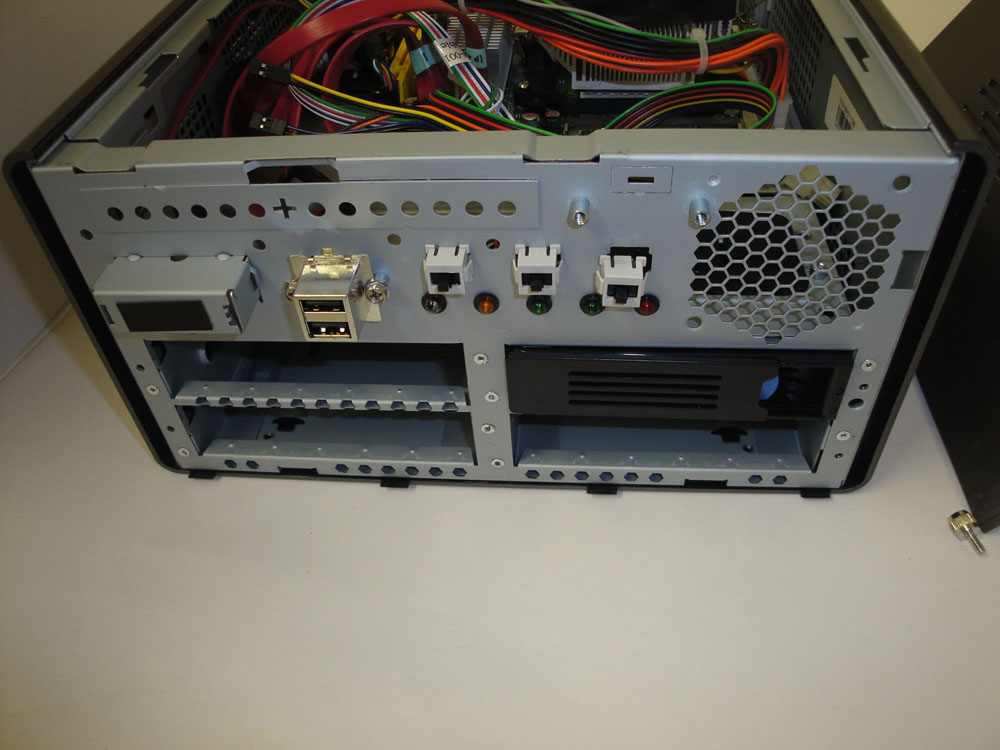
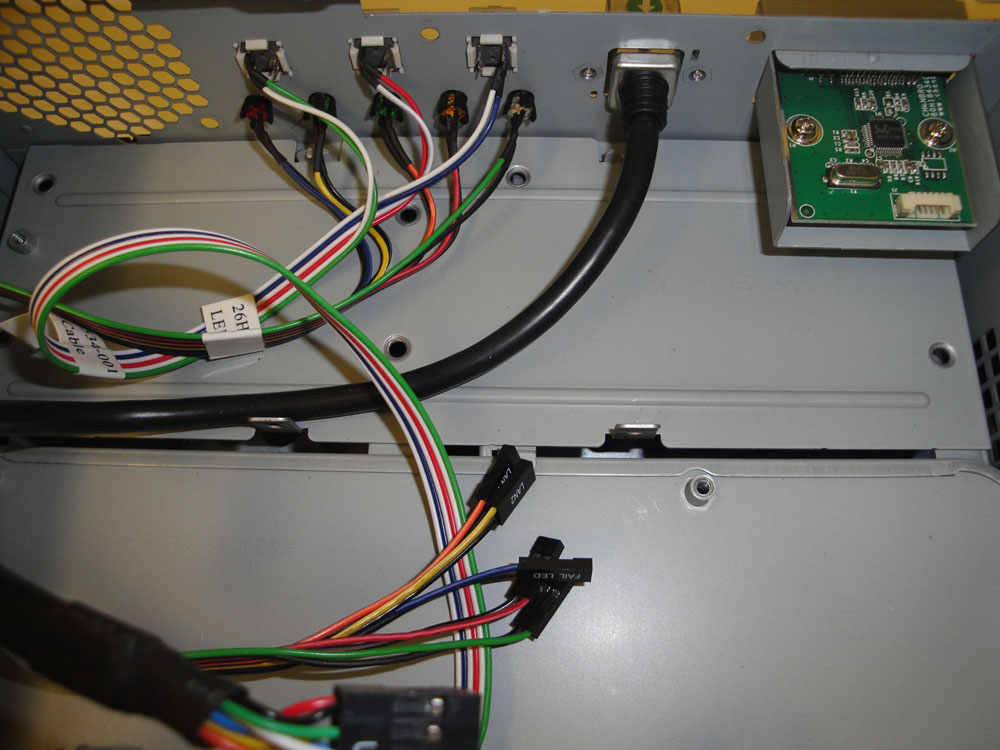
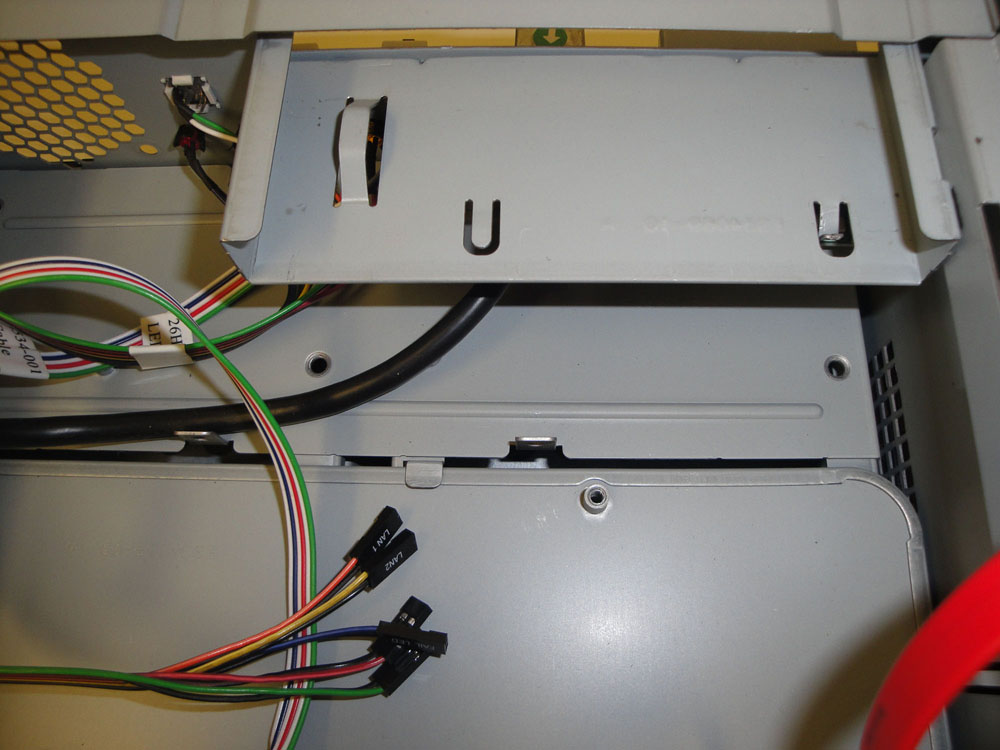
Once the hard drives, the optical drive and the motherboard have been secured everything else is plug and play. Thanks to Chenbro, the cables are well managed.

[…] Chenboro ES34169 mITX Sever Chassis @ TechwareLabs […]
[…] to Mainstream GamersKitGuru takes on My Kingdom For The Princess (iPad)TechwareLabs goes inside the Chenboro ES34169 mITX Sever ChassisTrustedReviews examines the Epson Aculaser C4200DN TechRadar chills out with the Titan Fenrir […]
[…] Chenboro ES34169 mITX Sever Chassis @ TechwareLabs […]
[…] Chenboro ES34169 mITX Sever Chassis @ TechwareLabs […]
[…] Chenboro ES34169 mITX Sever Chassis @ TechwareLabs […]
[…] techwarelabs checks out the Chenboro ES34169 mITX Sever Chassis […]
[…] This post was mentioned on Twitter by ChrisTWL and others. ChrisTWL said: Review: Chenboro ES34169 mITX Sever Chassis – http://www.techwarelabs.com/chenboro-es34169-mitx-sever-chassis/ […]