Installation
 |
 |
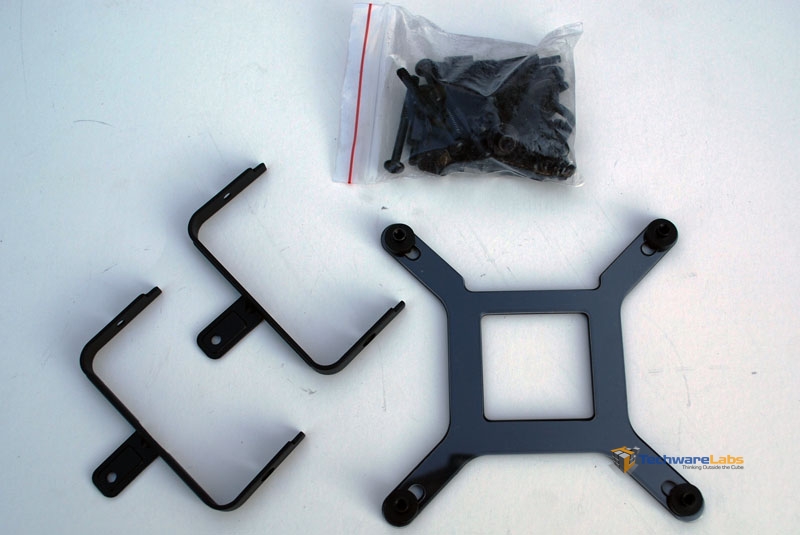
The mounting system for the H100 is extremely simple. For Intel you use the included backplate and just screw it down. For AMD you use the stock backplate and the stock plastic socket retainer and attach the cooler with small hooks. Hopefully you didn’t throw away or lose that retainer since the majority of coolers require it to be removed.
 |
 |
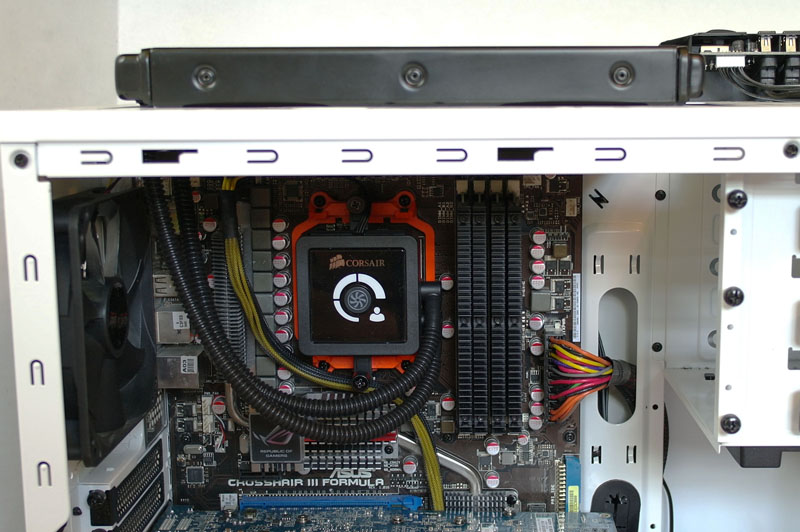
| Radiator installed outside. | Radiator installed inside. |
Installing the H100 in my NZXT Phantom 410 was fairly painless. The degree of difficulty is going to be completely based on your case. Even in a large mid-tower such as the 410, installing the massive radiator can be tricky. In order to get it to fit, the radiator and fans have to be “split” between the top of the case. Attempting the install the radiator inside the case leaves no room for the fans. Luckily the Phantom 410 has a cover over the top so the radiator is still invisible from outside.
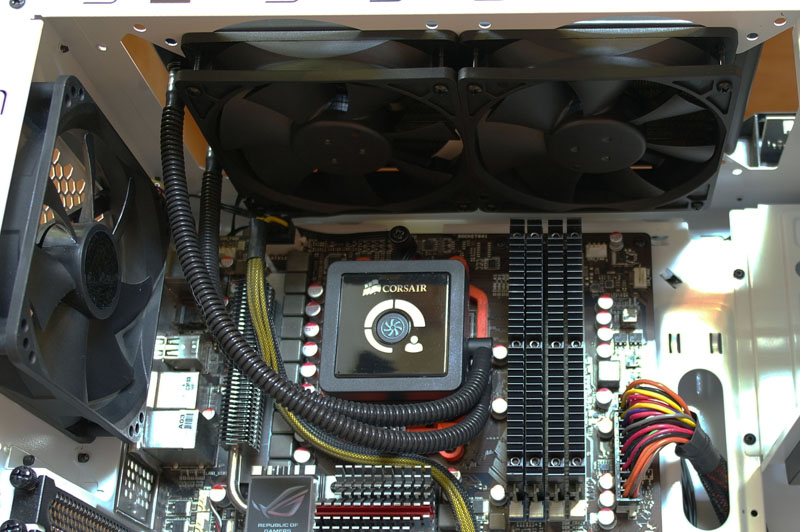 |
A push/pull setup will most likely not be possible in a mid-tower case, and a squeeze even in a full-tower. If you plan on buying this cooler just take some measurements and figure out if/how it is going to fit in your case.
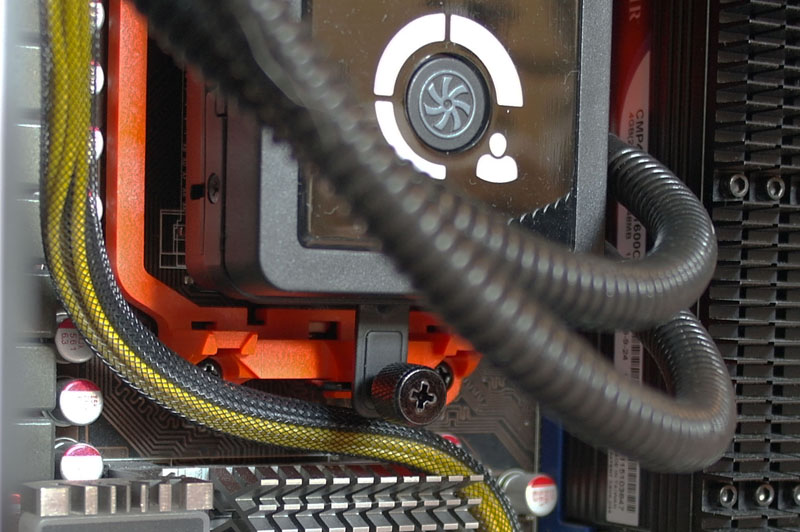
One issue I ran into was that the tubing is extremely stiff. The way it comes bent in the package is the only way it is really willing to be. This also limits the ways you can mount the radiator in the case. It only wants to be installed in the top with the tubes at the back. Flipping it over to make the tubes at the front is possible but you have to force it and the hoses make all sorts of crazy bends.

[…] Corsair H100 CPU Water Cooler Review @ TechwareLabs […]
[…] Corsair H100 CPU Water Cooler Review @ TechwareLabs […]
[…] Corsair H100 CPU Water Cooler Review @ TechwareLabs […]
[…] Corsair H100 CPU Water Cooler Review @ TechwareLabs […]