 |
Introduction
It is well known in the computer enthusiast circle that Lian Li makes some of the best cases in the business. They are known for their stylish looks, ease of use, and quality construction. So when I heard we were getting their new mini-ITX case, the PC-TU200, I was excited. With the push for lower power draw, high performance chips right now, we are seeing more and more small form factor products popping up. We will see if the PC-TU200 has what it takes to shine in this competitive market.
 |
Features
- Mobility and Transport – has a rugged design and a flip up carrying handle for easy transport
- Hot Swap HDD Cage
- Easy access front panel USB 3.0, e-SATA, and audio.
- Full tool-less design.
- VGA card support column
- Removable air filter
- Accepts graphics cards up to 300mm.
- Accepts standard ATX PSU.
Specifications
| Case Type | Mini Tower Chassis |
| Dimensions | (W) 210mm x (H) 320mm x (D) 360mm |
| Construction Material | Aluminum |
| Weight | 3.15 kg |
| 5.25″ External Drive Bays | 1 |
| 3.5″ External Drive Bays | None |
| HDD Bays | 4 x 3.5″ 3 x 2.5″ (two in 3.5″ bay) |
| Expansion Slots | 2 |
| Motherboard Compatibility | Mini-ITX / Mini-DTX |
| System Fans | 1 x 140mm (front) |
| I/O Ports | e-SATA / 2 x USB 3.0 / HD Audio |
| Maximum Compatibility | VGA Card Length: 300mmPSU Length: 140mmCPU Cooler height: 80mm |
–
Packaging
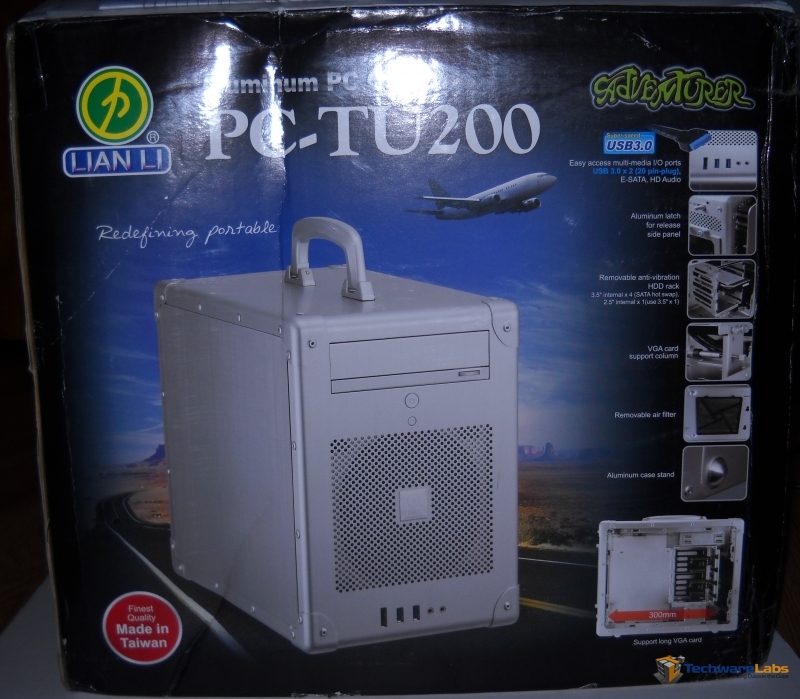 |
The PC-TU200 comes in a pretty standard looking box. On the front is a picture of the silver version of the case and a few features and on the side is a list of specs.
Exterior
 |
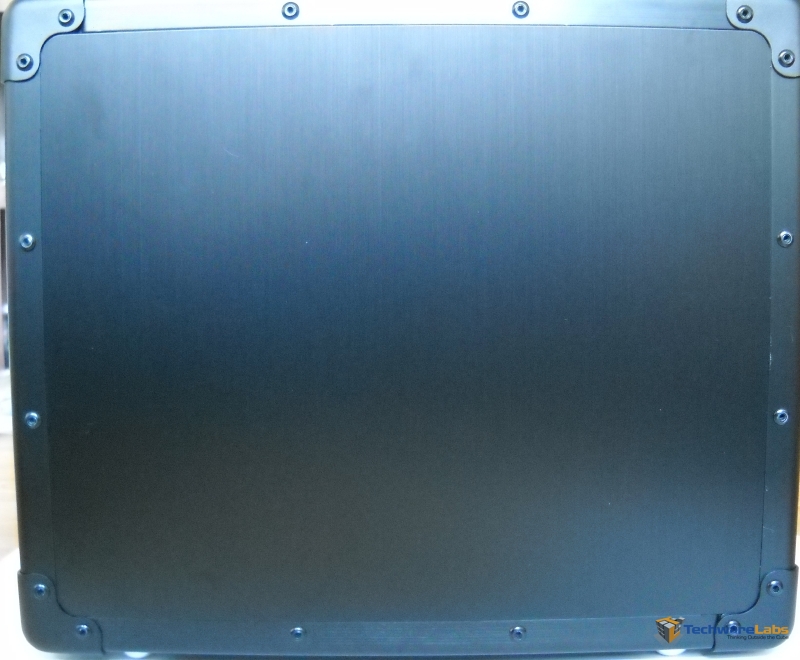 |
The exterior of the PC-TU200 is made up of beautiful black brushed aluminum. The front, top, and part of the sides are made out of one solid piece of aluminum. The corners are reinforced with hard plastic and everything is held together with large, prominent rivets, giving the case a rugged look. The black brushed aluminum really looks fantastic and, unlike other “rugged style” cases out there, keeps it classy and modest.
 |
 |
Here we see the top handle. It is made of a very thick and heavy plastic with each side connected to a bracket with a thick metal rod which is then bolted to the case. It feels very solid and as if it would easily carry a full system.
Overall, the construction feels solid but stays very light thanks to the aluminum. When you pick up the PC-TU200 you really get a sense that you could bring it to lan parties and not worry too much if someone knocks into it or drops something on it.
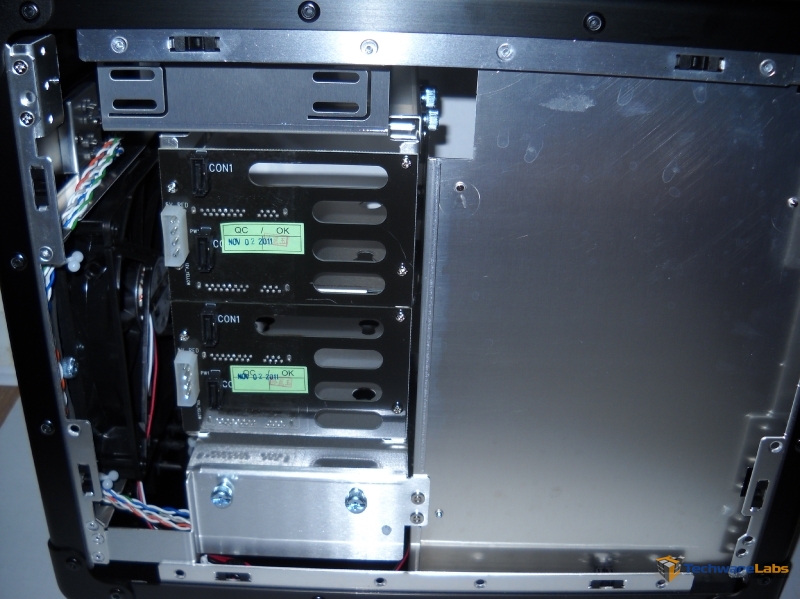
Hard Drive Cage
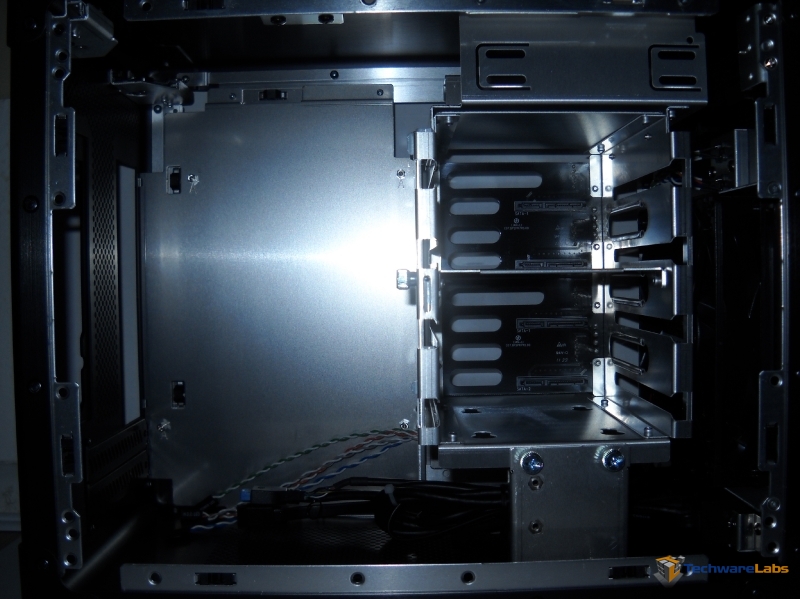 |
 |
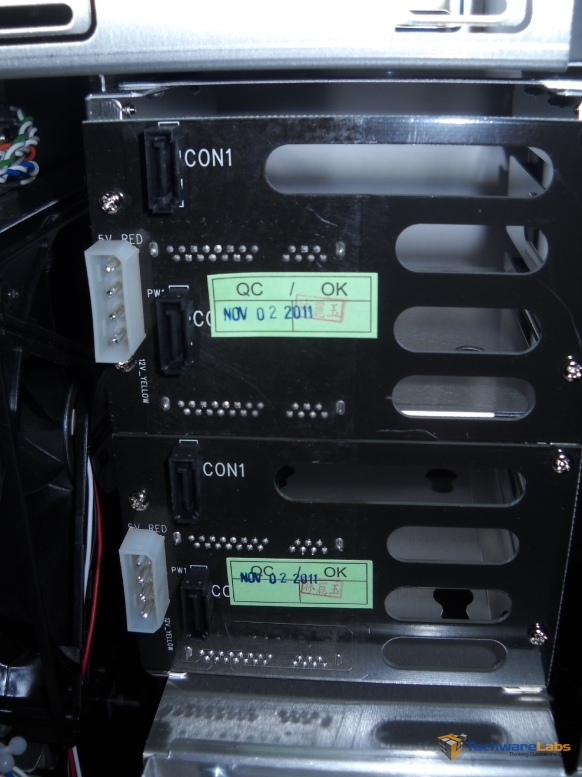
The HDD cage has four drive bays,two of which accept 2.5″ drives. In the back of each bay you can see the SATA plug-ins which allow for easy hot-swapping.
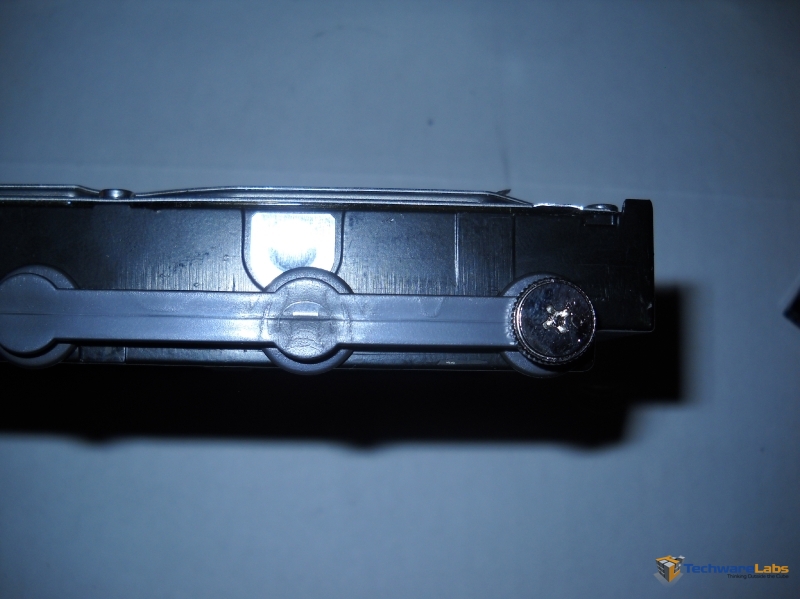 |
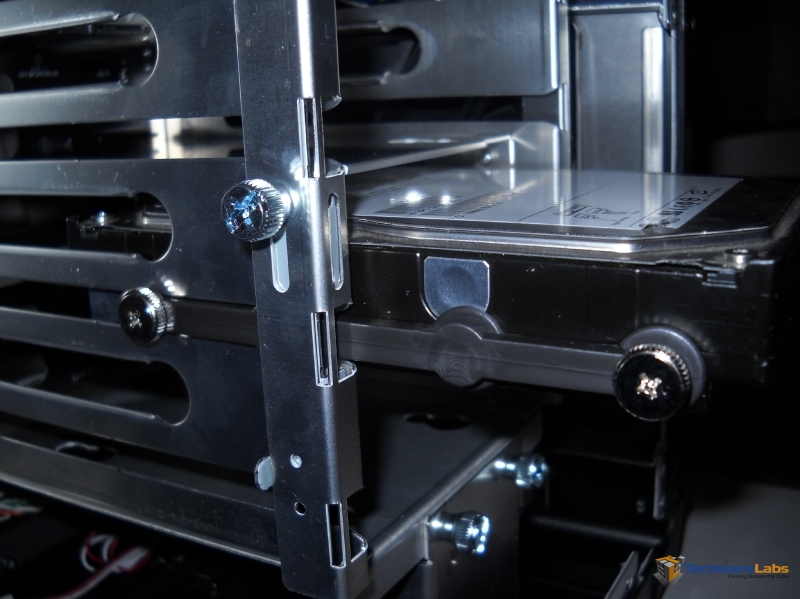 |
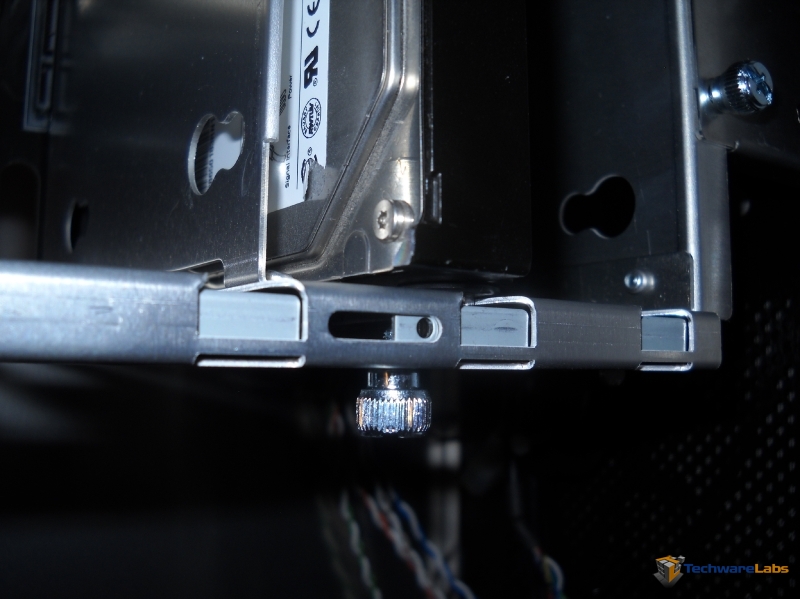 |
In the top left picture we see the tool-less hard drive rail. The rail is made of a hard plastic that easily attaches to the HDD with small thumbscrews. To the right of it we see the hard drive being installed. Lian Li could not have made this any easier for the consumer. You can go from bare drive to fully installed and ready to go in about a minute. The bottom picture shows the locking system to hold the drives tight and keep them from sliding around when you are carrying the case.
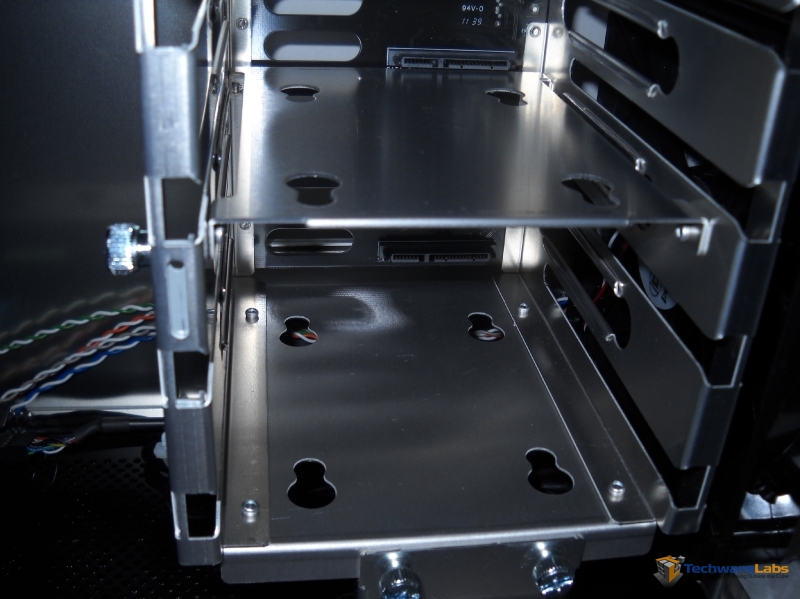
 |
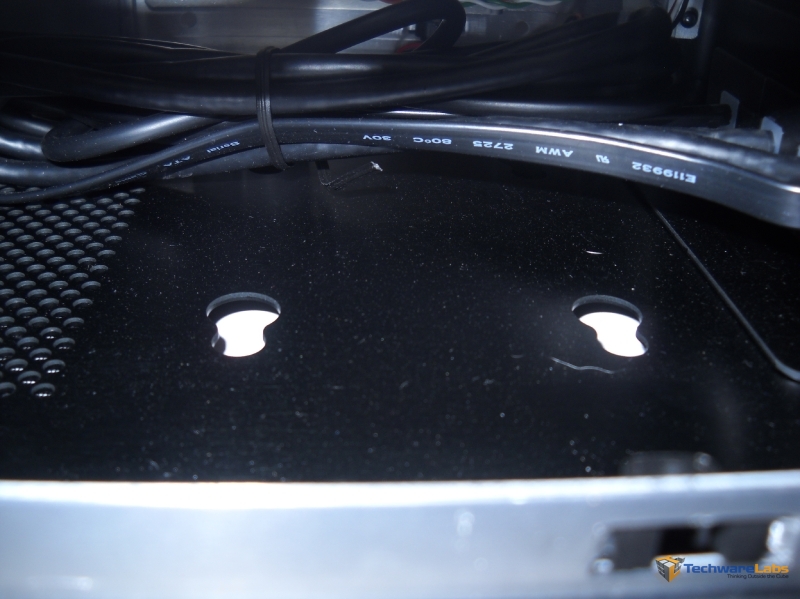 |
On the left we have the back of the HDD cage. There is a SATA plug for each drive and a standard molex to feed power to each pair of drives. On the right is a 2.5″ install location located underneath the hard drive cage. I like this because it allows you to have your main SSD out of the way, freeing up the entire cage for large storage and hot swaps.
Overall I really liked the hard drive cage Lian Li designed for this case. Aside from the screws for the 2.5″ drive, there are absolutely no tools required. And unlike other brands tool-less designs which tend to be clunky and annoying, Lian Li’s is intuitive and very easy to use. Furthermore, the hot swap feature not only allows for quick drive changing but also helps to keep cable clutter minimized by running all the drive cables in the back of the case.One thing I did not like about the HDD cage was that while it was fully removable, it is held in place with eight thumbscrews which makes its removal time consuming, going against all of its other time saving features.
5.25″ Bay
 |
 |
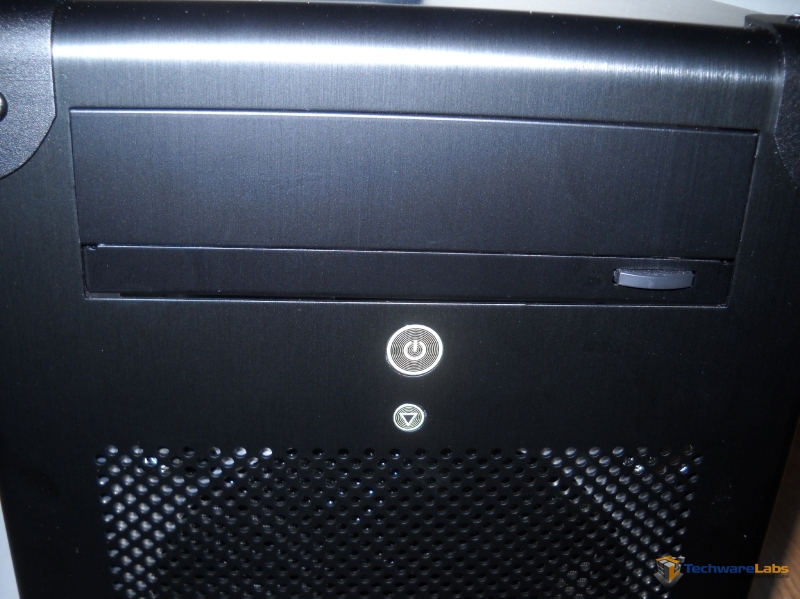
The 5.25″ also has a nice design. In the left picture you can see the front of the case with the optical drive cover installed and on the right with it uninstalled, ready for a drive. Having the cover helps to keep the flow of the whole case and keeps and ugly drive from sticking out like a sore thumb. Installing an optical drive is fairly simple but does require tools unlike the hard drives.
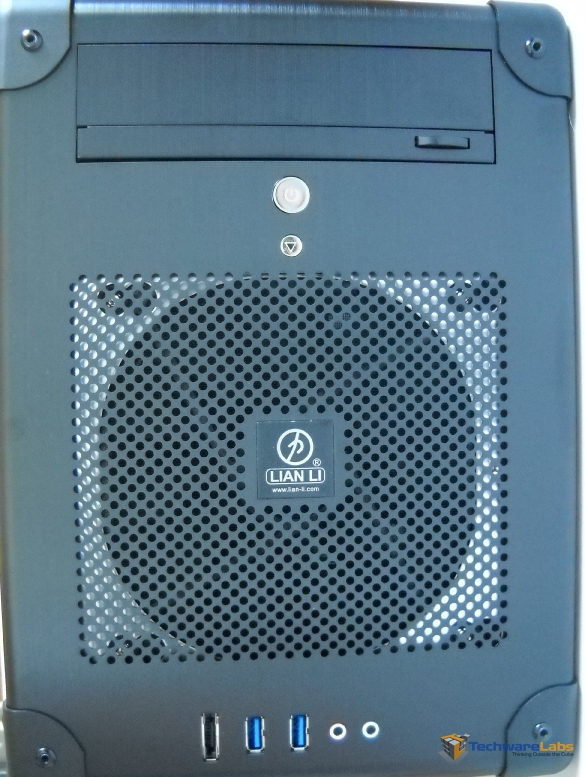
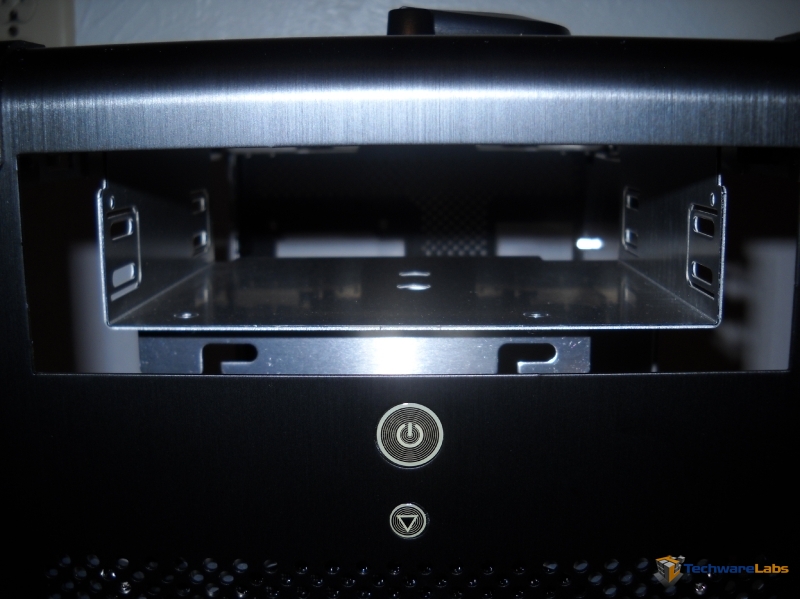
Front Side
As we have already seen, the outside front of the case is pretty simple with just I/O ports, optical drive cover, power and reset buttons, and the large fan grill.
 |
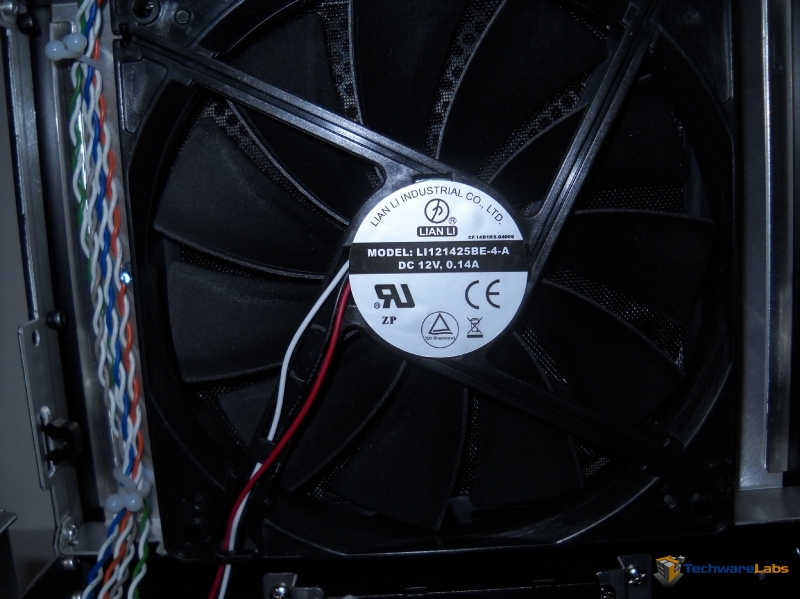 |
Here we see the fan which is located on the front panel inside the case. On the left is with the hdd cage installed and on the right uninstalled. Lian Li included a large 140mm intake fan in the PC-TU200 which is capable of pushing a large amount of air while still keeping quiet. The fan has a dust filter installed on it and is easily removable for cleaning.
Around Back and Underneath
 |
 |
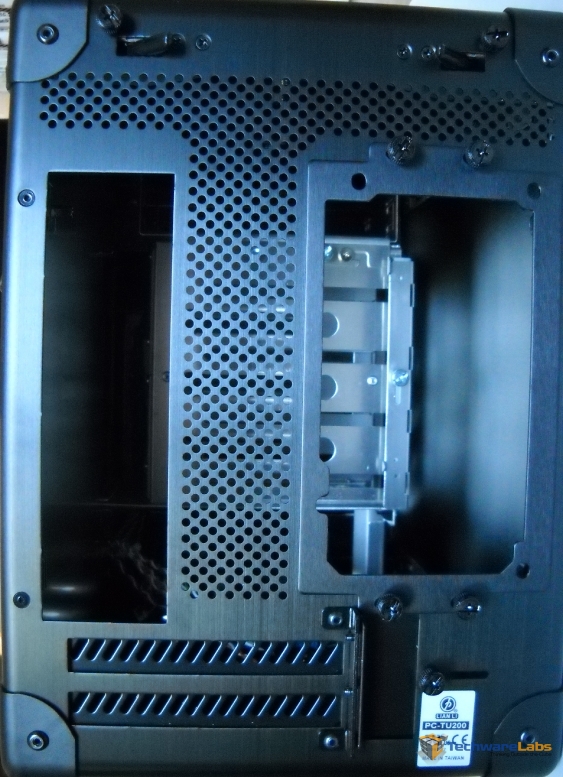
From the back we can see that there are two expansion slots available. You can also get a good look at the motherboard and power supply layout from this angle. You can see that the PSU is mounted above the motherboard which saves space but also limits cpu cooler height pretty significantly. Also on the back we can see the small levers at the top that are used for opening the side panels. It works by removing the thumbscrew and then simply pushing the little lever to the side. This then pops the side of the case off. No sliding or hinges are involved like on most cases. I thought this design feature was very neat but it doesn’t give quite as good a seal as a standard side panel. You can see and feel the gap between the panels when everything is together and some silver from inside the case shines through.
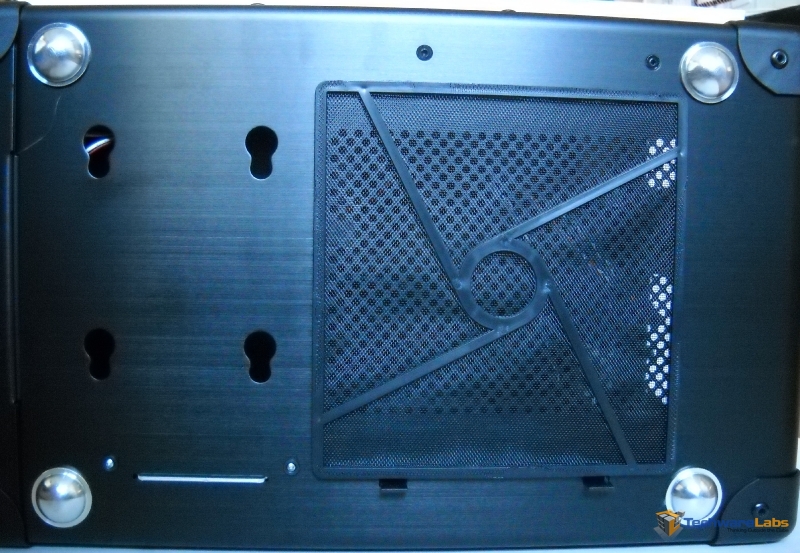
On the bottom we get a look at the large air intake and its removable dust filter. We can also see the aluminum case feet.
Behind the Tray
 |
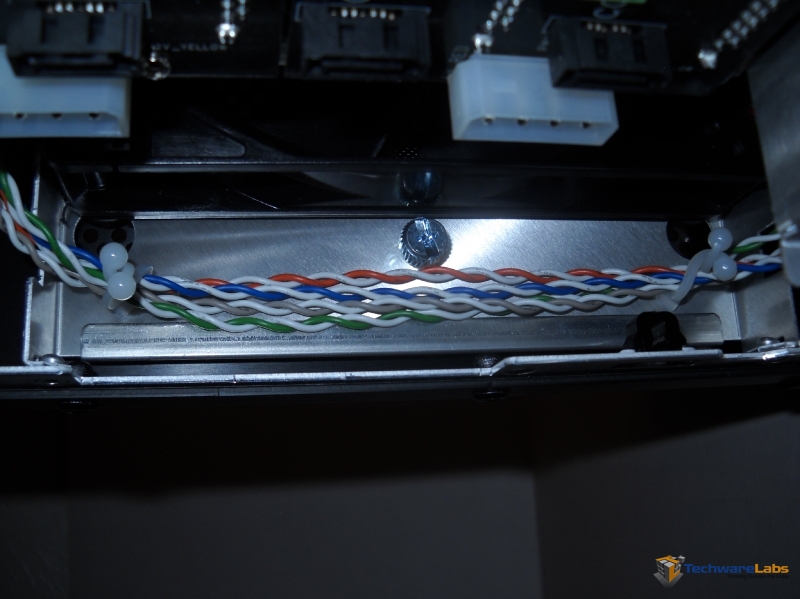 |
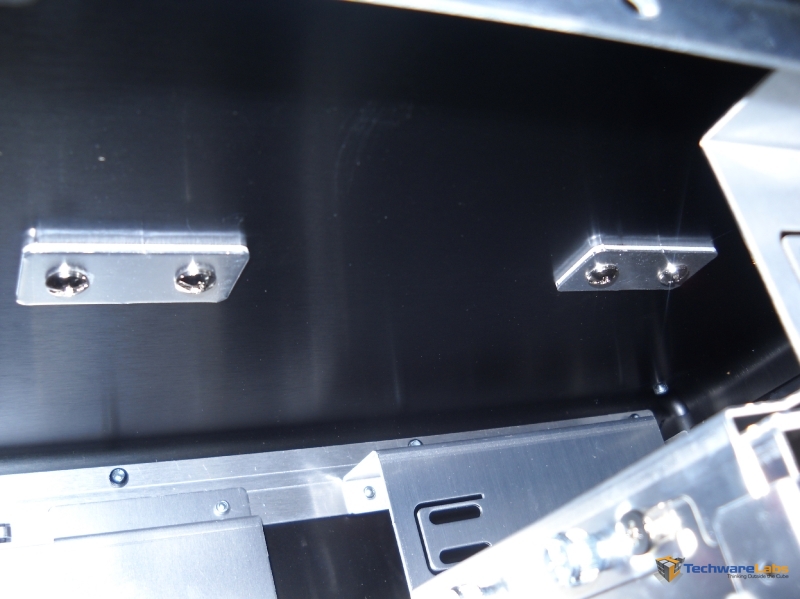
We can see here what the case looks like with the right side panel off. We have about a half inch behind the tray for routing cables and, more importantly, easy access to the hard drive connections and fan. In the right side picture you can see the available cable management hold-downs. They are nice to have but with a case this small it is very difficult to route cables cleanly.
Installation
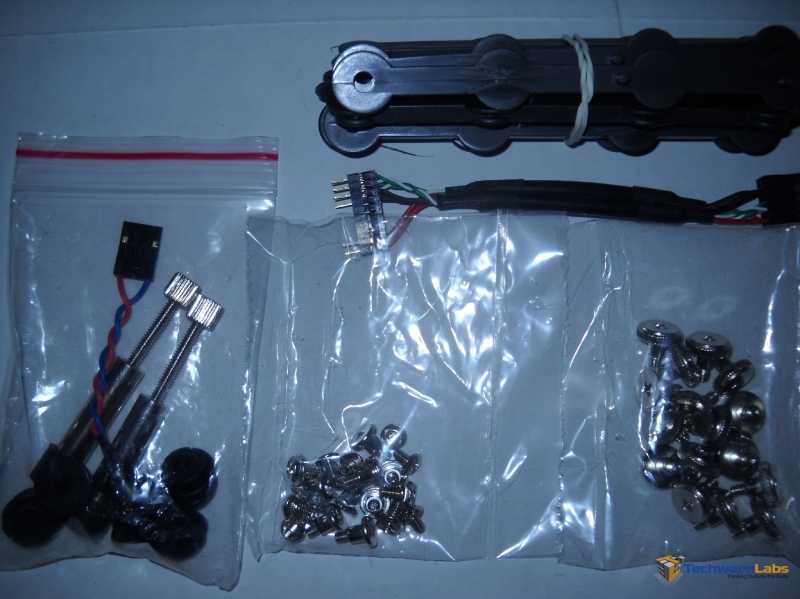 |
Before start the installation we should take a look at what Lian Li includes in the way of screws, manuals, etc. Included with the case are a small instruction pamphlet, an ad for other Lian Li products, and a small box that holds all of the accessories. In the box are rails for mounting hard drives, graphics card posts, and enough screws for 4 3.5″ drives, two 2.5″ drives, the motherboard, a 5.25″ drive, and the PSU. Also included are small rubber anti-vibration stand-offs for 2.5″ drives.
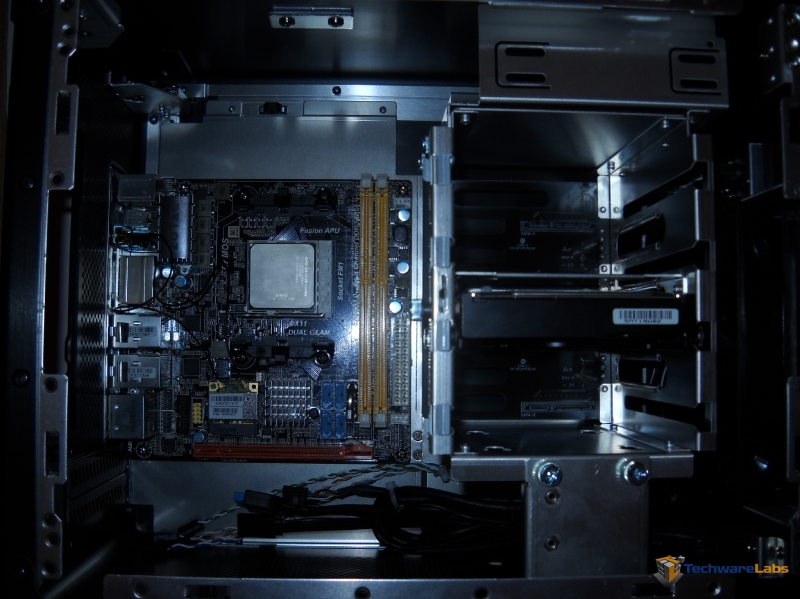 |
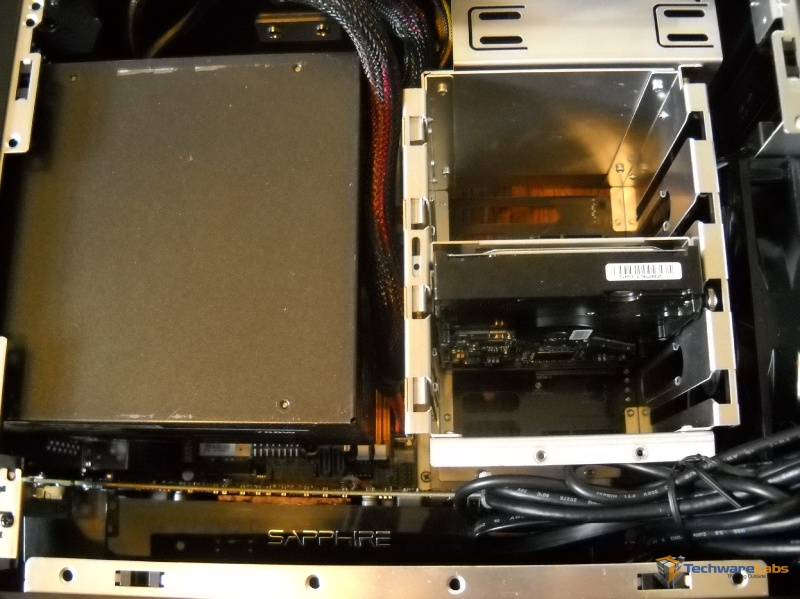 |
On the left we see what it looks like with the motherboard installed. You can get an idea of the space you will be working with if you install a mini-ITX board. On the right is everything fully installed. As you can see there is not much room to play with. The entire installation process was tricky to say the least simply because of the small form factor.
Lian Li’s installation guide recommends attaching the PSU to its mounting bracket outside of the case and then sliding the entire assembly in. However, when I attempted this, it would not slide in and ended up scratching the paint on the power supply. What I had to do instead was remove the HDD cage and install the PSU from the inside. This posed a few problems, namely difficulty plugging in wires and installing the graphics card.
With the graphics card, HDD cage, and PSU installed, there is very little room to play with. You will not be able to access your motherboard at all without removing the power supply, which in my case involved removing the HDD cage as well. When dealing with this case, you must pay very close attention that everything is being plugged in and installed properly or else you may have to break everything back apart.
|
Final Thoughts
Pros:
- Quality construction
- Good looks
- Well designed
Cons:
- Very tight spacing
- Price
Overall, I was pleased with the PC-TU200. It looks great, is well built, and is well designed. The only major flaw that really stood out was its lack of space after everything is installed which made making adjustments after the fact extremely difficult. Also, at $180, it is very pricey, especially for a small form factor case. But if you are looking for a well built, high quality small form factor case that will last and don’t mind paying the premium that comes with all of that, then this may be the case you are looking for.


[…] TechwareLabs […]
[…] -NZXT Phantom 410 @ techPowerUp!- Anidees AI6 @ PCkoloji (tr) – NZXT Phantom 410 @ Vortez – NZXT Tempest 410 @ Cowcotland (fr) – Raidmax Blade @ Ninja Lane– Lian Li PC-Q25 @ TechSpot – Lian Li PC-TU200 @ Techware Labs […]
[…] Lian Li PC-TU200 Case Review @ TechwareLabs […]
[…] Lian Li PC-TU200 Case Review @ TechwareLabs […]
[…] item on the Hardware’s Farm :Lian Li PC-Q25, the Mini ITX case to do anything? @ cowcotland Lian Li PC-TU200 Case Review @ TechwareLabs Garmin Nuvi 50 Review @ TechReviewSource.com Sapphire Radeon HD 6970 FleX […]
[…] Lian Li PC-TU200 Case Review @ TechwareLabs Bitfenix Merc Alpha @ TechReaction CaseLabs MAGNUM M8 @ techPowerUp Raidmax Blade Case Review @ Ninjalane BitFenix Outlaw PC Case @ Pro-Clockers PC Power & Cooling Silencer MK III 400 W @ techPowerUp Silverstone Treasure TS04 2.5" USB 3.0 Drive Enclosure Review @ circuitREMIX QNAP TS-419P II NAS Network Storage Server @ Benchmark Reviews AC RYAN VEOLO Android Media Streamer @ KitGuru CM Storm Xornet 2000 DPI Gaming Mouse Review @ eTeknix Tt eSPORTS Meka Mechanical Gaming Keyboard Review @ TechwareLabs Synology DiskStation DS212j NAS Server Review @ Real World Labs Tags: antec, samsung, sapphire […]