
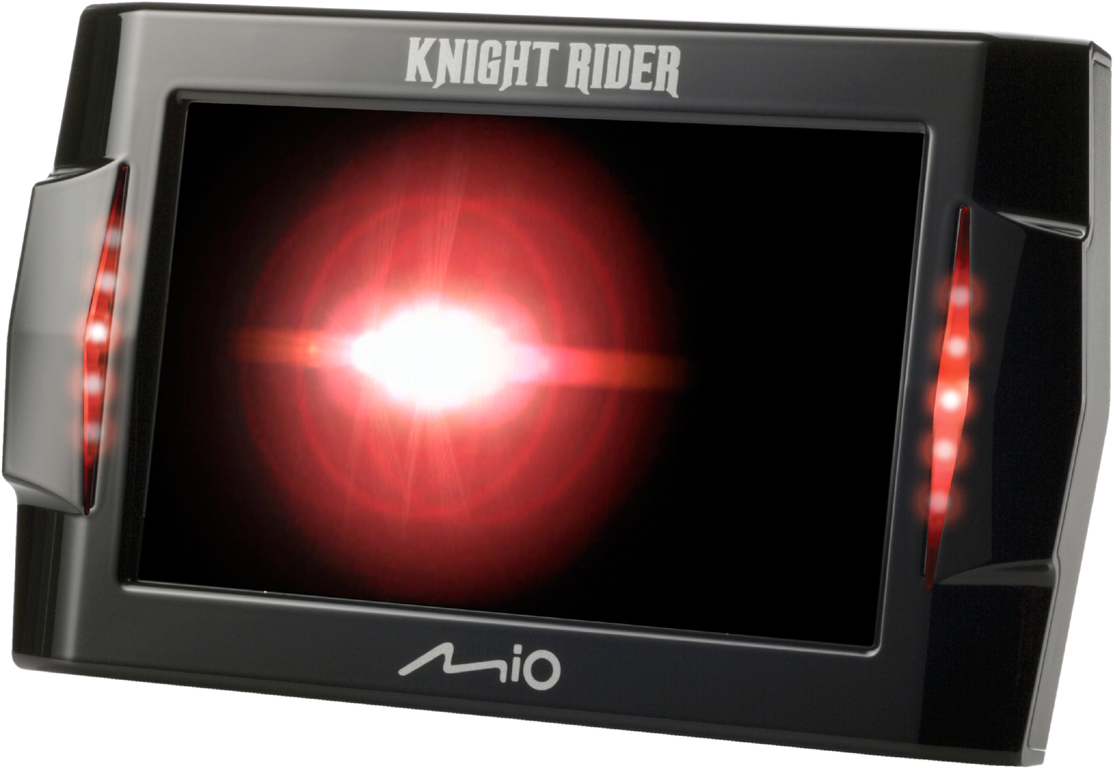
When we first turn the Mio™ Knight Rider™ GPS on, we are greeted with a short video sequence that shows the K.I.T.T. scanner running across the screen with sound effects. Lights located on the side of the Knight Rider™ GPS also flash during sounds. The video sequence can be seen in the image below:
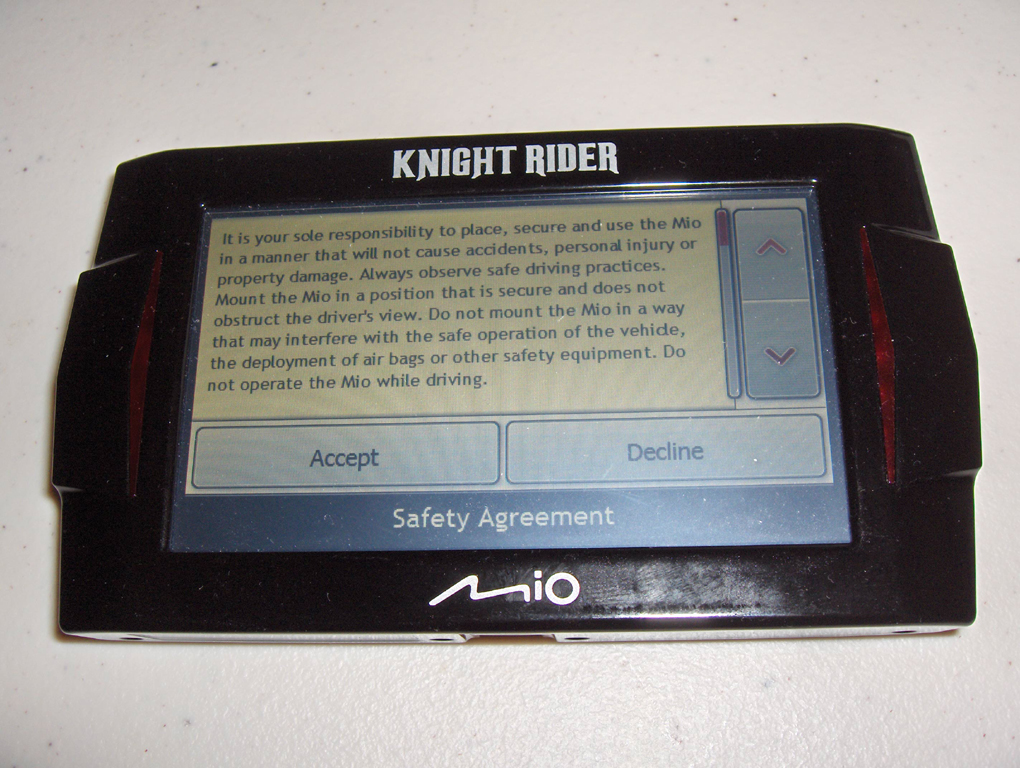
K.I.T.T. then comes on and says “<insert name here>, where would you like to go today?” We are then greeted with the initial agreement screen, which tells us not to play with the GPS while driving (as much as we’d love to). We push the “Accept” button.
The maps are then loaded as seen in the picture below, and we’re finally taken to the map screen.
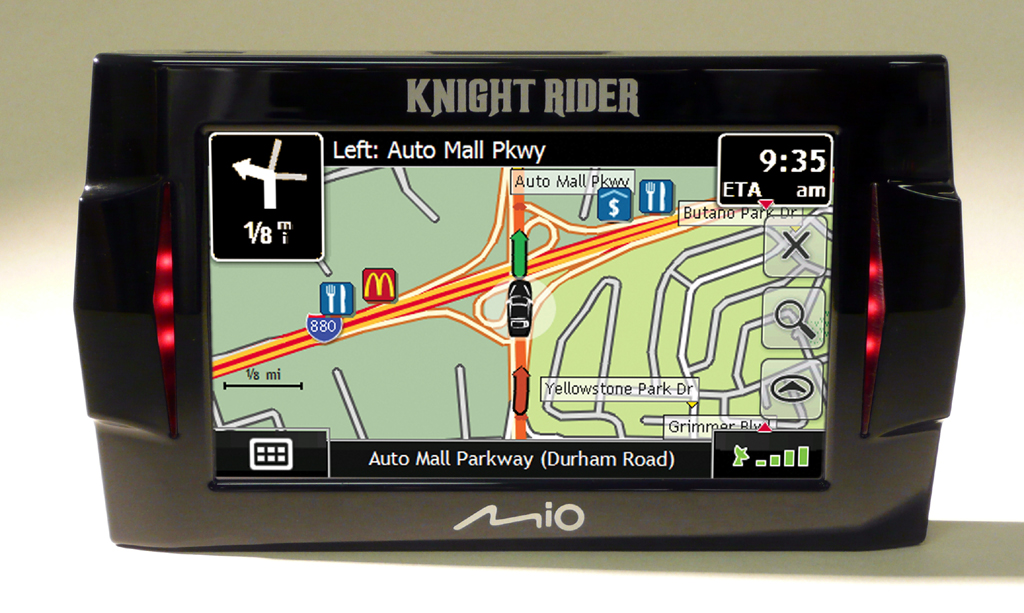
Once the map screen has loaded, we can visit the menu whenever we want by pressing the button in the bottom left corner of the screen. The menu screen consists of two pages:
Page 1:
- My Home
- Favorites
- Recents
- Map
- Address
- POIs
Page 2:
- Quick POI for restaurants
- Quick POI for Hospital
- Quick POI for gas
- Preferences
- Quick POI for Tourist Attractions
- Quick POI for Parking lots
We can now use the GPS to find locations. We move on to testing.
