Layout
 |
 |
To start off, installing the Sentry 3 was just as simple as any other fan controller. I ran the cables immediately from the 5.25″ bay to the back of my case to keep everything looking tidy. I only needed 4 channels so I unplugged the last one so it wasn’t in the way.
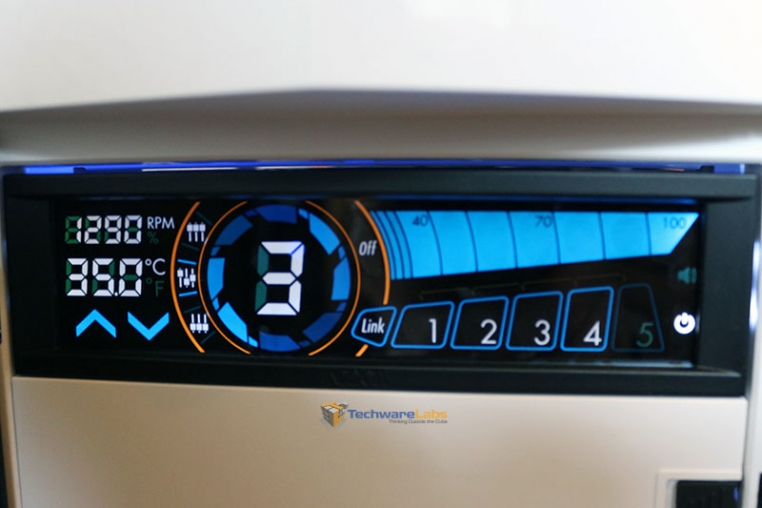
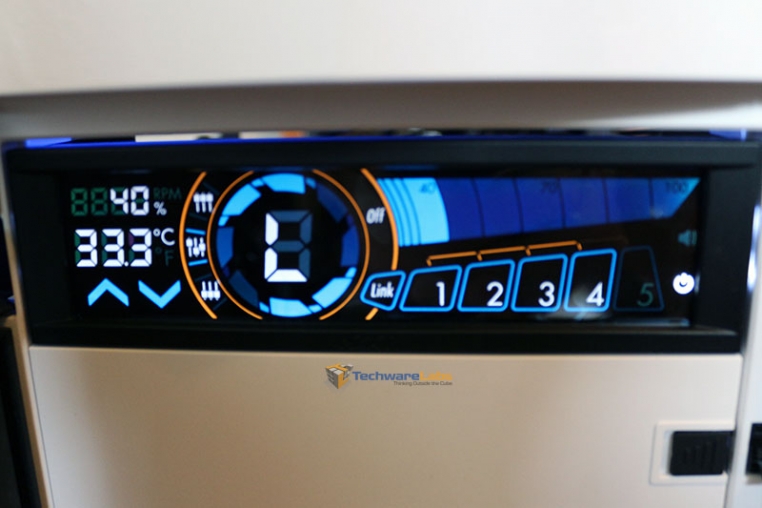
The screen layout is very intuitive, you don’t even really need the manual to figure it out. Starting from the top left we see the currently selected fans speed. If that fan is being controlled individually, it shows the RPM. If it’s linked to other fans (like in the picture on the right) it shows the percentage. One of the cool features with this controller is that you are able to selectively link multiple fans together so that they all increase/decrease at the same time. This is useful if you want to link your intake and exhaust fans, CPU cooler fans, etc.
Underneath the fan speed is your current temperature reading from the probe. I decided to put mine on the heatpipes of my GPU but you can put it on the CPU, RAM, MOSFETS, etc.
By clicking the circle in the middle you change in to the 3 different modes, performance, manual, or quiet. In the manual mode you obviously have full control over the speed of the fans but in the performance and quiet modes the fan speed is handled by the controller based on the reading from the thermal probe.
To the right of that is the “Powerslide Bar” which tells you the current percentage and allows you to adjust if in manual mode. Underneath the bar is the channel selector. If you have fans linked together they will show an orange bar above each channel. Finally to the right of the channel selector are the speaker and display switches. These allow you to mute the controller and turn off the display.
General Use
The majority of the time the controller performed perfectly fine. The layout was simple, I could easily link all of my fans and ramp them up with just one press. If you’re one of the set-it-and-forget-it types, just put the controller on either quiet or performance and let it handle the speed based on how hot the probe is getting. The touchscreen was very responsive and required just a light tap as well.
However, there are a few quirks that detracted from this otherwise very nice fan controller. First off is that you can’t manually lower the fans past 40% unless you just turn the fan off. For low-speed, quiet fans this isn’t an issue but if you are running loud fans, 40% may still be very audible. Another problem was that when you first boot the system all the fans are run at 100%. This is normal for a smart fan controller as it ensures all the fans get enough juice to start spinning before ramping back down, but the problem here is that the Sentry 3 holds them at 100% for about 30 seconds to a minute before slowly bringing them down. If you have powerful, loud fans like me, this gets really annoying at 6 AM. Lastly, when you decrease the speed of a fan from say 100% to 40% after a gaming session, the controller takes its sweet time to bring it back down, often taking 15-20 seconds to become silent again.

[…] NZXT Sentry 3 Fan Controller Review at TechwareLabs.com […]
[…] NZXT Sentry 3 Fan Controller Review @ TechwareLabs.com […]
[…] NZXT Sentry 3 Fan Controller Review @ TechwareLabs.com […]
[…] NZXT Sentry 3 Fan Controller Review @ TechwareLabs.com […]