Specifications
Interior dimensions of compartments in bag:
- Laptop – 18″ x 10.5″ x 1.5″
- Tablet – 8.5″ x 10″ x .5″
Exterior dimensions:
- 4.5″ x 13.5″ x 23″
- Weight: 3.1 lbs
Features
- Dedicated tablet compartment
- Holds up to a 16″ laptop
- Battery: 3000mAh Lithium Polymer, weight: 0.2 lbs
- Input: 12VDC, 1.2A
- Micro-USB, Mini-USB Output: 5VDC, 800mA combined
- Apple Connector Output: 5VDC, 1A
- USB Output: 5VDC, 1-2.1A
A Closer Look
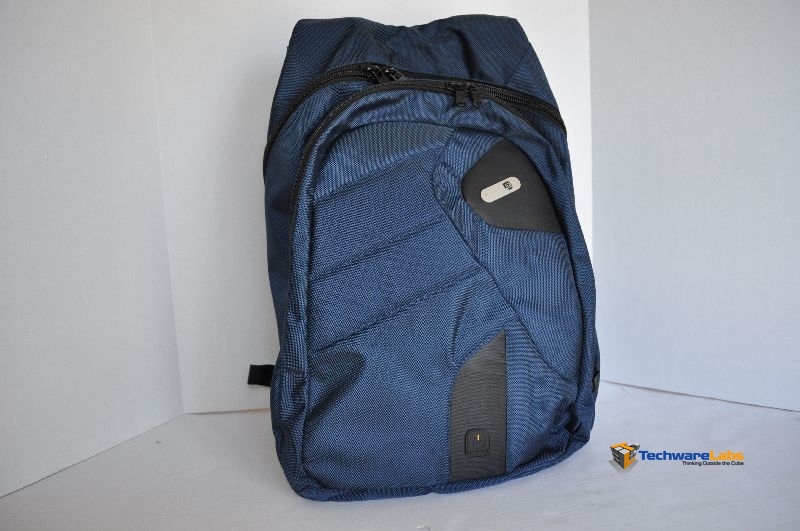
At first glance, the Powerbag Backpack looks just like any other well built backpack.
 |
 |
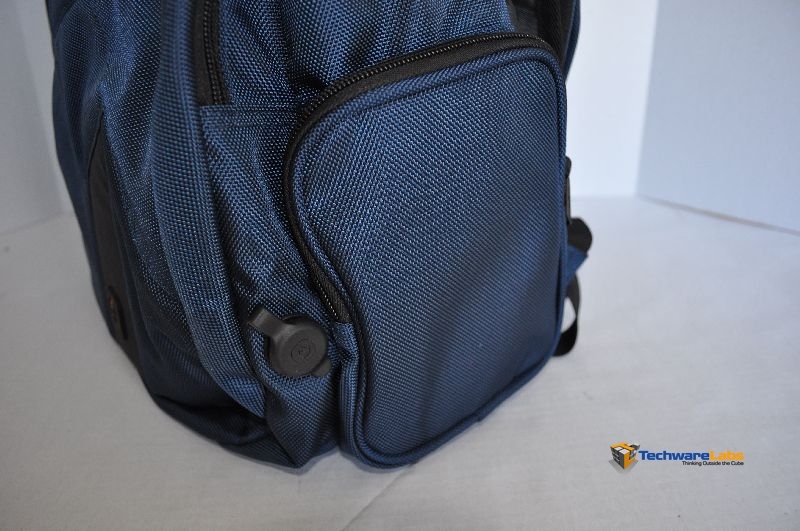
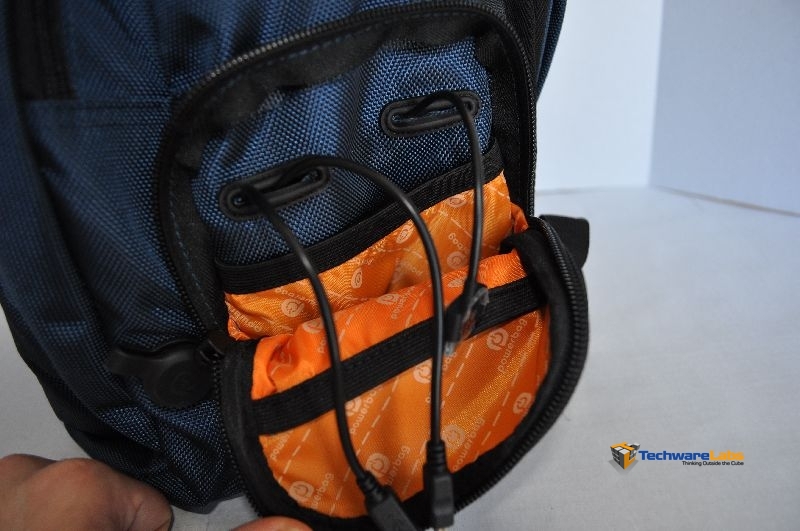
Upon closer inspection we can see where things stand out. On the side of the bag we have a water resistant charging port. This can be used to charge the removable battery while it’s still mounted in the bag. Right next to the charging port is the main charging compartment. This compartment has 3 different charging cords that can be used to charge 3 different devices at the same time. The wires routed through are a mini USB, micro USB, and proprietary iPhone connector. You simply drop your phone in the compartment and charge on the go. You wouldn’t want to use these connectors to charge a high power draw item like a tablet, as it would take too long. The standard USB port inside of the main compartment is for that.
 |
 |
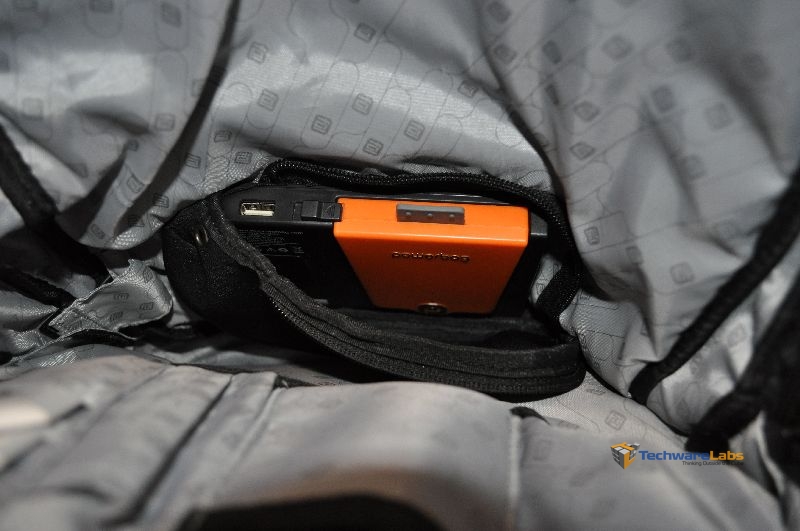
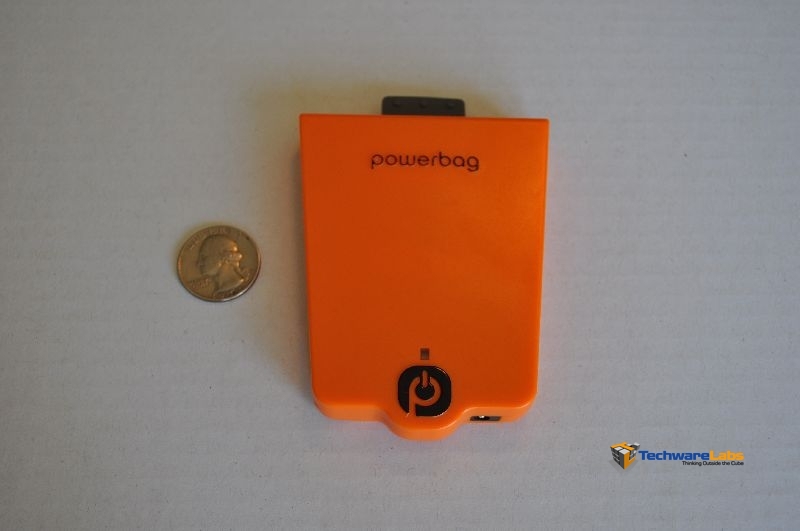
Inside of the front compartment is where the removable battery is stored. The standard model (which we are reviewing) comes with a 3000 mAh rechargeable battery, while the deluxe edition comes with a 6000 mAh battery. Below you can see a size comparison with the 3000 mAh battery and a quarter. The batteries are quite small and don’t add any noticeable weight to the backpack. The bottom of the battery also features a charge port identical to the one on the side of the bag. This way you can charge the battery while it is outside of the bag. I thought this was a nice touch that makes charging the battery much easier for the end user.
 |
 |
Concerns
While overall the design of the Powerbag Backpack is good, there are some design omissions that I feel would have made it even better.
No water bottle pouch – A side water bottle pouch is one of those things you don’t think about until you really need it. The left side of the bag (orientation when you’re wearing it) doesn’t have anything on it. It’s prime real estate for a water bottle holder. I know I would definitely have appreciated one while I was walking the show floor at CES. Instead I had to store my bottle in one of the main compartments. It made it a real hassle whenever I got thirsty.
 |
||
| Put a water bottle holder here |
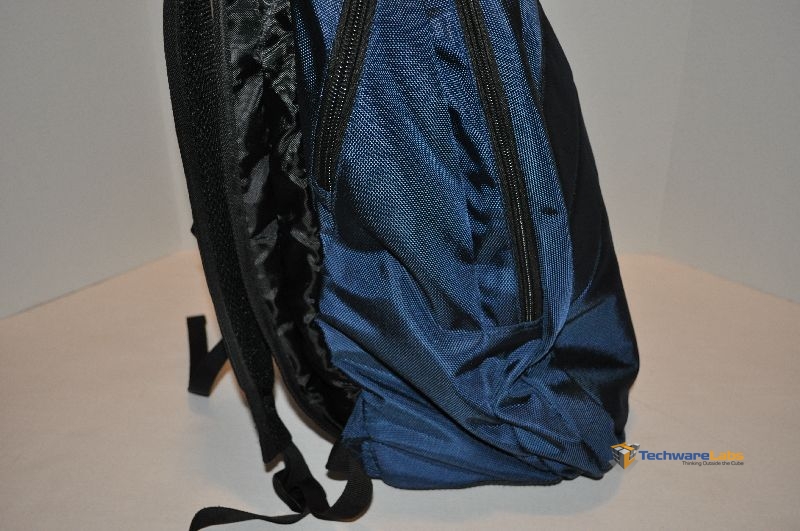
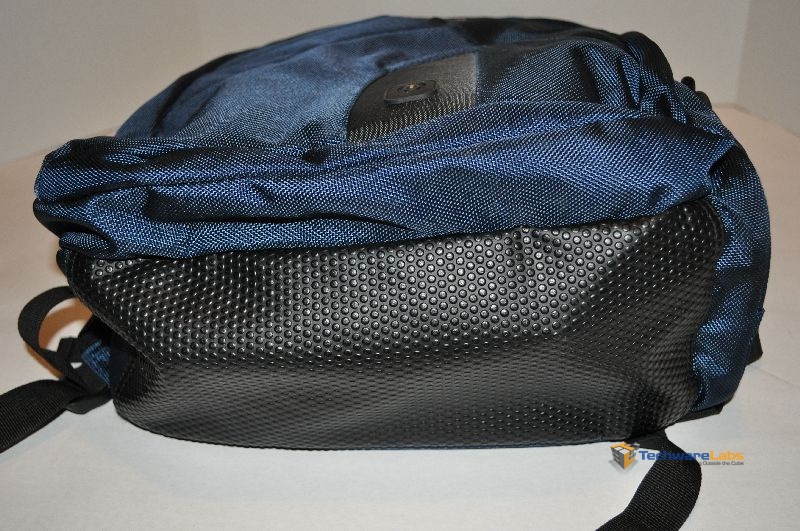
Ruggedized bottom doesn’t extend up far enough – The bottom of the backpack features an impermeable, rugged piece of material to prevent the bottom from wearing out (a common problem in backpacks after years of use). My biggest complaint is that they should extend it up a couple of inches onto the sides of the bag. With the current design, there’s a possibility of the bag pooling water in the bottom if it’s accidentally set in a puddle. That’s not a good thing for a bag designed to house electronics. If aesthetics are a concern for having rubber come up and onto the sides, they could keep a design similar to what they have now on the bottom and just extend the material up inside of the bag, in between the padded liner. This way you still have an outward, aesthetically pleasing, fabric appearance, but the water protection of a ruggedized design.
 |
||
| Current design may allow pooling of water on the bottom |

I want know the price of the bag and where came from? Thanks.