TechwareLabs Monster Build Part 1: The Gear
You want to build a new rig and naturally you want the absolute best parts you can put in to it, but your budget is holding you back. As a fellow enthusiast you are probably very familiar with this situation.
But what if money wasn’t really a concern? What if you could build your dream machine without having to make sacrifices to stay within a tight budget?
That’s the idea behind our TechwareLabs Monster Build. We take some of the best parts on the market, slap them all together, and come out with one beast of a rig.
The Purpose
The machine we are building here will play many roles. It will first and foremost be a gamer. If you are familiar with our content here you know we are big into gaming and love to see just how far we can push the graphics. Behind gaming this will also be a video/photo editing machine. As a review site we obviously do a lot of photo and video editing for reviews, interviews, etc. and we can’t be held back by a weak machine. We need something that will blast through a render and beg for more. Lastly, this machine will be a daily driver. We not only need sheer power, but reliability and low noise. With all of these things in mind, let’s check out the lineup.
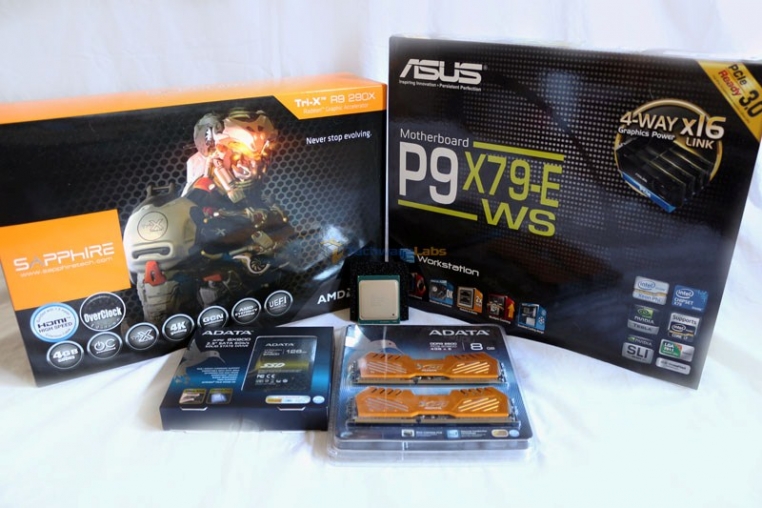
The Parts
 |
Processor
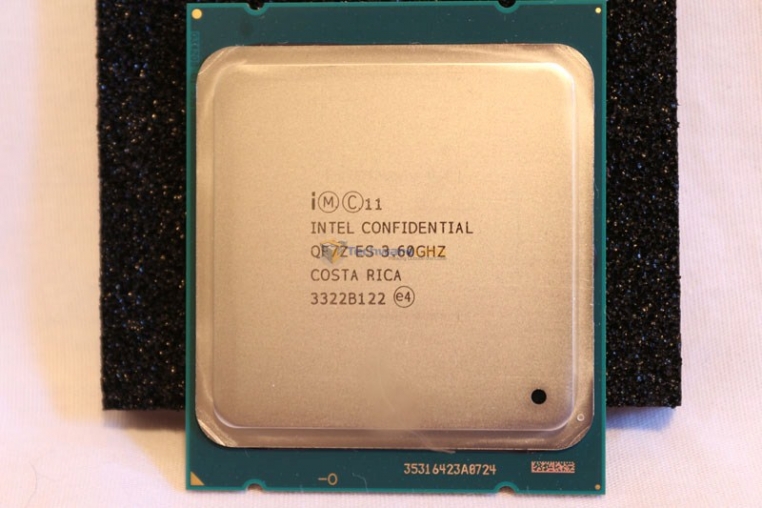 |
For the CPU we naturally went with the best on the market, the Intel 4960X. Six cores, twelve threads, 15MB of cache, and a 3.6 GHz clock should be able to hammer through any game or render we can throw at it. And because it is an extreme chip, overclocking goes without saying. We will be pushing this chip to its limits, seeing just how far we can possibly get it, then backing it off some to find that sweet balance between performance, heat, and reliability that you need in a daily machine.
Motherboard
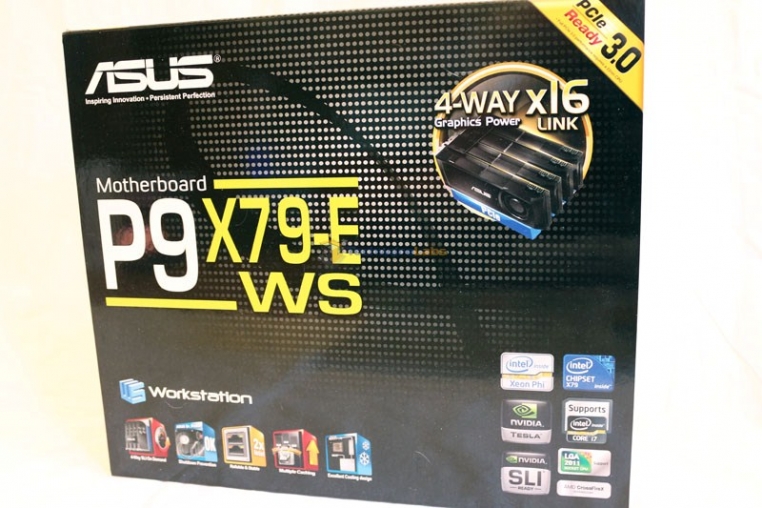 |
The best proc on the market isn’t going to get very far without a good motherboard to back it up. For this reason we went with the Asus P9 x79-E WS. While this is primarily a gaming machine, our monster build will also be used for many other applications as well. We wanted something that could offer not only the raw performance we are looking for, but also versatility, expand-ability, and stability. With support for both Core i7 and Xeon processors, 7 PCI-E slots (with 4 capable of running full x16 in quad-sli/crossfire), 10 SATA ports (6 of them 6 Gb/s), dual gigabit LAN, 12 USB ports, and a built-in power supply monitor, this motherboard has all of those bases covered and comes from one of the most well respected brands on the market, Asus.
Video Card
 |
Teaming up the best processor money can buy with a wimpy graphics card just doesn’t make any sense. So obviously we went all the way with that too, going for the Sapphire AMD R9 290x Tri-X. With 4GB of memory, a core clock of 1040 MHz out-of-the-box, and an upgraded triple fan cooler, you know this card is no joke. Paired with the 4960X, it should be able to chew up and spit out any game who dares cross its path. The Tri-X comes from Sapphire and is the flagship video card at the time.
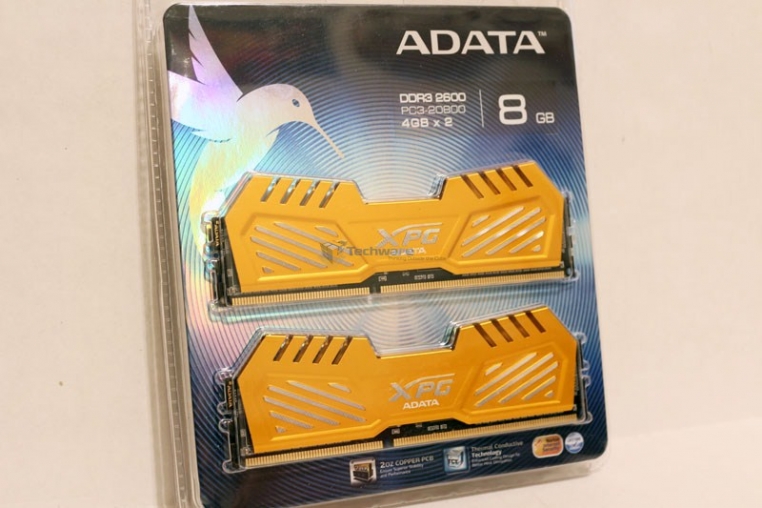
Memory and Storage
 |
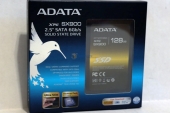 |
Going through this list you see only extremes, only the best. So why would we step it down for the memory and storage? We went to ADATA for that and picked up their XPG V2 DDR3 2600 MHz 16 GB kit along with a 128 GB SX900 SSD. Because we are going to be overclocking our processor as much as we possibly can, the last thing we want to be worried about is being held back by slow RAM. This 2600 MHz kit should be more than enough to give us all of the overhead we need to push our system.
Then there’s the SSD. All of the other parts will make it perform fast, the SSD will make it feel fast. We went with the 128GB SX900 which should provide us with all of the speed we could hope for.
Keep your eye out for Part 2: Where we will go through the assembly process, show off some cable management, and give a final overview of the system.

[…] TechwareLabs Monster Build Part 1: The Gear @ TechwareLabs.com […]
[…] TechwareLabs Monster Build Part 1: The Gear @ TechwareLabs.com […]
[…] TechwareLabs Monster Build Part 1: The Gear @ TechwareLabs.com […]
[…] TechwareLabs Monster Build Part 1: The Gear at TechwareLabs.com […]