Unboxing
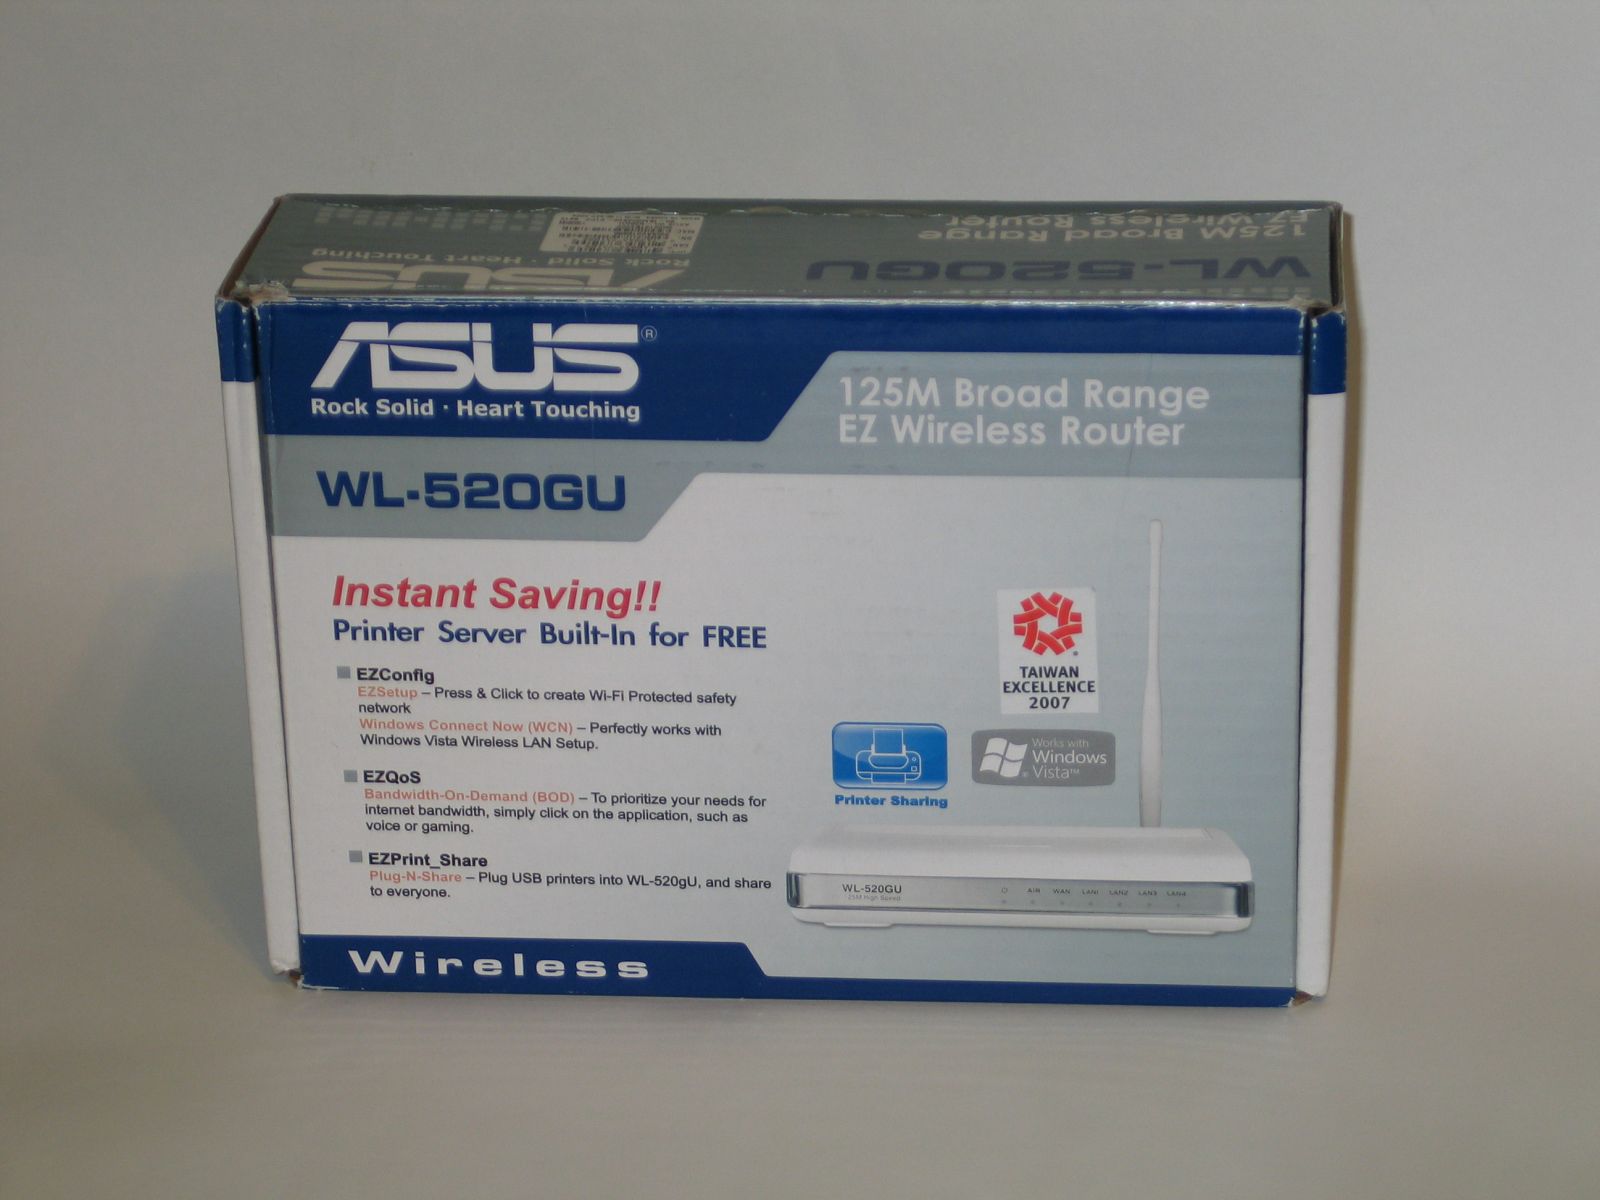
ASUS went for a fairly restrained design on the packaging here, with a tasteful blue-and-gray color scheme. The major features are prominently listed, along with a photo of the router itself.

On the back, they go into more detail about the main features, with colorful diagrams to illustrate the key concepts. As informative packaging goes, this is actually fairly good.

Getting the packing materials out of the way, we see what ASUS has included with this router. Aside from the router itself, we have the WiFi antenna, AC adaptor, setup disc and a patch cable. As markings on the cable boot indicate, this is a crossover cable, rather than the standard straight-through. In order to properly connect to your cable or DSL modem, this router needs a crossover cable in the WAN/uplink port. Normal straight-through cables must be used to connect the router to your computers, however, so make sure you know which cable is which when setting things up.

The status lights on the front are all clearly labeled, with indicators for power, wireless radio, WAN/uplink, and each of the four Ethernet ports.
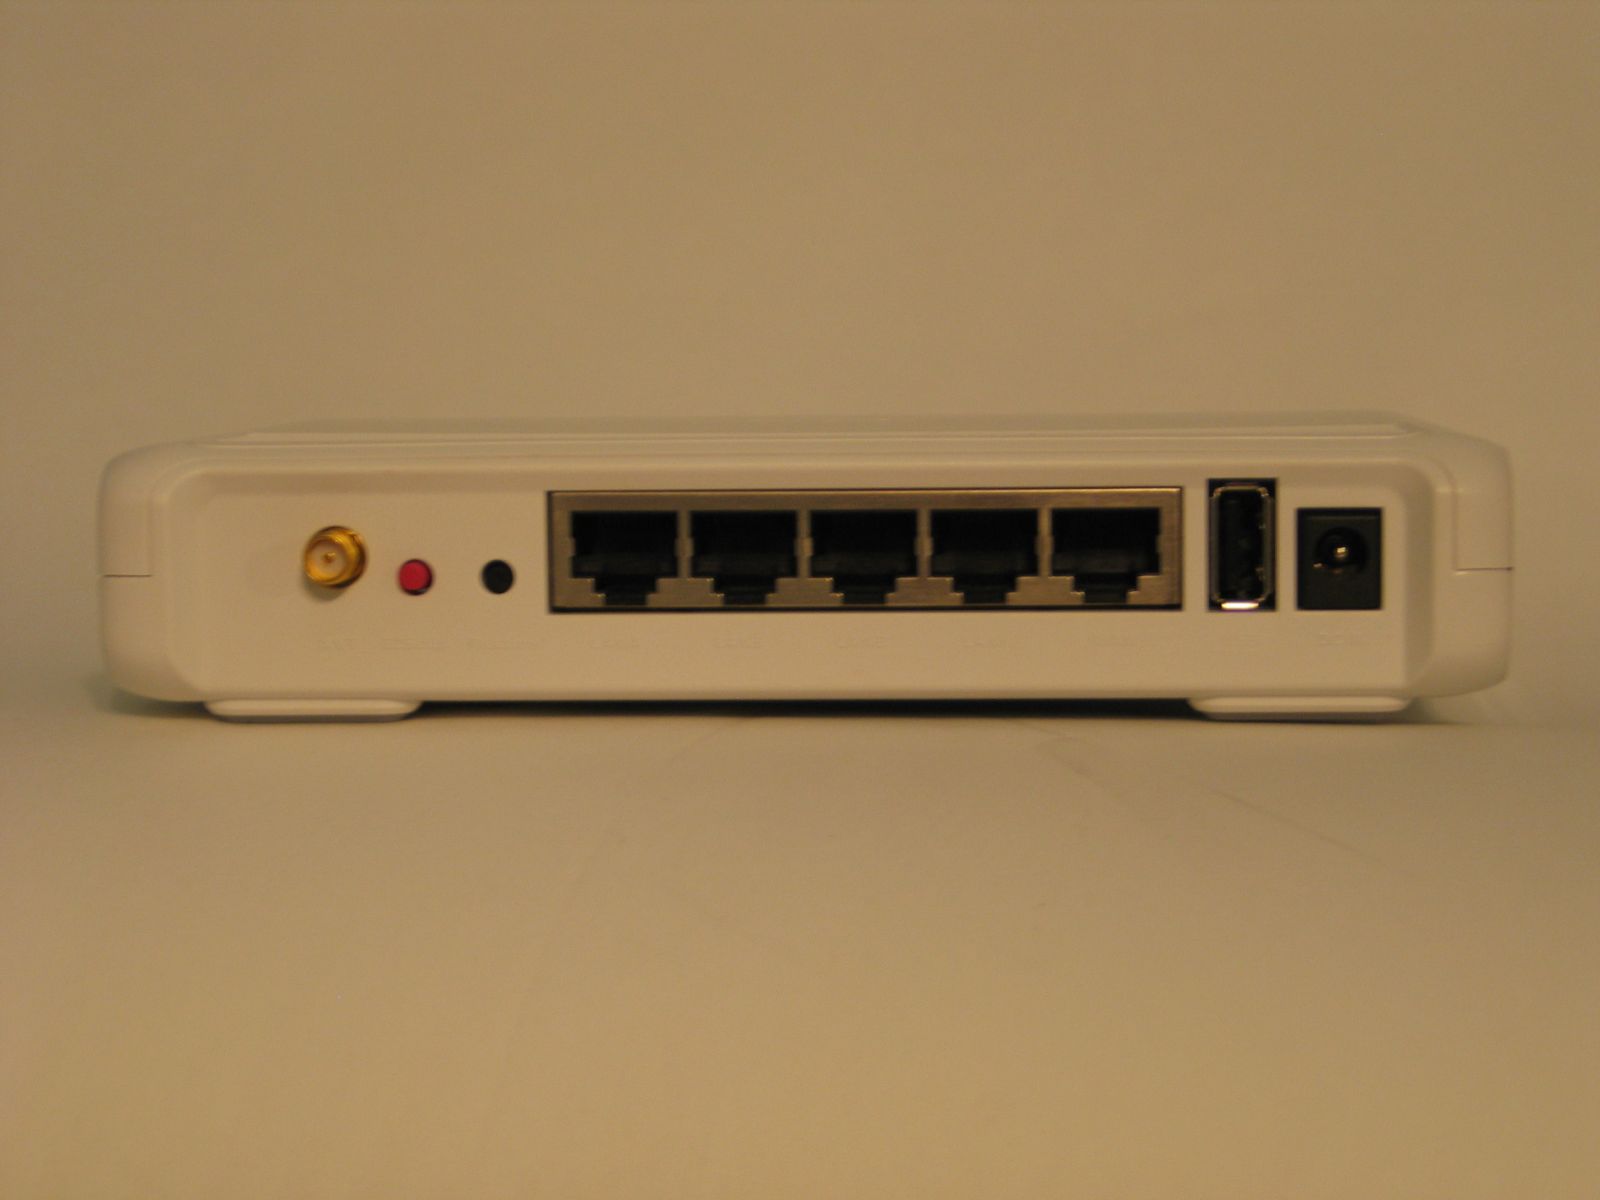
Turning it around, we see the business end of the router. Unfortunately, the labels back here are less clear, consisting of white raised lettering on a white background. From the left we have the antenna connector, EZSetup button, reset button, the four Ethernet ports, the WAN/Uplink port, a USB 2.0 port, and the AC adaptor socket.

[…] TechwareLabs hooks up with the ASUS WL-520gU Home Gateway Wireless Router […]
[…] ASUS WL-520gU Home Gateway Wireless Router Review @ TechwareLabs […]
[…] ASUS WL-520gU Home Gateway Wireless Router Review @ TechwareLabs […]
[…] ASUS WL-520gU Home Gateway Wireless Router Review @ TechwareLabs […]
[…] TechwareLabs has an ASUS WL-520gU Home Gateway Wireless Router Review […]
Social comments and analytics for this post…
This post was mentioned on Twitter by Ian_TWL: Review: ASUS WL-520gU Home Gateway Wireless Router – http://www.techwarelabs.com/asus-wl-520gurouter/…