In-Win Griffin Computer Case
The case your computer is in is what most people will see of your completed machine. There are thousands of different computer cases that you can buy, as well as companies that will custom-make a case to your liking. Today we have an In-Win designed case, called Griffin. It is within the lower tier of cases that is suited mostly toward the people running on a tight budget but still want their case to look nice. Within its price bracket, there are not many other cases that compare to it in looks. Let’s take a look at the specifications of the case.
| Case Size | Mid Tower – ATX, Micro – ATX |
| External Drive Bays | 4x 5.25” bays, 1x 3.5” bay |
| Internal Drive Bays | 5x 3.5” bays |
| Front IO Ports | 1 eSATA, 2 USB 2.0, HD/AC’97 Audio |
| Dimensions | 414mm x 180mm x 498mm |
| Included Fans | 220 mm side panel, 90 mm rear fan |
Here are some more images of the case for your viewing pleasure.
 |
 |
 |
 |
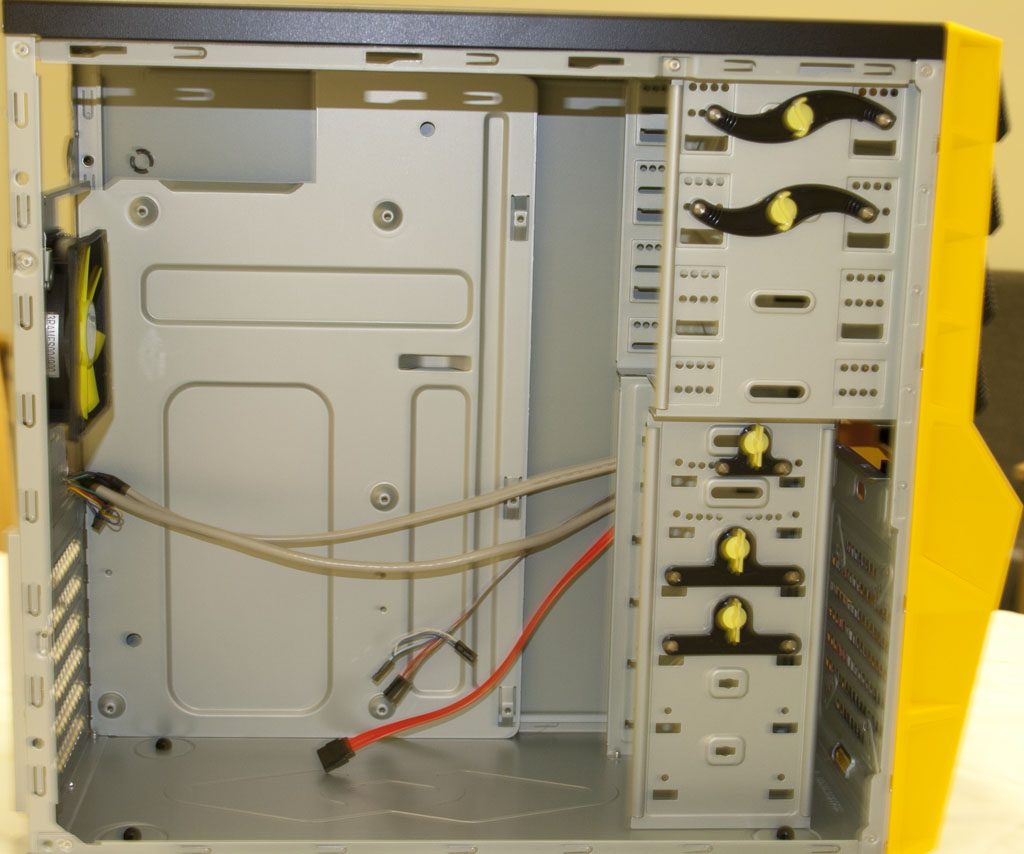
Interior
The In-Win Griffin is tailored to gamers as well as the budget consumer alike. Unlike many cases within this price range, there are tool-less hard drive and DVD player bays, which aid in making the overall build process simpler. The only problem with the tool-less design is that the connectors seem a bit flimsy and there are only two for the DVD bays as well as three for the hard drive bays, which means if you need any more than two of either device, you will need to screw them into the case. Overall though, the inclusion of the tool-less features is a nice touch and is still mostly seen in the higher-end cases, such as the NZXT Phantom. The Griffin can fit up to 11” graphics cards, which makes expanding to larger and more powerful graphics cards much easier. There is again a caveat with this, however. The method in which the hard drives are installed allows for them to stick out much further into the case than other installation methods. If you turn the hard drives around, however, you can then install both hard drives and graphics in any slot and not run into conflicts with graphics card lengths.
 |
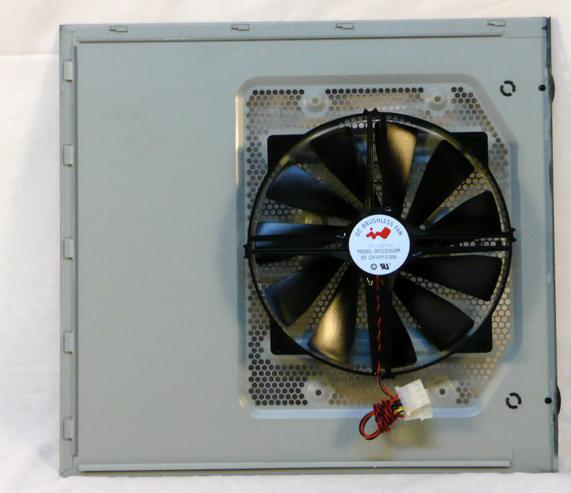 |
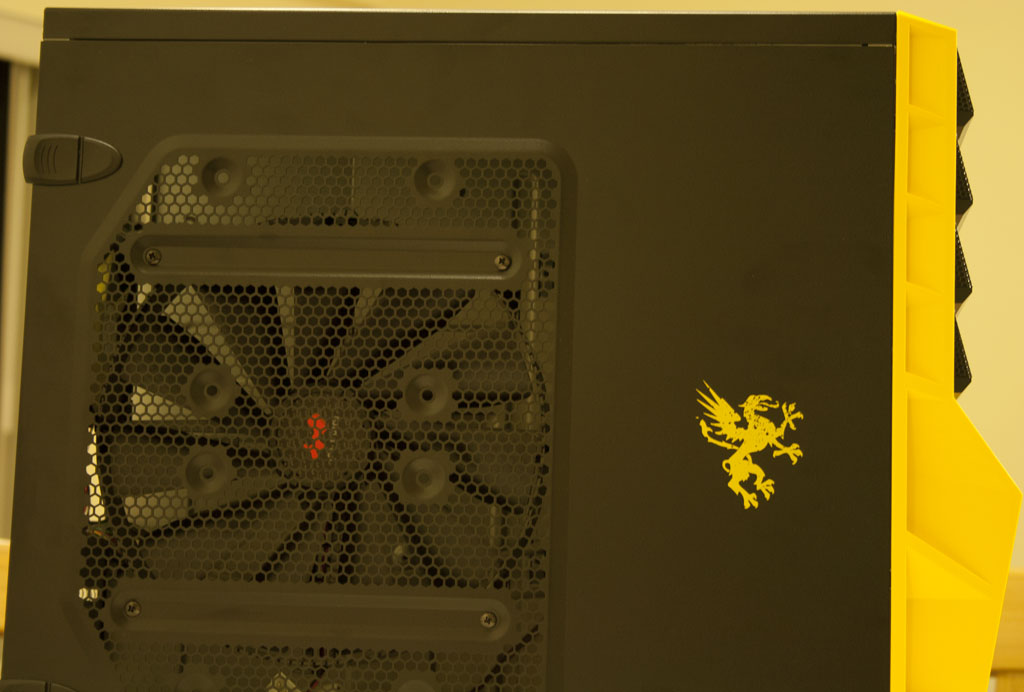
The side panel includes a 220 mm fan, which takes up most of the panel itself. This will allow for an abundance of fresh air to enter the case directly onto the CPU cooler and the graphics card. The size of the fan is an issue if you are using a large tower cooler as the two will conflict. If this is an issue for you, there is an option of removing the large fan and installing two 120 mm fans in its place, which will work better for tower coolers. The rear exhaust fan is a 90 mm fan, which is rather odd considering the size of the side fan. For people that choose to use coolers such as the Corsair H70 or liquid cooling with 120 mm radiators, there are no places for the radiators to take in the rear of the case, which means that an aftermarket air cooler or the stock CPU cooler are the only options.
As far as the power supply goes, the mounting position is in the top of the case, which is slightly unusual with cases that have been released recently. Most cases have the power supply mounted on the bottom of the case, with a cutout on the bottom so that the power supply can get its own fresh air and not disrupt the general airflow of the case. There is a benefit from having the power supply up top, however. Since most have a 120 mm fan attached, it can be used as another method to exhaust air from the case. Depending on how hot the case gets under load, this can be a very effective way to let air out of the case or it could end up damaging the power supply if the air is excessively hot. Concerning the power supply, this case is not cable-managing friendly. By having minimal places for stowing the unused cables, the case airflow is not necessarily the greatest if you use a non-modular power supply. Even with modular power supplies, getting the cables placed in such a way to keep the air flow uninterrupted is still a challenge. To help increase air flow, you could always install a 60, 92, or 120 mm fan in the front of the case as well, which will help to force air through the front to the rear of the case. The actual build quality is really nice and the case does not seem flimsy. It is exceptionally light and would make a great case for a LAN box. It would have been nice if the inside of the case were painted black as the outside of the case as this would certainly be much different than other cases within this price range.
Exterior
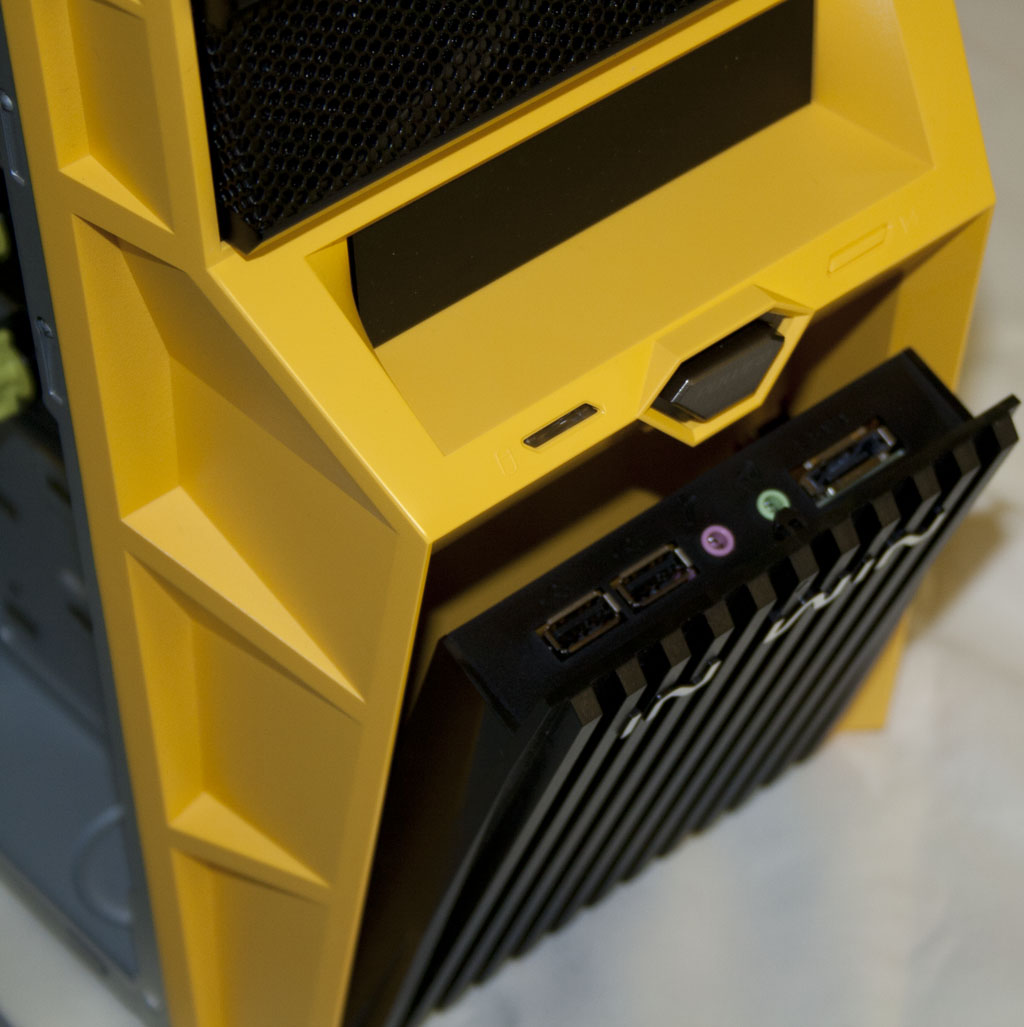
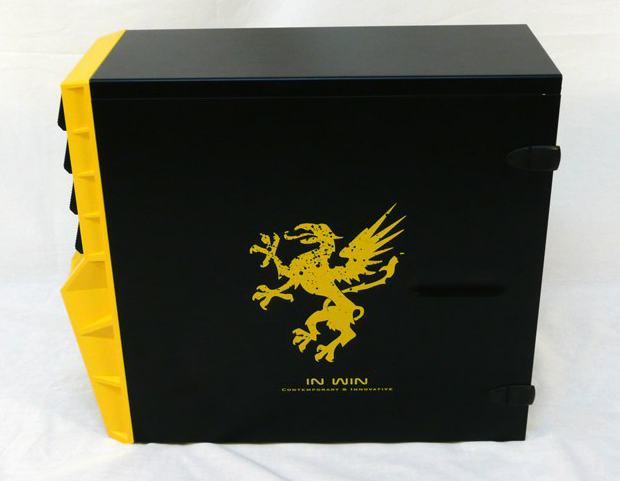
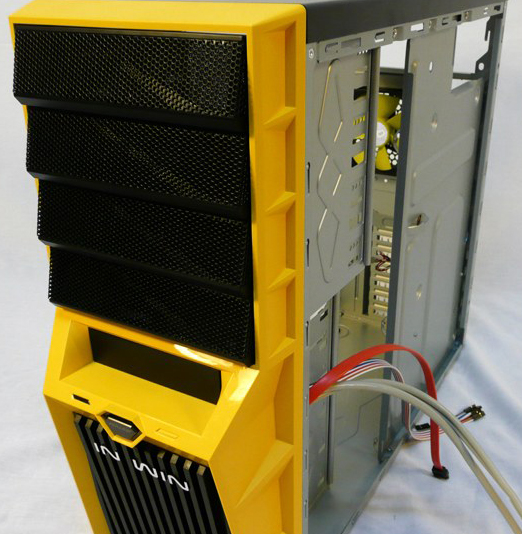
The case that we received came in a very nice condition. Bezel of the molded plastic is painted yellow, along with the In-Win Griffin logo. This color scheme is certainly different but works very well for the style of this case. The covers for the 5.25” are angled, which looks pretty nice with the case design, but once the actual drive is installed the lines of the case are broken up. There is one other thing that is interesting about this case and is up to personal opinion. The front IO panel is enclosed in a pop-out panel, which can be difficult to open unless a considerable amount of force is applied. If the panel were to flip out instead of pop-out as it does now, it could work much better and still be easy enough to use. The panel does include two USB ports, and eSATA port, as well as the standard headset jacks for audio. As for removing the side panels, all that needs to be done is simply flip open the two tabs on the rear of the case for the corresponding side panel and then pull back on it and remove it. In regards to the side panel with the fan, the size of the fan is nice and it certainly pushes a lot of through the case. As was noted earlier, it conflicts with many of the larger tower coolers and if installed, it could damage some of your equipment. This would be better if the side panel were more like the Azza Hurrican, where there are spaces for the side fans that will not conflict with a large tower cooler. The rear of the case includes the cutout for the power supply on the top of the panel as well as 7 expansion slots for add-on cards or video cards. The bottom of the case is nothing out of the ordinary. There are no cutouts to allow for air to come in from the bottom of the case, which would allow for cool, fresh air to enter the case. The rubber feet on the bottom make sure the case does not move around much, but I did find that they are not completely stable and move around a bit, but it is nothing that will hurt the overall quality of the case. The top of the case is about the same as the bottom and did not have any noticeable deformities to it. One feature that would be nice would be if it had a cutout for a fan, although with the power supply mounting on the top, it does not lend itself very well to having space on the top dedicated to an exhaust fan.
Conclusion
The In-Win Griffin computer case has very nice external looks and a decent interior that has room for improvement but is more than adequate for the beginner computer builder or for people who are on a tight budget. It allows for a wide range of options for the average builder and works well for a LAN box or in instances where an overly flashy case is not wanted but something with a bit of style is still desired. With its tool-less features for the hard drive and DVD drive bays, seven expansion slots, and the ability to fit graphics cards up to eleven inches in length, most users will not find hardware that will not work in this case. If a few improvements were made for the cooling solutions, such as increasing the size of the rear exhaust fan as well as changing the side panel to accommodate for the larger tower coolers, then this case would certainly appeal to more users who are in need of a budget case for their newly purchased hardware. I give this product the TechwareLabs Approved rating for its great build quality, solid interior features, and stylish exterior.


[…] In-Win Griffin Case Review @ TechwareLabs […]
[…] Reviews Antec LanBoy Air Case Review @ Hi Tech Legion In Win Dragon Rider Full Tower @ Pro-Clockers In-Win Griffin Case Review @ […]
[…] TechwareLabs Review: In-Win Griffin Case Review […]