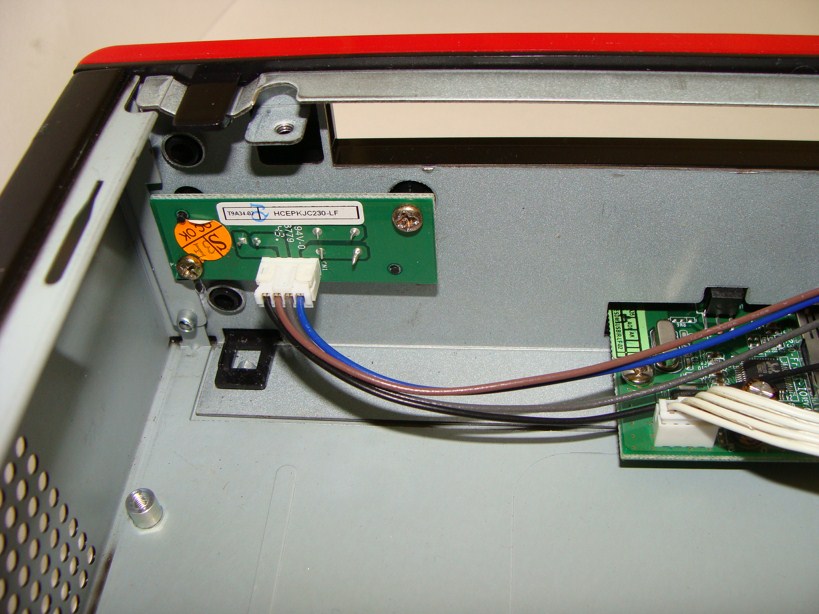
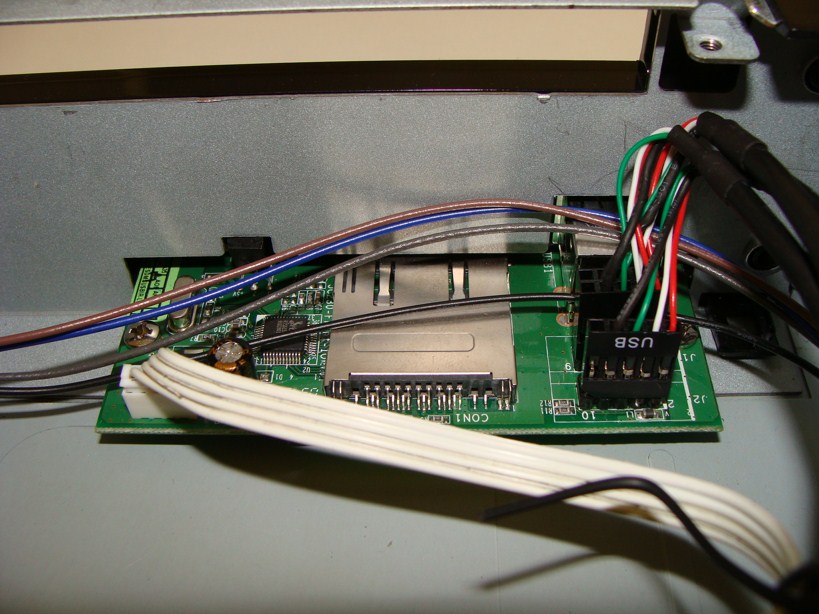
Front Ports
Below you can see the “Behind the Scenes” view of the front panel. The picture on the left represents the assembly for the IR port while the picture on the right represents the assembly for the USB ports and the SD/MD Card Slot.
 |
 |
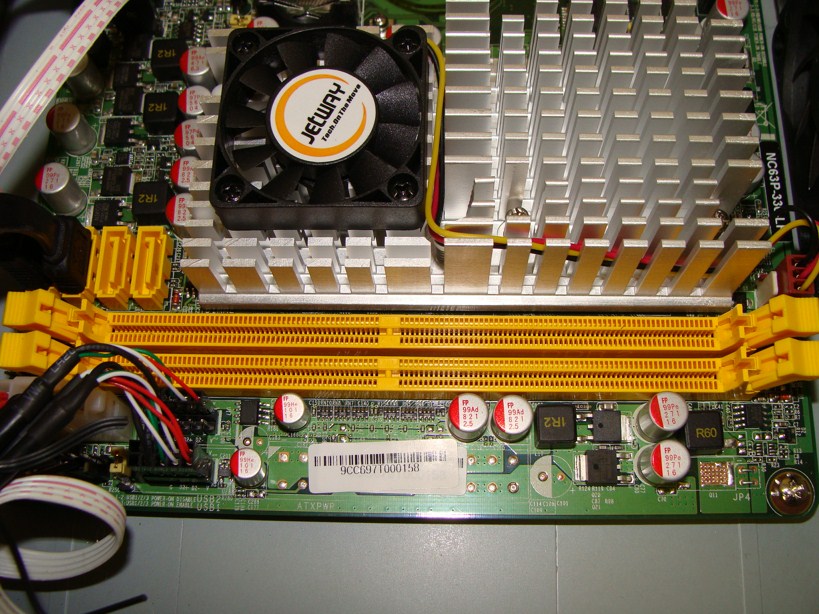
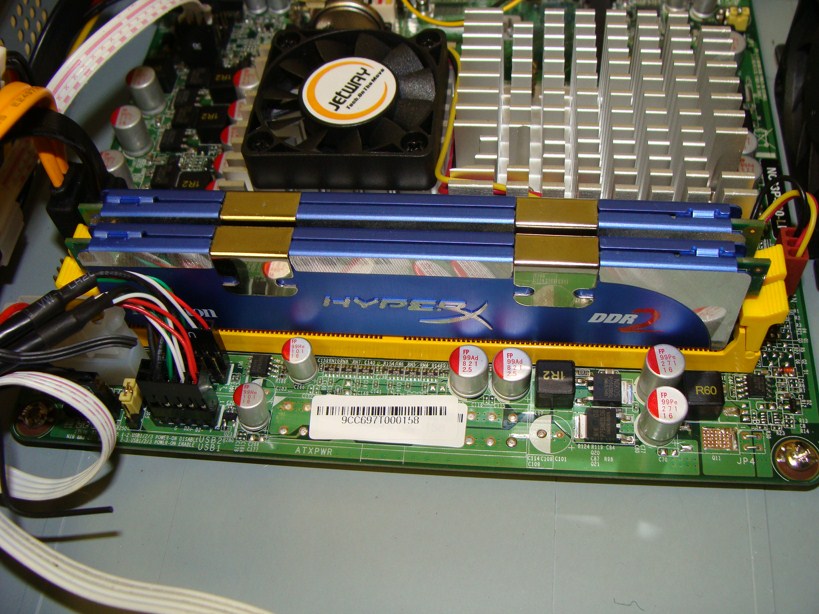
RAM Installation
As previously seen, RAM slot are clearly marked and there is ample room for installation. All I needed to do is push in the RAM modules and they were good to go.
 |
 |
|
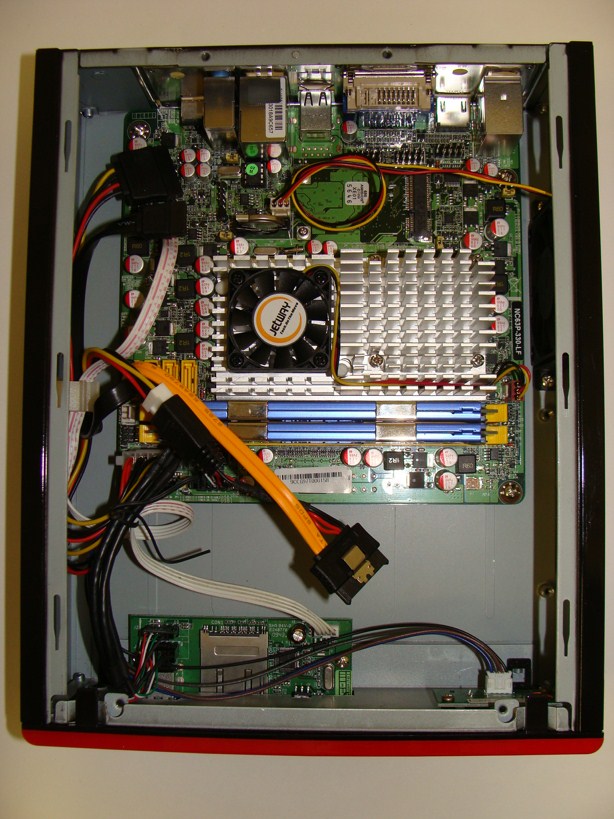
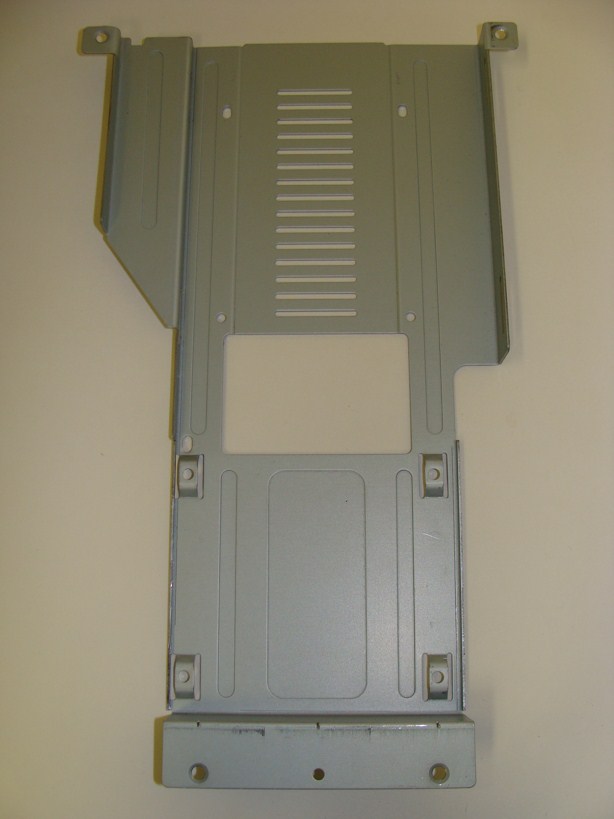
Hard Drive Installation
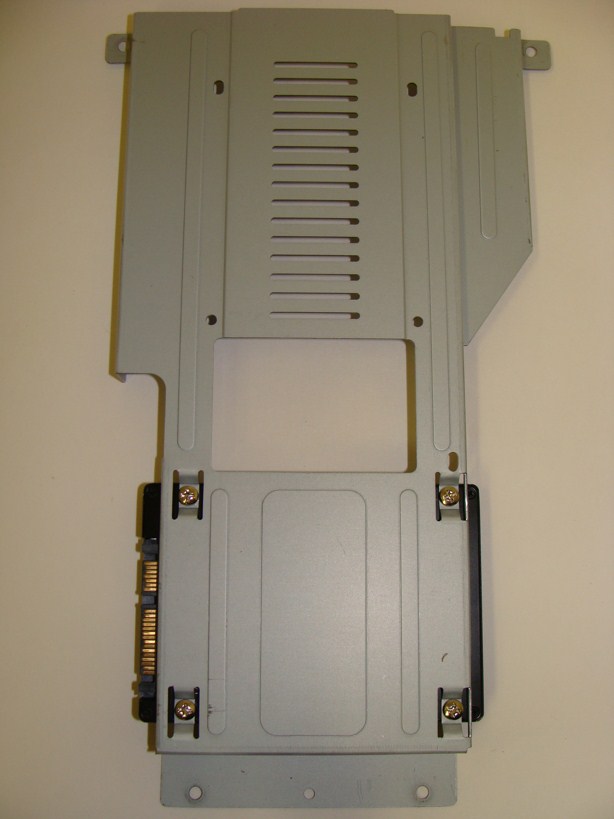
After the RAM has been installed, the next step was installing the hard drive. To do this I needed to flip the tray and attach the hard drive from the bottom as seen in the pictures below. It is imperative that the hard drive be attached to the plate in the correct direction (as shown below) otherwise the SATA cable and the hard drive plug will not align properly. The drive must be installed in a similar fashion.
 |
 |
 |
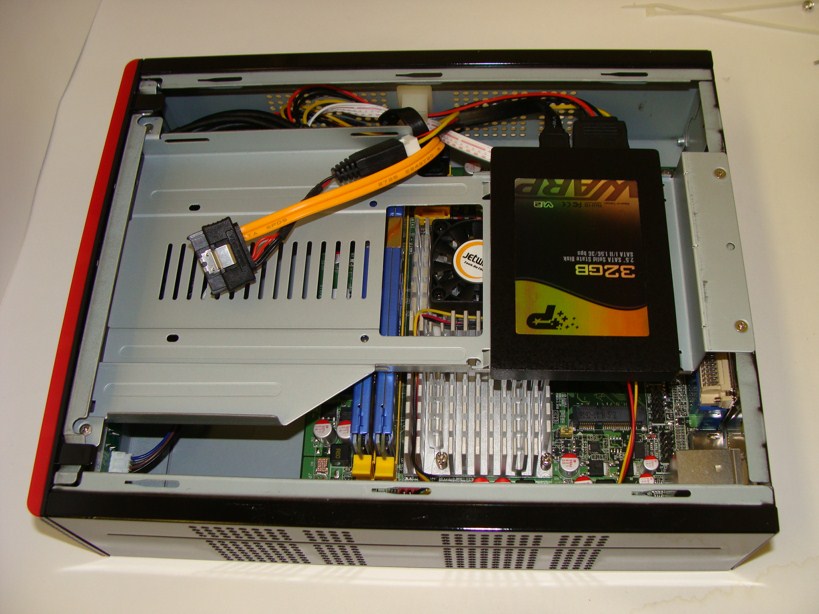 |
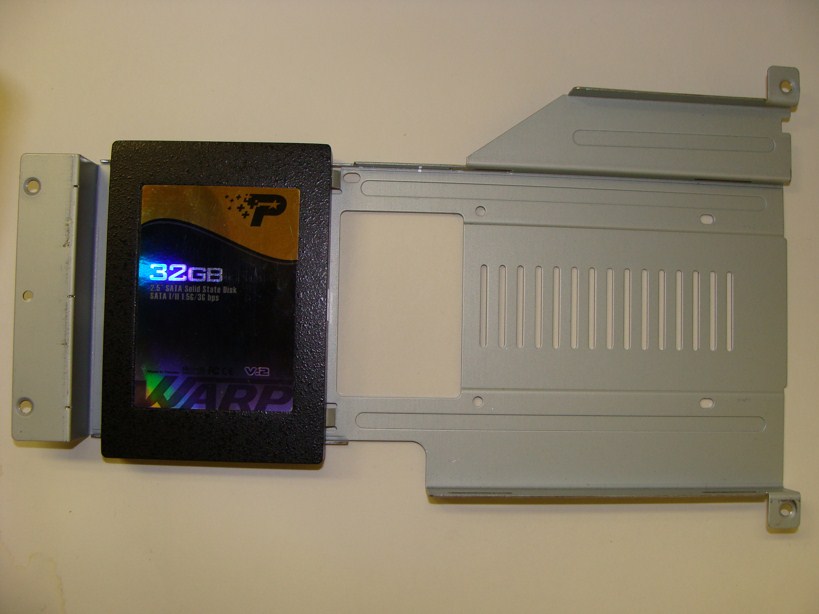
Ultimately the result should look something similar to what is in the lower left corner in the pictures above.
Remote
Despite the fact that the remote looks just like an ordinary TV remote, this remote has been targeted at a computer environment. Specifically, Windows Media Center. Some of the specialized buttons include: “Media Center”, “Radio”, “Print”, “DVD Menu”, and “Record TV”. For options like “Record TV” and “Radio” you would actually have to buy the converters separately from the ION-TOP and install them in your system. The commands like “Media Center” and “Music” integrate seamlessly with the Media Center environment once the drivers for the infra red receiver have been installed off of the installation CD.

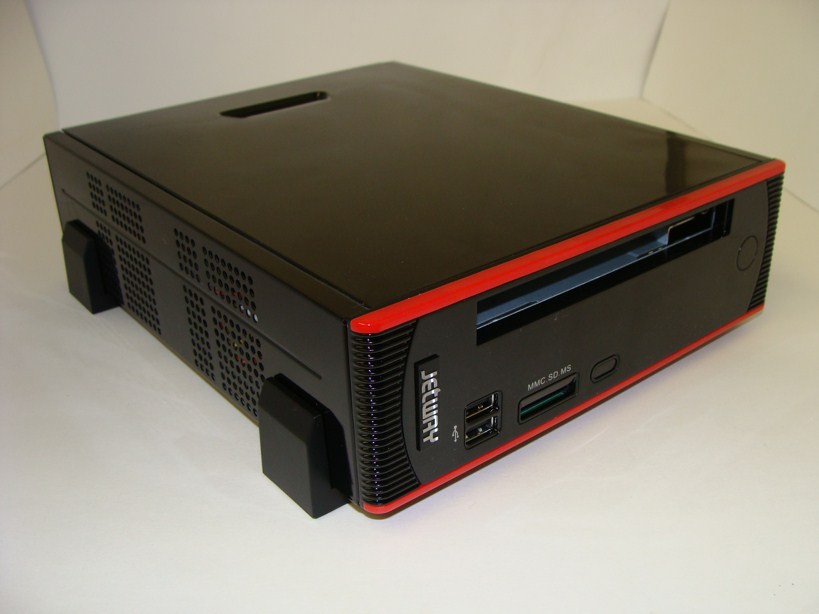
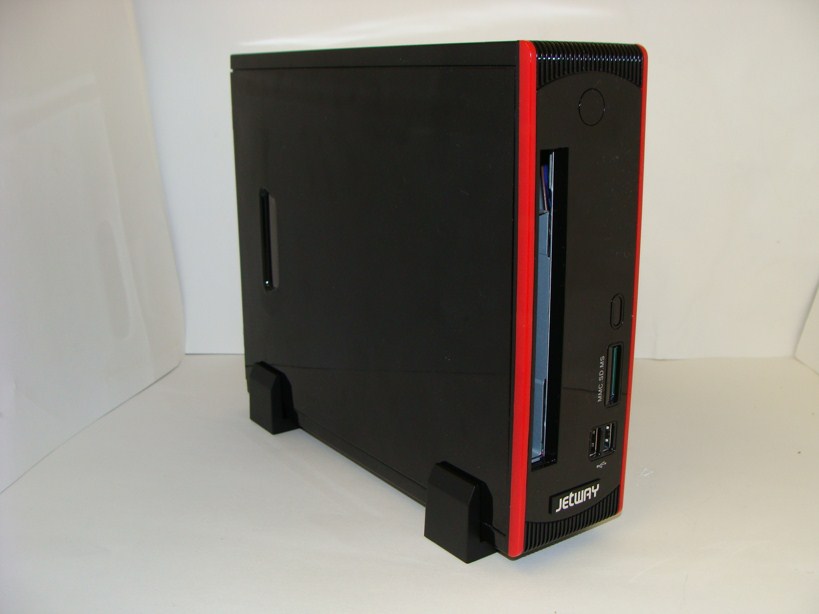
Magnetic Legs:
Jetway has conveniently included magnetic foot stands that can be used to assist in vertical or horizontal mounting of the ION-TOP in your setup. These stands carry with them the added benefit of lifting the side or bottom off of the surface and assisting in airflow. A nice little touch that some may find useful.
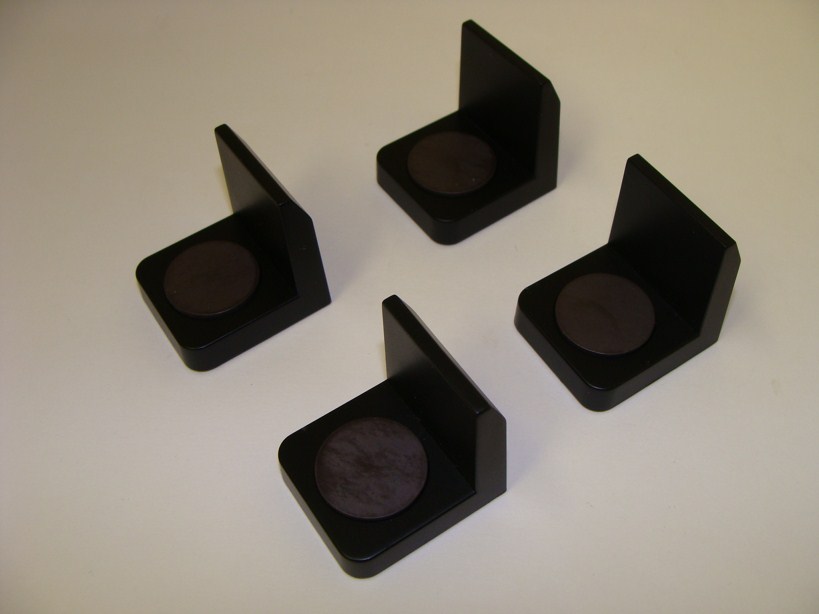
After everything has been completed, the last bit of installation is as easy as pie. All that is necessary to attach the legs is to place them in the positions desired and all is done. Below are the pictures of how the completed product would look (without the CD drive).
 |
 |

Social comments and analytics for this post…
This post was mentioned on Twitter by MatthewHomanTWL: Review: Jet-Way ION-TOP HTPC – http://www.techwarelabs.com/jet-way-ion-top-htpc/…