![]()
Introduction:
When on the look out for a new case to out fit your rig, you may have a peek over at what NZXT is producing. NZXT is still a young company, only being established in 2004. However, they have produced a fairly decent sized list of computer chassis, some with a very unique design and look. With the NZXT Khaos at hand, one can only speculate as to what NZXT has in mind as a “unique” and “unparalleled design.” You may want to take your time looking over this hefty chassis, as it weighs upwards of 35lbs+ because its 2mm and 3mm thick aluminum construction and of course its quite large $400 price tag.
NZXT’s Take:
“Khaos features breakthrough design in every category effectively satisfying the needs of the most power hungry PC Enthusiasts and Gamers.”
The definition of a breakthrough is, “A major achievement or success that permits further progress, as in technology.” I am a little skeptical as to the use of the word breakthrough. The Khaos does not seem from it’s design to permit the use of term breakthrough for the definition provided. Maybe with a little prodding I can discover whether the NZXT Khaos can be considered a breakthrough in computer chassis category, or if it really does deserve such a title.
–~~~~~~~~~~~~–
Features:
Removable 3.5″ Bays: One of the more interesting features are the removable 3.5″ drive bays. They are actually where the two front fans sit. The whole bay area can be removed with by just unscrewing the two side screws. Each bay area is capable of housing up to 4 drives.
Dual PSU Support: The NZXT Khaos features the availability to house two power supplies. PSU’s are mounted on the bottom, and the Khaos comes with the 24pin power cable needed to use two PSU’s at the same time.
Three 120mm Fan Bracket: The triple 120mm fan bracket lays between the Motherboard/GPU/CPU and the 5.25″ drive bays.
| Unparalleled Design: Following the success of the Lexa Chassis, NZXT took on the major feat of designing an ultra-premium chassis achieving “perfect symmetry” with matching curves and mirrored design
Three channel cooling: Features two 120 mm fans for intake over 8 HDDs along with the first-ever three 120mm fan bracket is placed exactly before the video card and motherboards to ensure steady airflow |
 |
 |
Dual Power Supply Support: Designed for the power hungry PC enthusiast with future component upgrades in mind, the Khaos offers support for two power supplies. The user can split power usage between major components like the video cards and CPU with other components such as the hard drive, motherboard and floppy. NZXT even includes a specialized cable that will help start up the second PSU Thick Aluminum Build: Following the success of the NZXT Adamas, Khaos is built with high quality craftsmanship infused throughout the chassis and comprised completely of durable 2mm and 3mm thick aluminum |
| Maximized Expandability: Khaos features 11 5.25″ bays providing a large array of space for drives such as CD ROMS, Temperature Displays, and multi-format readers
Convenience: Khaos comes standard with mounted rubber finished wheels for moving the chassis around the home. A handle is mounted at the back for comfort during movement. Khaos also features a flippable motherboard tray for easy access to components |
 |
| MODEL | Khaos SERIES |
| CASE TYPE | Full tower aluminum |
| FRONT PANEL MATERIAL | 3mm Aluminum |
| DIMENSIONS (W x H x D) | 225 X 612 X 597 mm |
| COOLING SYSTEM | FRONT, 2 X 120 mm Blue LED (included)
REAR, 1 X 120 mm (included) MID, 3 X 120mm TOP, 1 X 140mm Fan (included) |
| DRIVE BAYS | 11 DRIVE BAYS
5 EXTERNAL 5.25″ DRIVE BAYS ( up to 11 5.25″ ) 1 3.5″ External bracket 8 INTERNAL 3.5″ DRIVE BAYS |
| MATERIAL(S) | Aluminum Construction |
| EXPANSION SLOTS | 7 |
| POWER SUPPLY | 500 WATT PS2 ATX 12V 2.0 ( OPTIONAL ) |
| WEIGHT | 15.7 KG |
| MOTHERBOARD SUPPORT | MOTHERBOARDS: ATX, MICRO-ATX, BABY AT |
–~~~~~~~~~~~~–
Packaging:
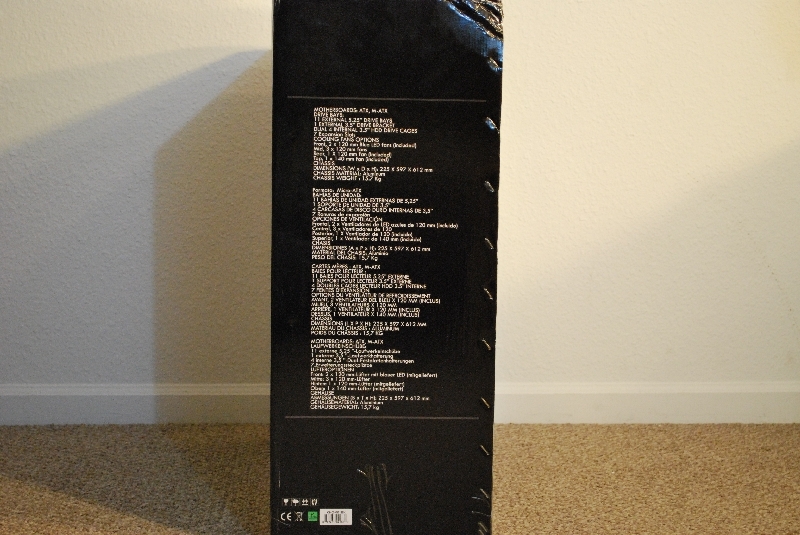
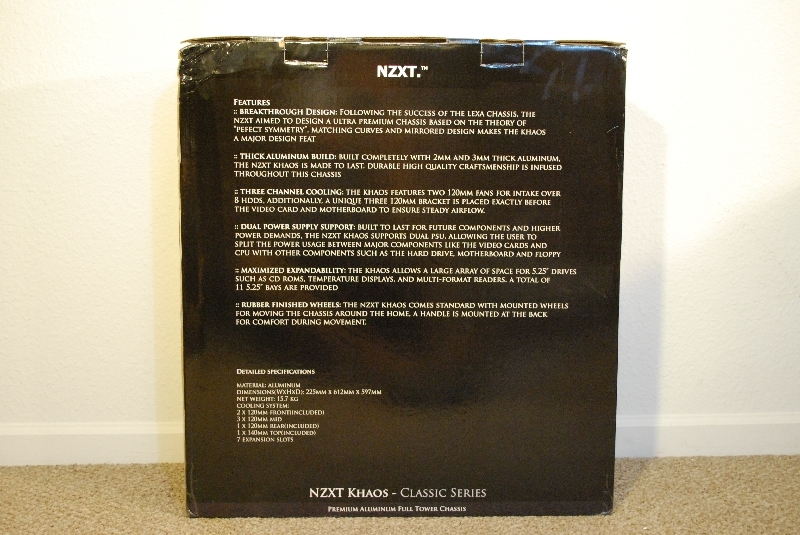
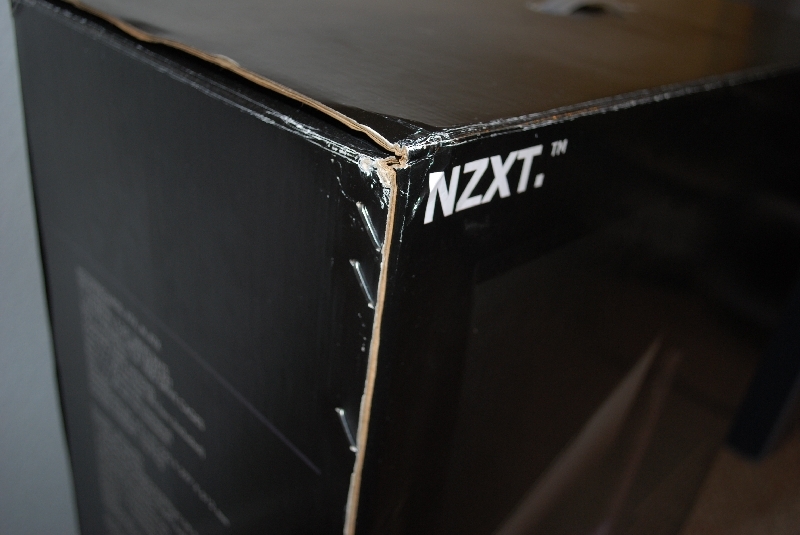
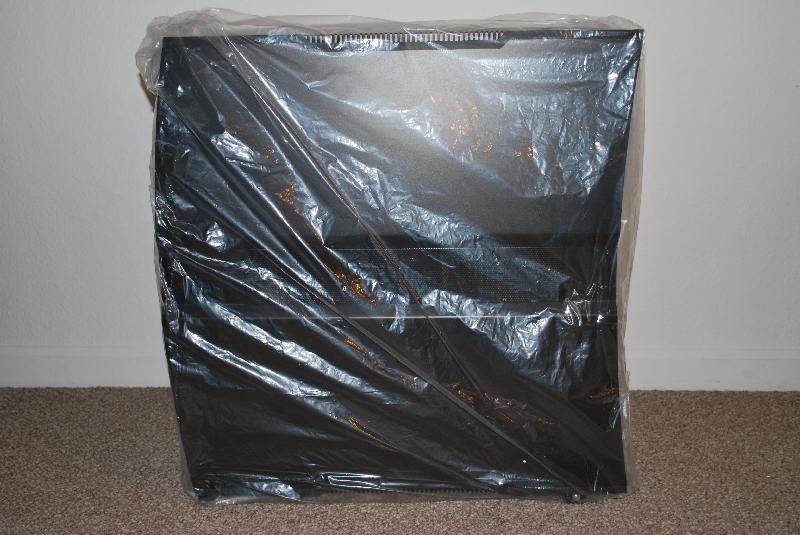
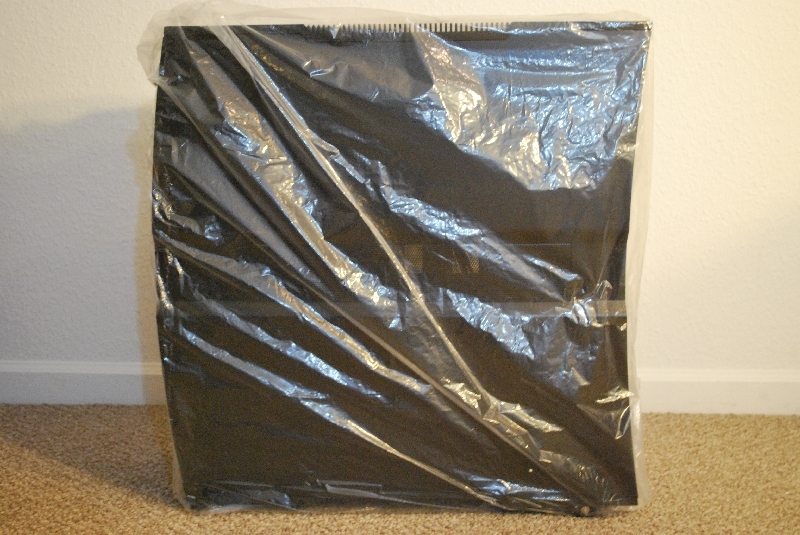
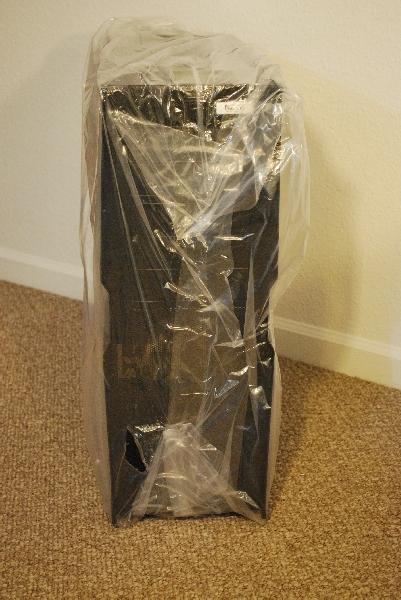
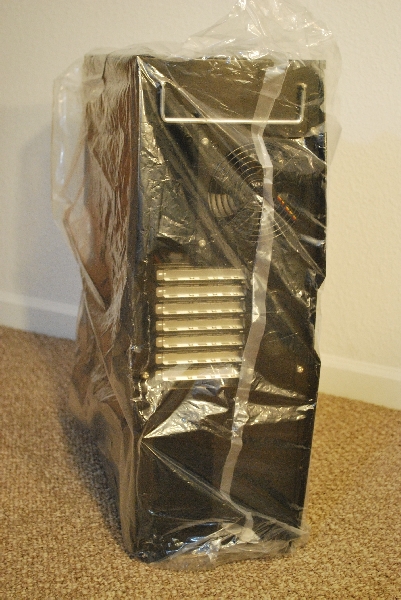
The NZXT Khaos comes in a very large black box, displaying the picture of the actual case itself, on the front of the box. The sides of the box contain the specs for the case, while the rear contains the features. The box sides are reinforced with staples, which keep it sturdy. But all jokes aside, I suggest the buddy system when carrying this case long distances. Especially when carrying it up two flights of stairs. The bulky size and 35+ pounds, makes it hard to maneuver from one place to another. Upon opening the box, you will find the case secured by styrofoam and wrapped in plastic.
 |
 |
|
| Front of box | Side of box | |
 |
 |
|
| Box rear | 3/4 view of box/NZXT logo | |
 |
 |
|
| Case in plastic side | Side in plastic | |
|
|
|
|
| Front of case in plastic | Rear of case in plastic |
–~~~~~~~~~~~~–
A Closer Look (Exterior):
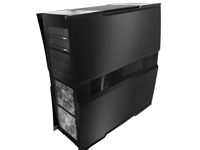
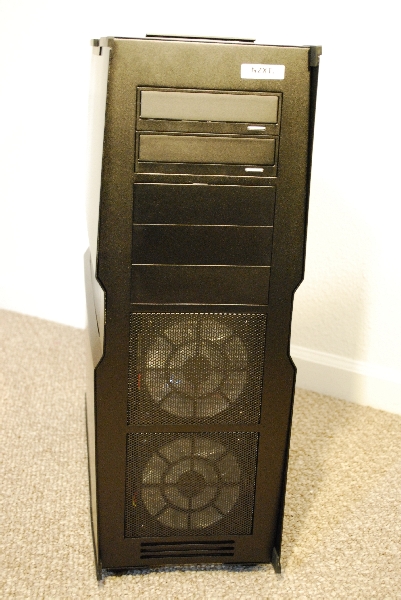
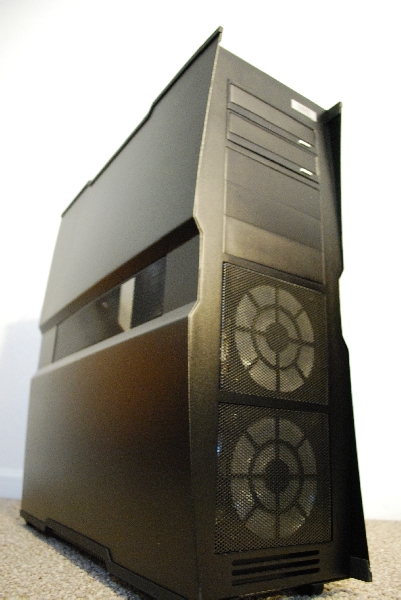
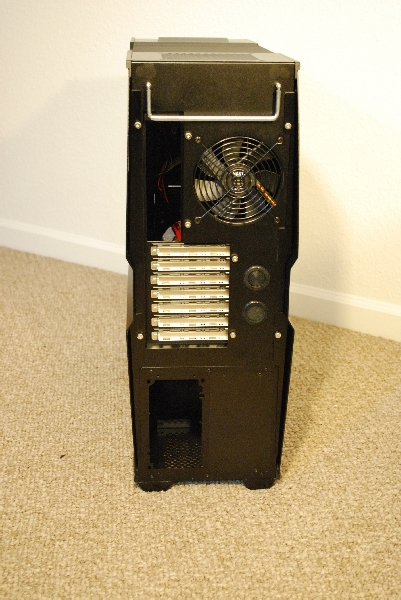
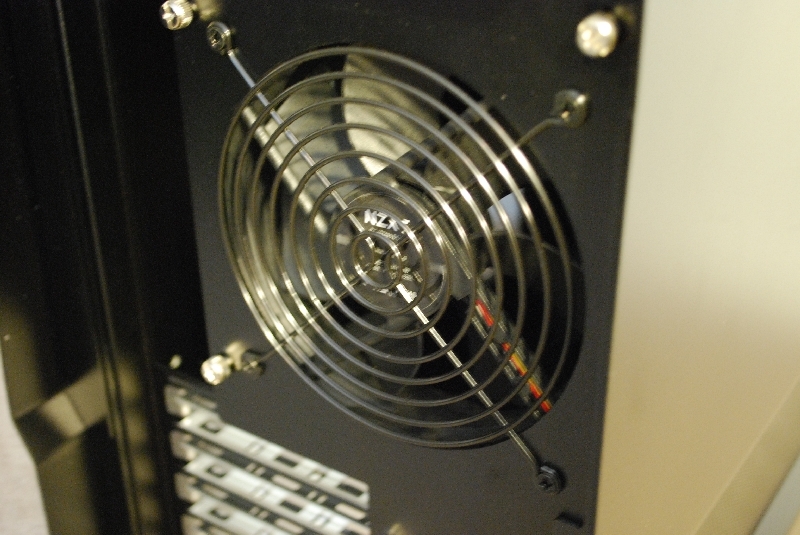
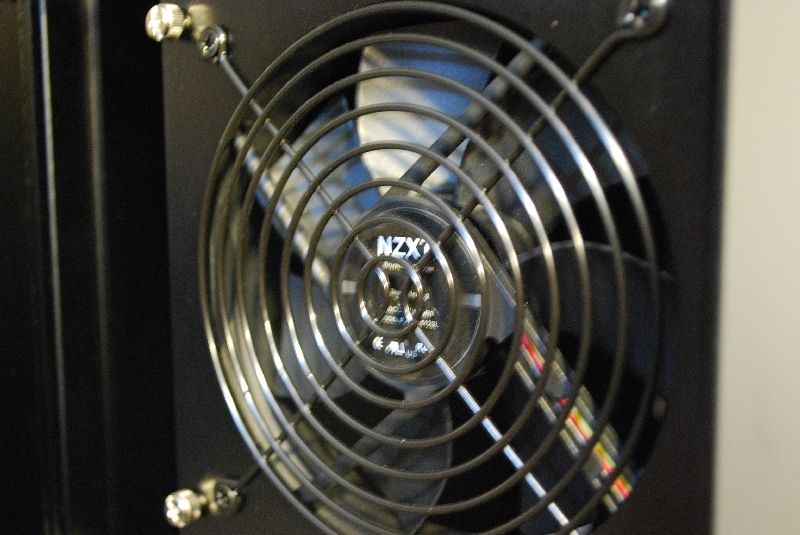
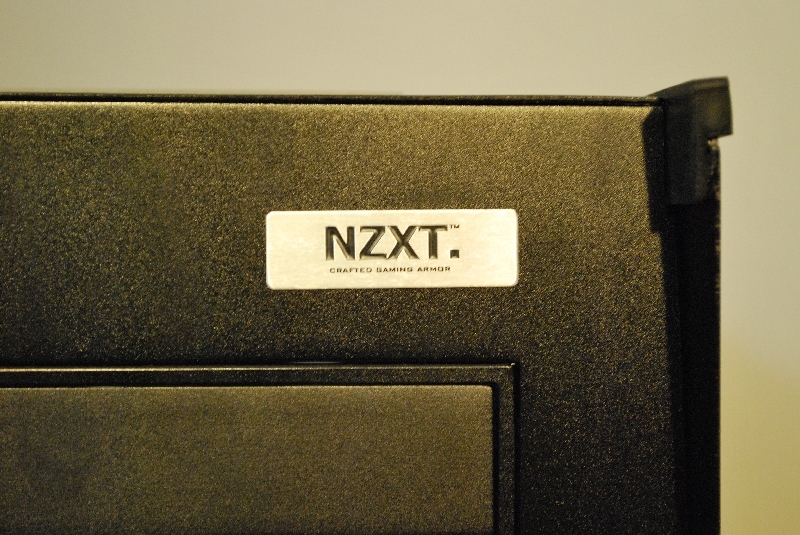
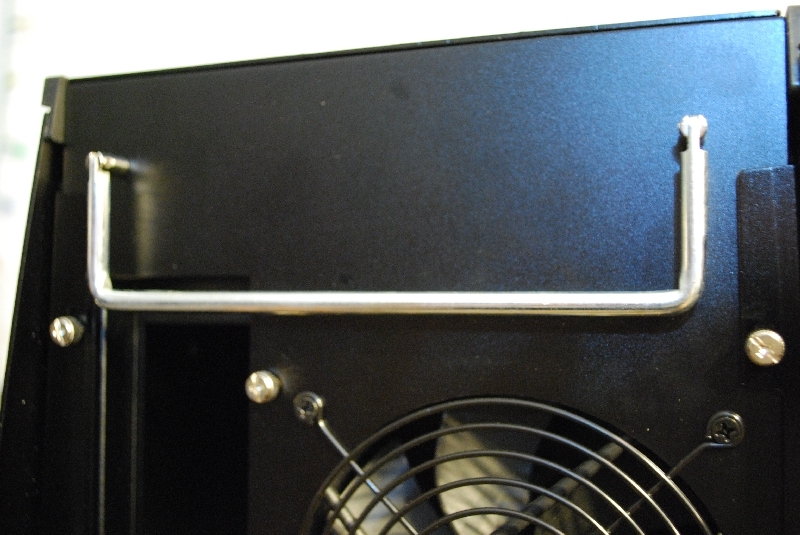
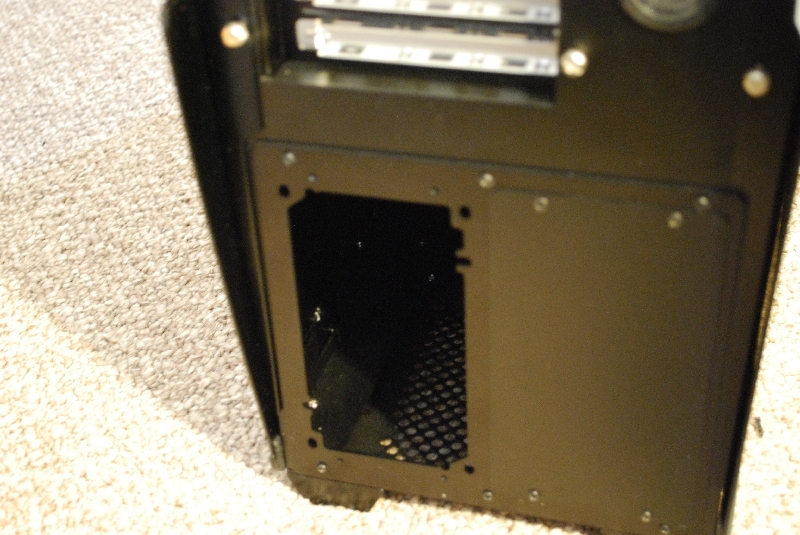
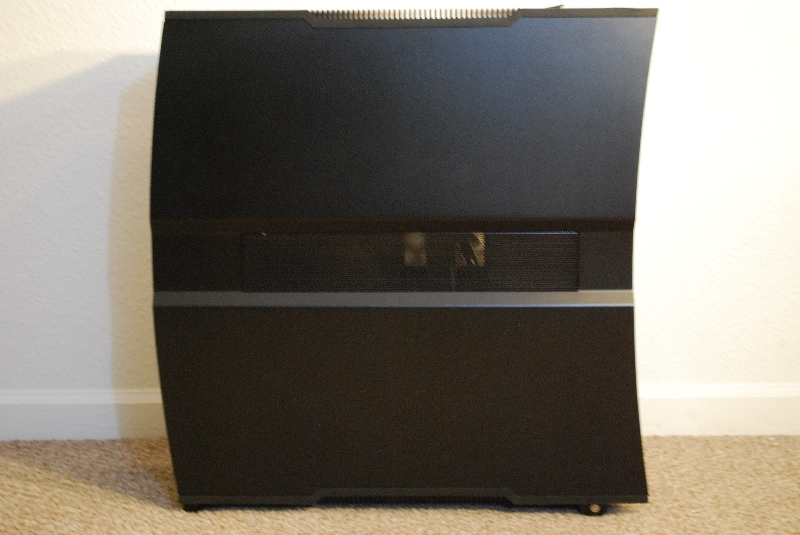
Getting straight to the basics, the case comes with two front mounted 120 mm fans, which in turn can be removed since they act as the 3.5” drive bay area. There is one rear mounted fan, which is 120 mm, and one massive 140 mm top mounted fan. The two front fans are the only ones on the case that contain blue LEDs. The exterior paint job is all done in black (as well as the inside) and seems to be very scratch resistant. NZXT has proudly displayed their logo in a metal name plate on the front right side of the case face. On the rear bottom, is the mounted bracket for dual PSU support. The metal handle on the rear, to help lug it around, does not seem to help in most cases, since the weight of the case itself smashes my hand between the handle and the case itself. The wheels are small, and don’t move very well, and can become quite frustrating. All in all, it is better to just have a friend help you move it around. I would not suggest this case for toting around to LAN parties.

–~~~~~~~~~~~~–
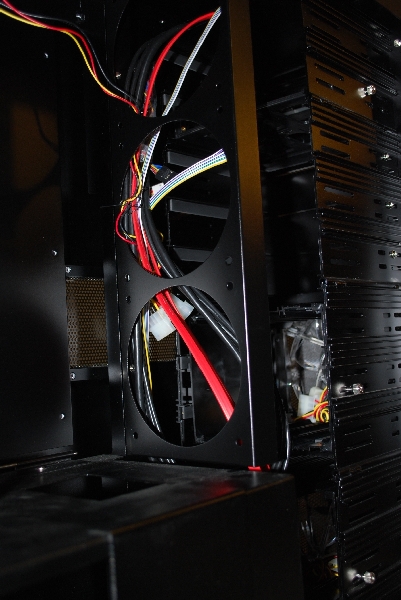
A Closer Look (Interior):
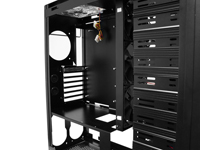
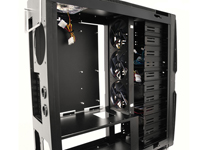
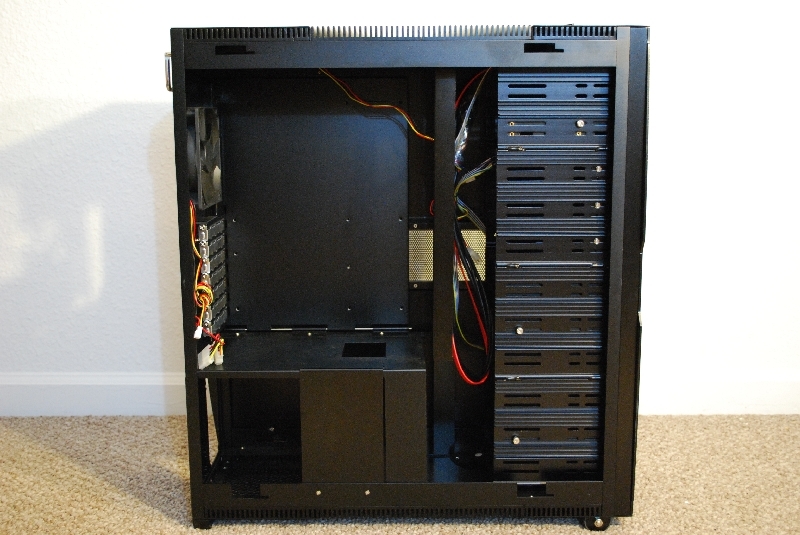
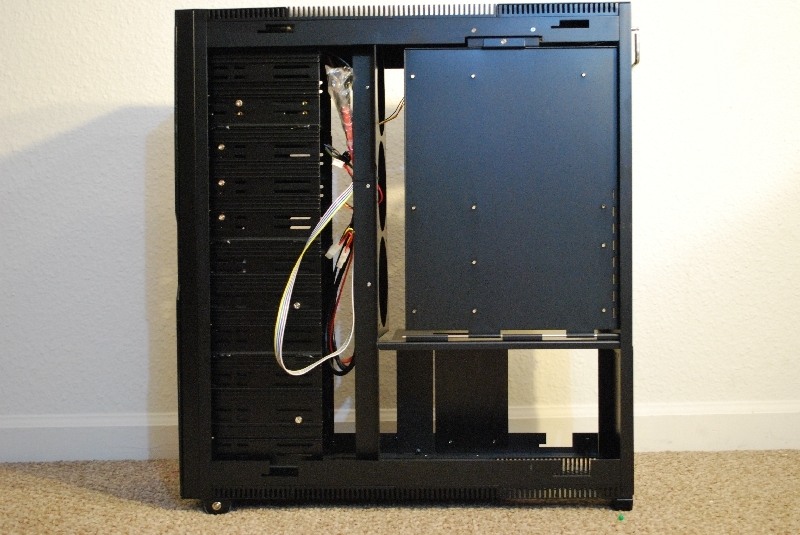
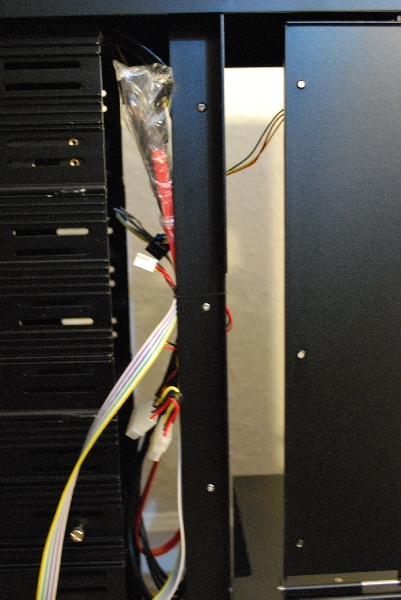
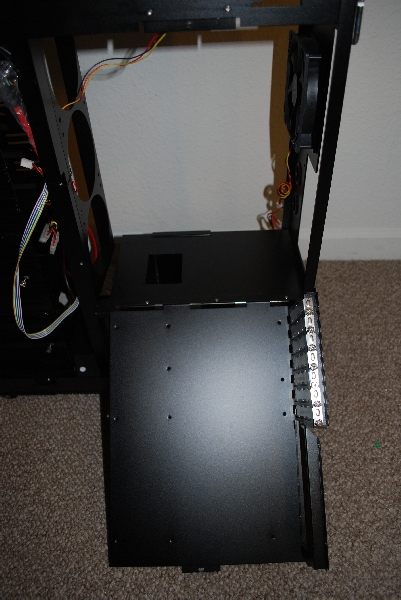
Needless to say, the interior of the case is very spacious. On the inside, you can see the dual four internal 3.5″ HDD drive cages. Both of the cages can be removed by simply unscrewing the screws that are on the sides, and then sliding the cages out. The 3x120mm fan bracket, that lies between the 5.25″ bays and the motherboard tray, seems a bit flimsy. There is no real help for cable management, and if you find it an issue, you can remove the 3x120mm fan bracket by unscrewing the three screws that are on the back of it. The motherboard tray is actually on a hinge, and requires you to remove four screws on the back, and then slide the tray out of its original position, so that it can lay flat on a surface.
 |
 |
| Side one with panel removed | Other side with panel removed |
|
|
|
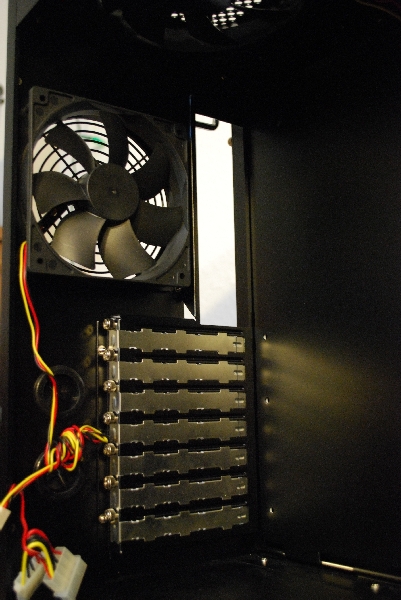
| Inside of case showing rear fan | Interior bracket for (3) 120mm fans |
|
|
|
| Side view of interior fan bracket | Hinged motherboard tray |
–~~~~~~~~~~~~–
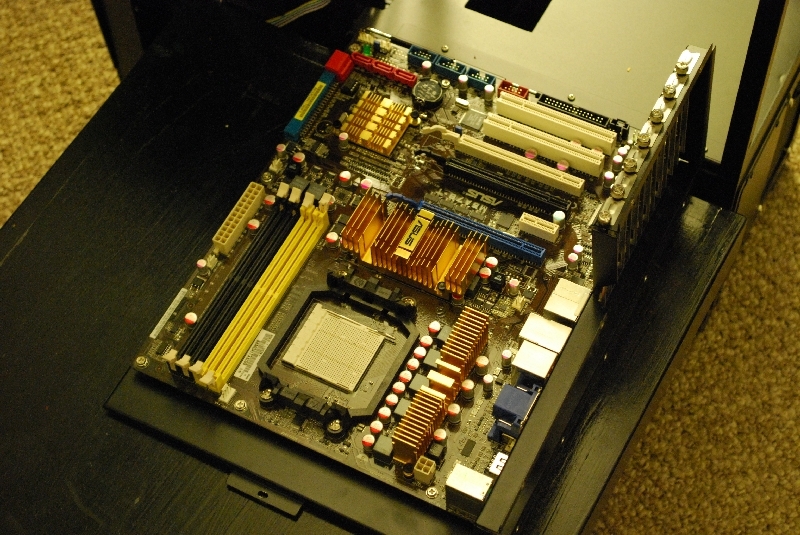
Installation:
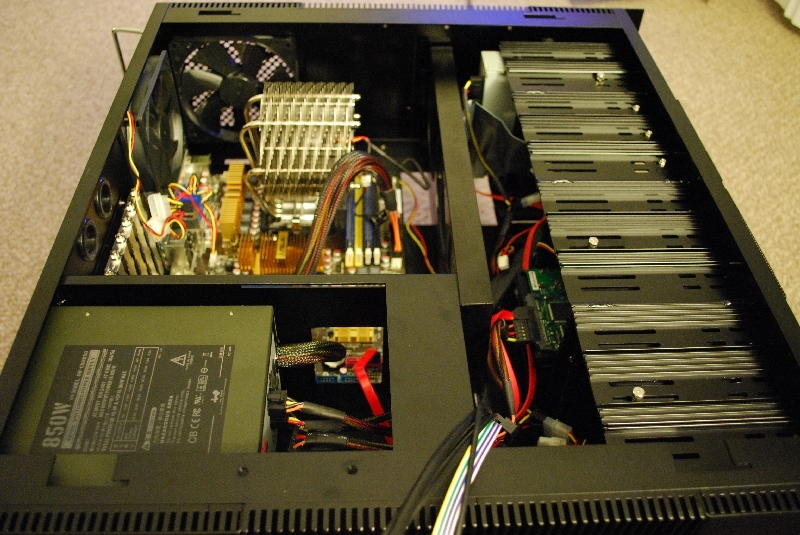
Installing the motherboard was very easy. It was just a matter of screwing in the motherboard standoffs and then screwing the motherboard itself into place. The hinged motherboard tray was not that much of a help because large video cards and heat sinks may get in the way when trying to move the motherboard tray back into position. However, if that scenario does not apply to you, then the hinged motherboard tray can be quite useful. By far my favorite part of installation, was removing the 3.5″ HDD drive cages. Since installation for these was simply screwing things in and out of place. It also creates for a much more organized look. One of the issues I had with installation, was the PSU. The PSU brackets did not line up correctly with the screw holes on my actual PSU. The PSU I am using is the In Win Commander 850W. Though, after a little bit of work, I eventually got the PSU into place. Another issue I had, was with the provided optical drive face plates. My optical drive open/close button did not line up with the one provided on the face plate. To solve this problem, I just left the entire face plate off of the case.
 |
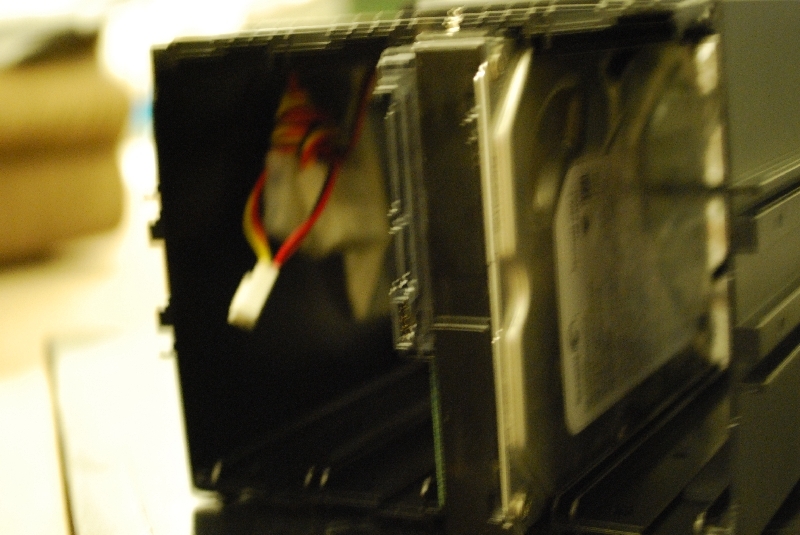 |
| Motherboard installation | Removable HDD cage/HDD installation |
 |
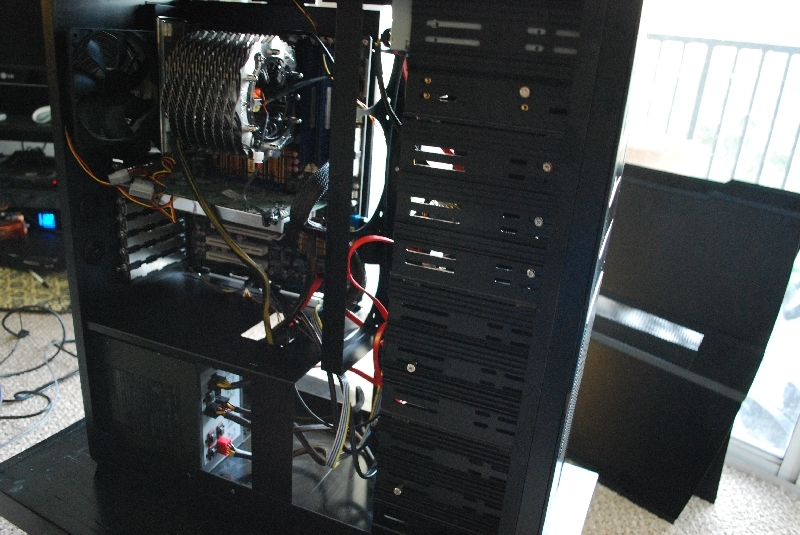 |
| Full installation view | Full installation with both panels removed |
Conclusion:
All in all, the overall durability of this case is outstanding. The exterior features look very menacing, along with the sleek black paint job. The 3x120mm fan bracket is a great concept, but had poor execution since it was very flimsy, and moves around at even the slightest touch. I was a bit disappointed in how quite a bit of the hardware (optical drive, PSU) did not line up to be screwed in place for the provided spaces. The 3.5″ HDD drive cages are also a very interesting concept, and were well executed, and are quite possibly my favorite part about this case. Currently you can find this case on Newegg for $439.99 and on Amazon for around $399.99. For that price, you may want to take a look at some other case options, but overall this is a very sturdy and fairly decent case. Although it is expensive, it is the best of an already awesome line up of computer cases from NZXT making it definitely worthy of the TechwareLabs Awesome Hardware Award.


Excellent review Erik. This is what case reviews should look like IMHO.
I personally like this case looks and the features I see. The larger cases appeal to me for their ease of installation and roomier interiors which lend themselves to cleaner layouts. I would like to see a bit more refinement on the panel corners and edges but otherwise the design and features rock! Two thumbs up from me.
The panel corners actually flow very well with the entire layout of the cases exterior. The sides that curve actually give it a menacing, “dark tower” look.