Installing Ubuntu and Conclusion
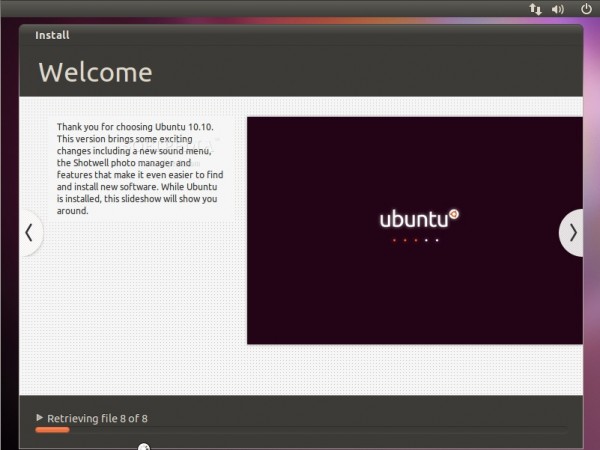
The virtual machine should now be booted up and moving to the first screens where we can begin the process of installing Ubuntu. Along the way you will see a few boxes popup about mouse and keyboard integration. Read these and then click ‘Ok’ on them. The process for installing Ubuntu is simple – click on ‘Install Ubuntu’ and then you should see a screen that looks like this:
Click on ‘Download updates while installing’ and then on ‘Forward’. You will then be asked if you want to ‘Erase the entire disk’ or ‘Specify partitions manually’; let’s go for erasing the entire disk. Don’t worry about your files; the only thing this will do is use the entire virtual disk that we created earlier. All you need to do now is click on ‘Install Now’ and then go through a few screens asking about your time zone, keyboard layout, and your user information. The installation should go pretty quickly since it is just moving files from your hard disk to another location on the disk. Once the installation is finished it will ask you to restart the machine. Once it is completed you should be dropped into the desktop of Ubuntu 10.10. From here, you can start personalizing your new operating system while still keeping it separated from your Windows environment. In the future, if you become more comfortable with the Ubuntu, you can install the machine on your computer either by itself or as a dual-boot machine for both Windows 7 or Ubuntu. If you have any questions about the process of installing either the Virtual Machine or Ubuntu, feel free to leave a comment below

http://www.virtualbox.org/manual/UserManual.html
I want to uninstall again
but im all over the place with confusion
someone want to give me the skinny?
Another tip. It will by default only give you an 800×600 virtual screen. To increase that, start Ubuntu in the Virtual machine, and then select the menu item in the virtual window (not in Ubuntu) Devices>Install Guest additions.
This mounts a virtual CD in Ubuntu, which you can auto run. This installs some extra stuff in Ubuntu. Restart Ubuntu, and you will have a larger screen.
Thanks Steven for your input! When I went to boot up the Virtual Machine for the first time after Ubuntu was installed, I never had a problem with it wanting to install again. It is a great idea however just to make sure that you don’t mess anything up. Glad to see the article was of use to you!
Thanks for this, it really got me started, and works a treat. One thing you have to do after running it the first time is change the boot order on the virtual machine, otherwise the install Ubuntu dialogue will come up each time.
To do this, go to Settings>System>Boot order. You can just un-check “CD/DVD ROM”, and from then on it will boot from the virtual HD instead of the virtual Ubuntu CD.
I have found that having a virtual linux installation makes available all the greatness of linux while allowing you to still have a user friendly OS (not to incite a flame war or anything). I once used a virtual linux installation with 10 NICs and 4 extra vnics per NIC because there were 5 gateways to link through. Why would I do this? The apt complex I lived in had a 100kb/s speed cap per IP. Quick, what is 10 NICs time 5 Gateways? The answer is 50 IPs. What is 50 * 100kb/s? A 5 MEGABYTE PER SECOND TUBE for massive torrenting greatness. Bandwidth aggregation aside, it definitely has its uses as far as development is concerned. Having both Windows and Linux available is a uniquely useful combination in the right situation.
Good article, very thorough 😉