DiskStation Manager:
Disk-station manager is significantly more than a basic user interface. This is a NAS based OS based on a linux kernel. The web accessed interface offers a wide range of customization and feature capabilities. Despite all of the customization security is still paramount. The administrator of this machine has complete control over what features, folders and files a user can access or change.
 |
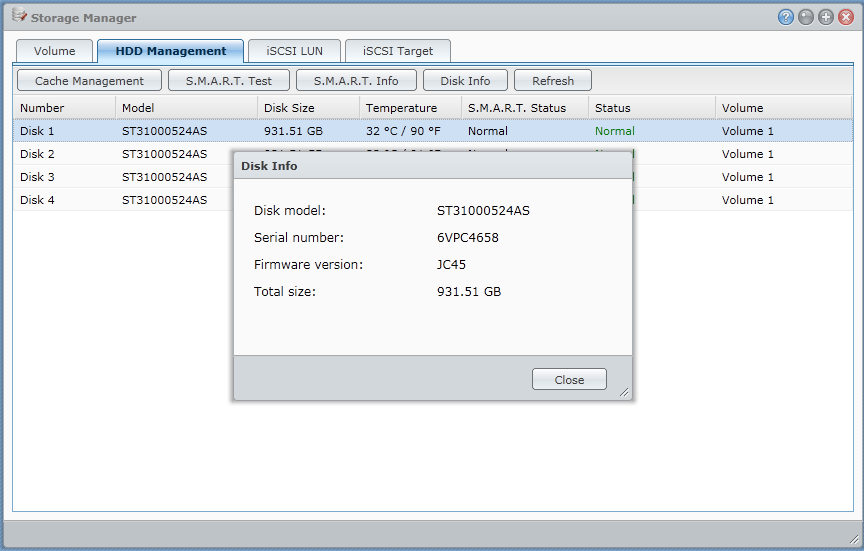 |
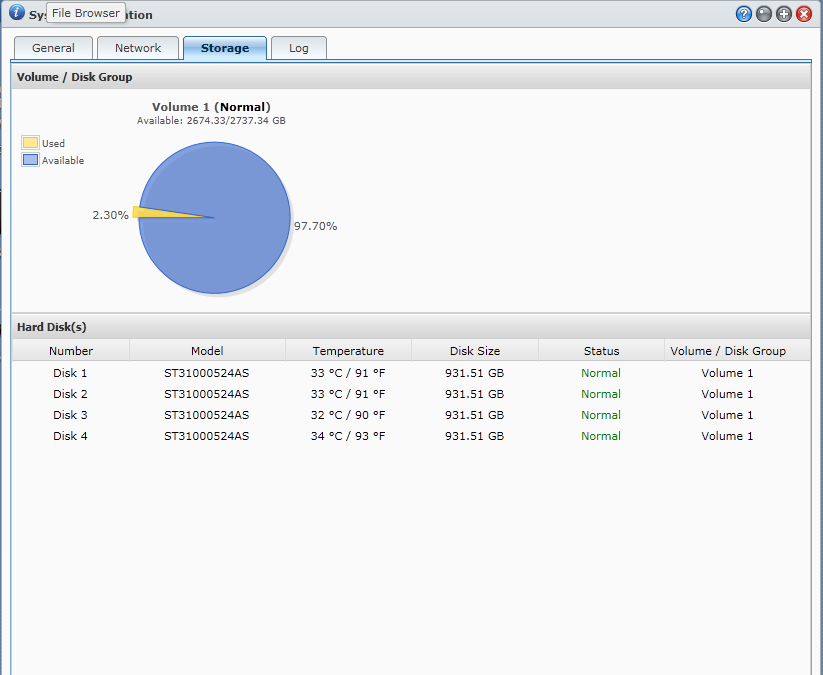
As you can see from the screen shot we are testing this with 4 Seagate SATA III Barracuda’s. While the DS411 + II is only SATA II capable the extra cache (32Mb) provided by the drives will give the Raid 5 I have them configured in the Extra boost of speed.
Home Office Environment:
ISP: Bright-house Cable 20 MB Download 1 MB upload
Router: Trednet TEW – 691 GR wireless 450MB
Cabling Standard: Cat5e
Primary PC: Intel Based with GB Lan
OS: Windows 7 and Windows XP (mixed traffic)
Browsers Tested: Google Chrome, Mozilla Firefox, Internet Explorer 9
Mobile Testing:
OS: Android 2.3.4
Phone: HTC HD2
Network: Tmobile 3G
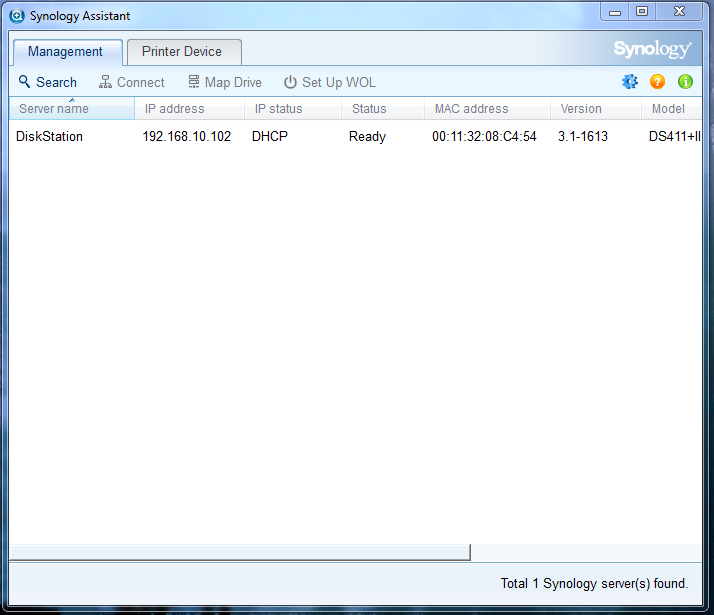
Hand’s down the biggest attraction of this device should DiskStation manager. This suite of applications makes the difference between a storage device, ans a Small/Medium Business Powerhouse.Unfortunately, the value of the device would quickly dissipate if it you have to hire an expert to manage it. The good news is you don’t have to know anything about networking to start using this device. After Plugging the Synology into the network and power, It beeps to let you know its on. After hearing the beep, you can run the Synology Assistant that will discover the device on your network, it will even discover multiple Synology devices on the same network.
Let’s take a look at the user interface.
 |
 |
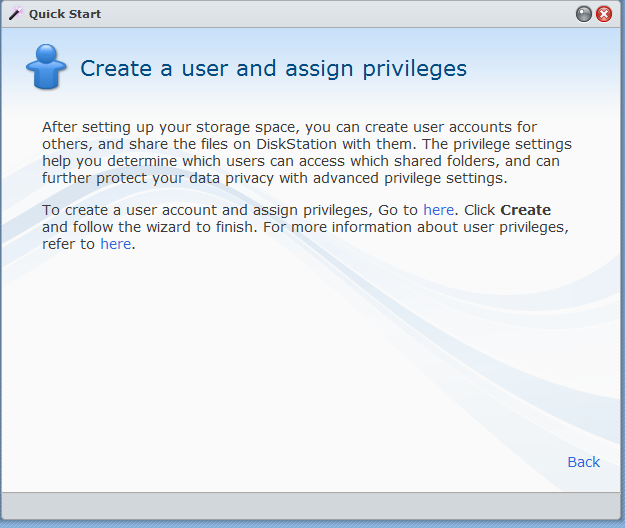
After logging into DSM using the default username and password, you are presented with the quick start. From here you can:
- Create/Manage volumes
- Create/manage Users
- access your files
- access the control panel
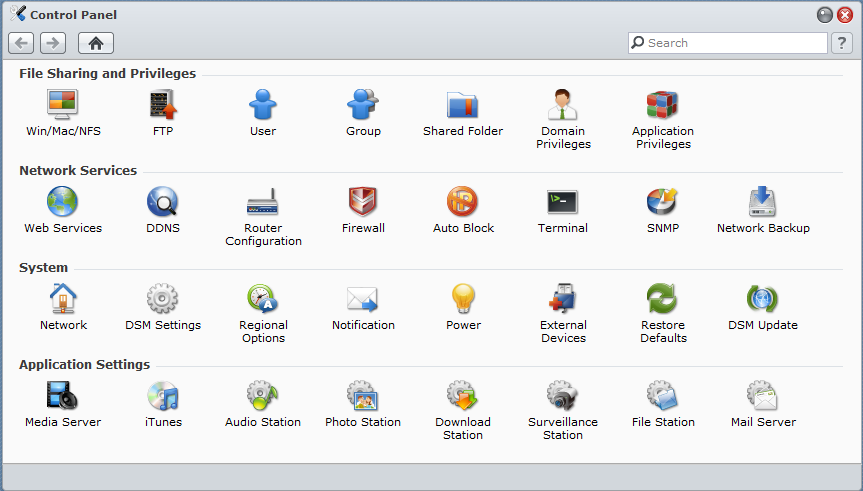
The control panel is the primary method for the administrator to setup and control the device. It offers some self explanatory icons to guide your choices.
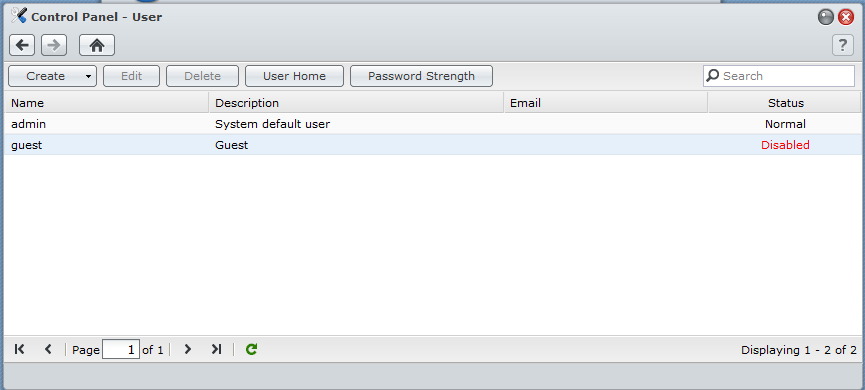
I started by creating another user:
 |
 |
 |
 |
 |
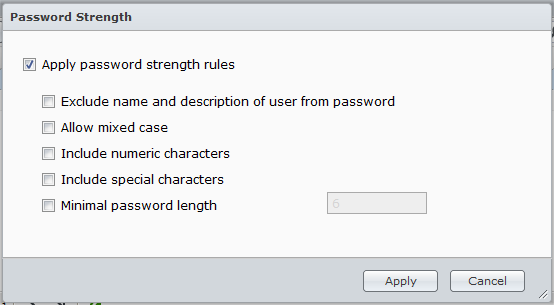 |
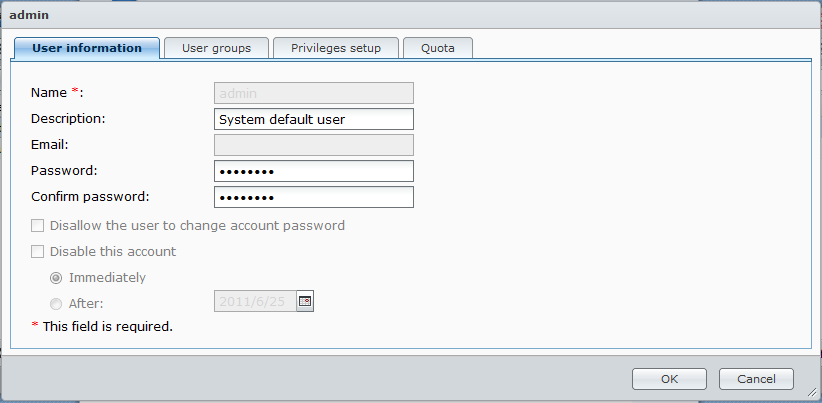
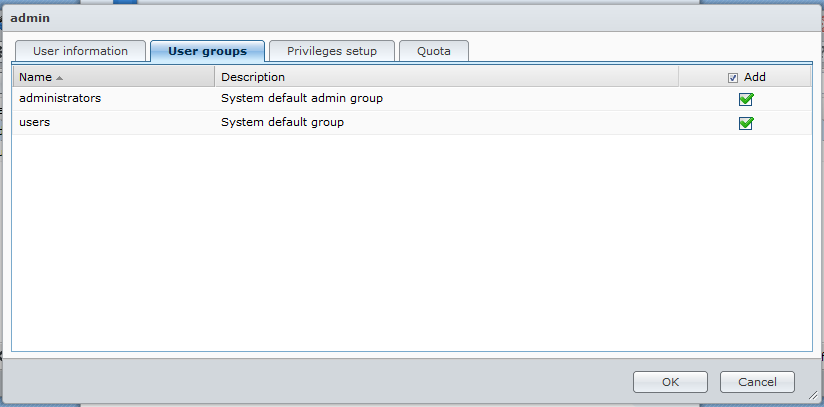
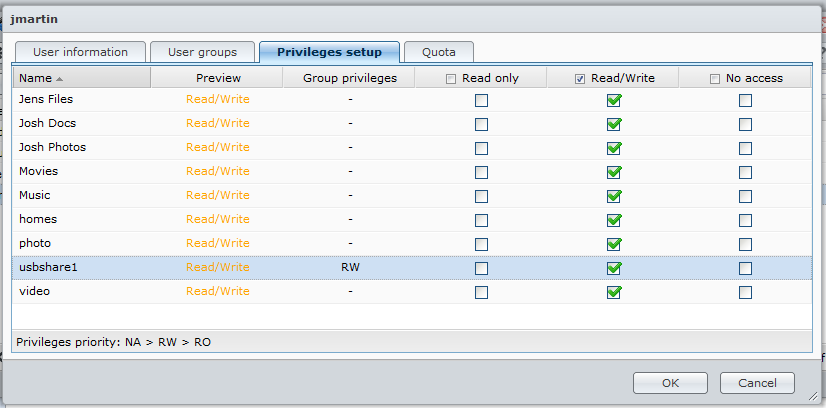
Creating a user is very simple, you simply choose a username, create a password (I have also included a screen shot of the password options), and assign privileges and quotas. You even have the ability to create a temporary username with a defined expiration.
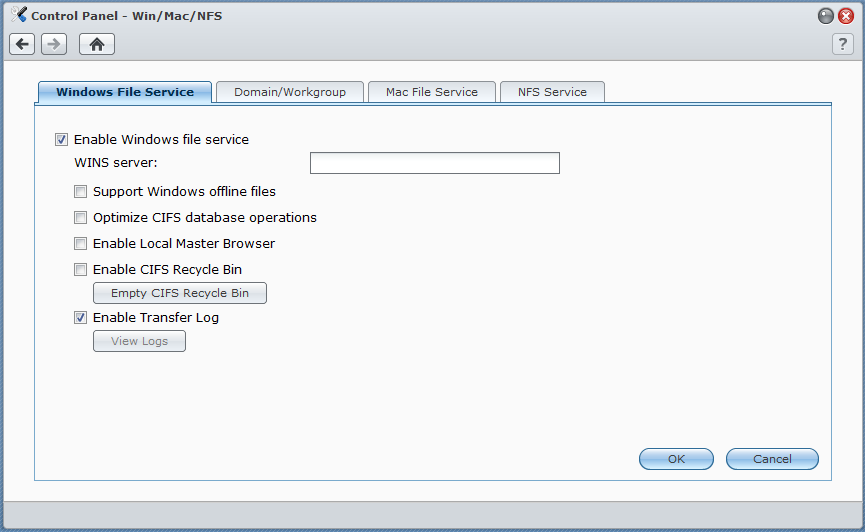
Of the numerous methods to share your files, I chose to use FTP, WinFS, and Mobile Device. (I’m especially excited about the Mobile method).
 |
 |
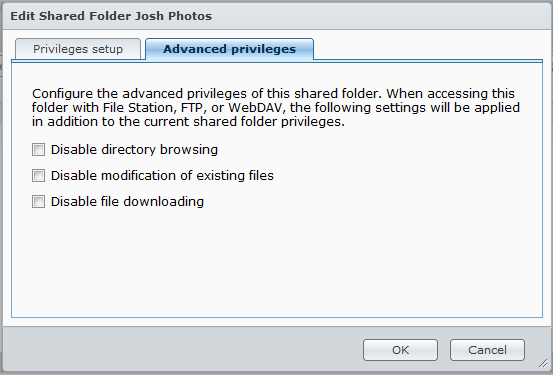 |
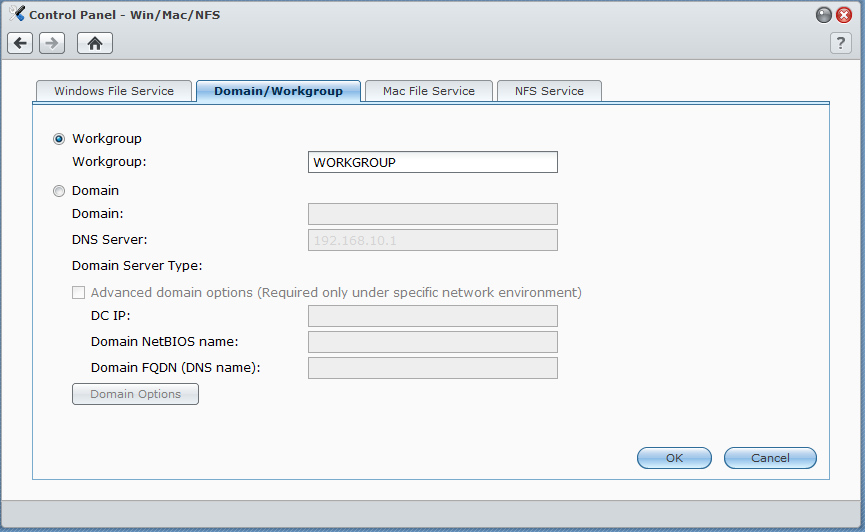
Its simple check boxes to enable the windows/mac file-share capabilities, you also have the ability to have the device authenticate against a domain if necessary. I have also included the screen shot for the individual folder permissions. The level of security customization that Synology has included is very impressive, it rivals active directory.
In Browser usage:
off to a running start I wanted to see what the “new multitasking UI” was capable of. All the features in the world won’t get used at all if the response is sluggish. In this modern age we want everything NOW or sooner. Lets see how it handles it self.
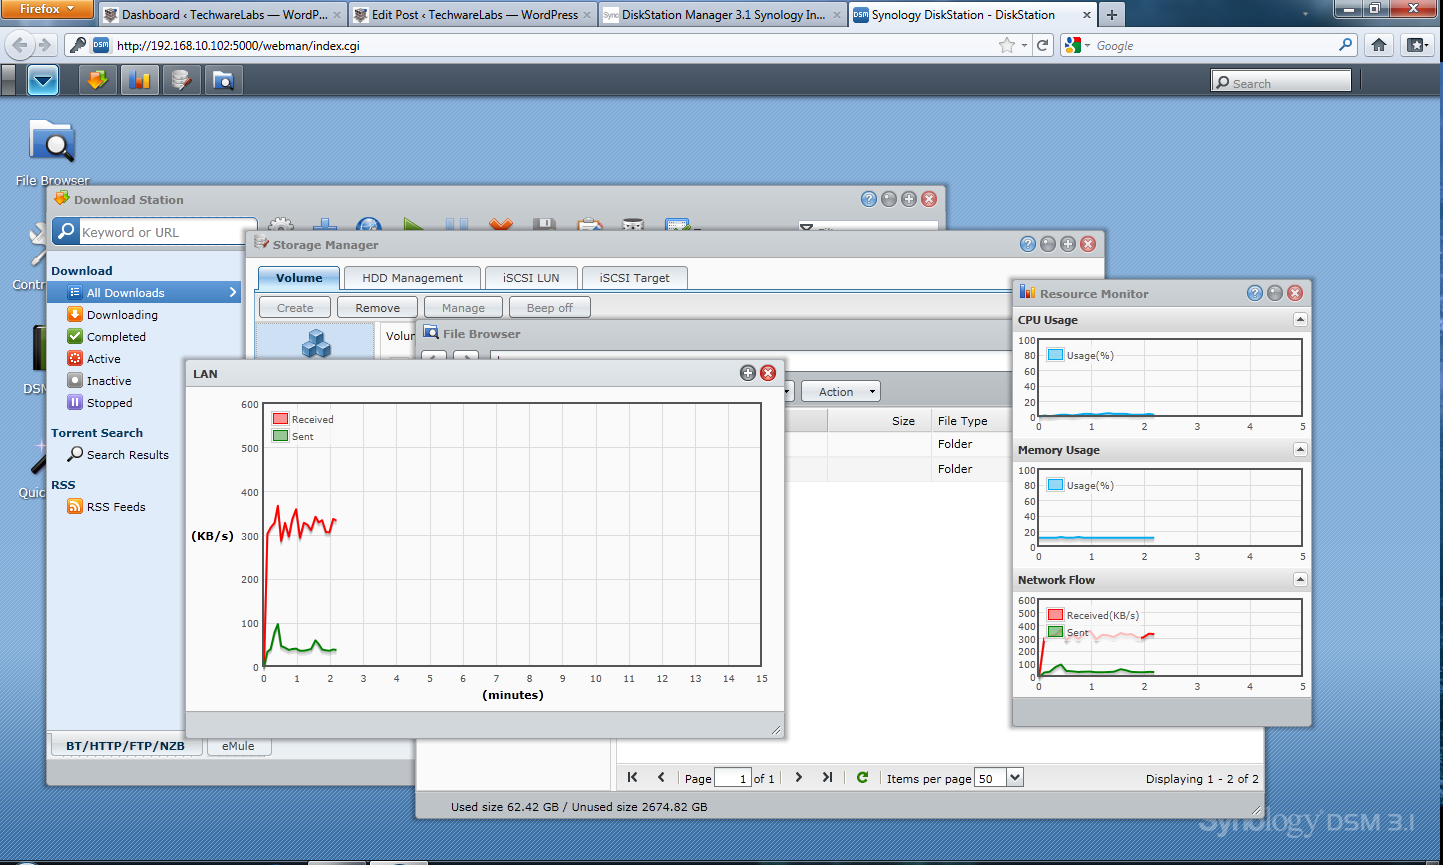
Running several “large” downloads (utilizing bandwidth restriction for optimal network traffic else where) and watching the real time resource monitors barely showed up on the processor.
Remote Usage:
Setting up all of these services on the Synology is as simple as a check box, but what about your router. Surely with a device this powerful you want the ability to remotely access your files. Take it from me, configuring port forwarding can be a nightmare, testing availability often requires two network connections, and it can be called any of twenty different terms. In the case of my TrendNet TEW – 691GR port forwarding is called virtual server.

Take a look, Synology has a built in utility that will configure your port forwarding rules based in their database of known devices. They didn’t have my specific device, but i chose another Trend-Net device (639 – GR), and it worked like a charm. Synology, once provided with my log-in credentials, programmed the port configurations for all of the services I wished to enable. THIS DEVICE WILL PROGRAM YOUR OTHER DEVICES TO WORK WITH IT. Ladies and gentlemen I just setup sky-net.
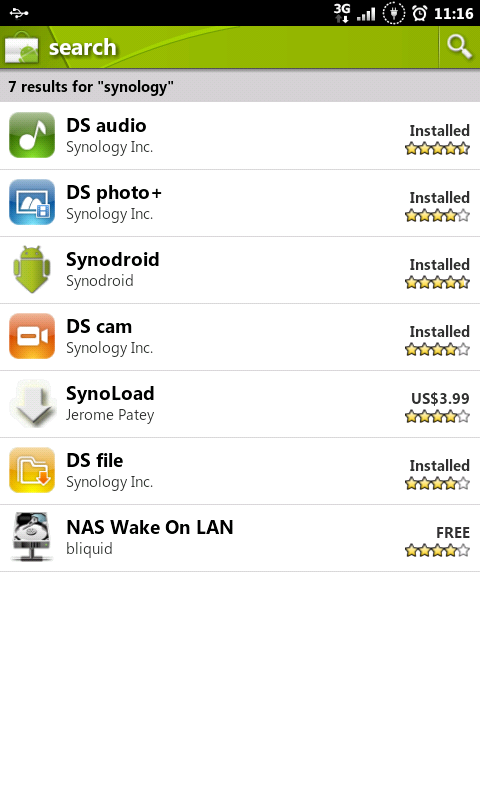
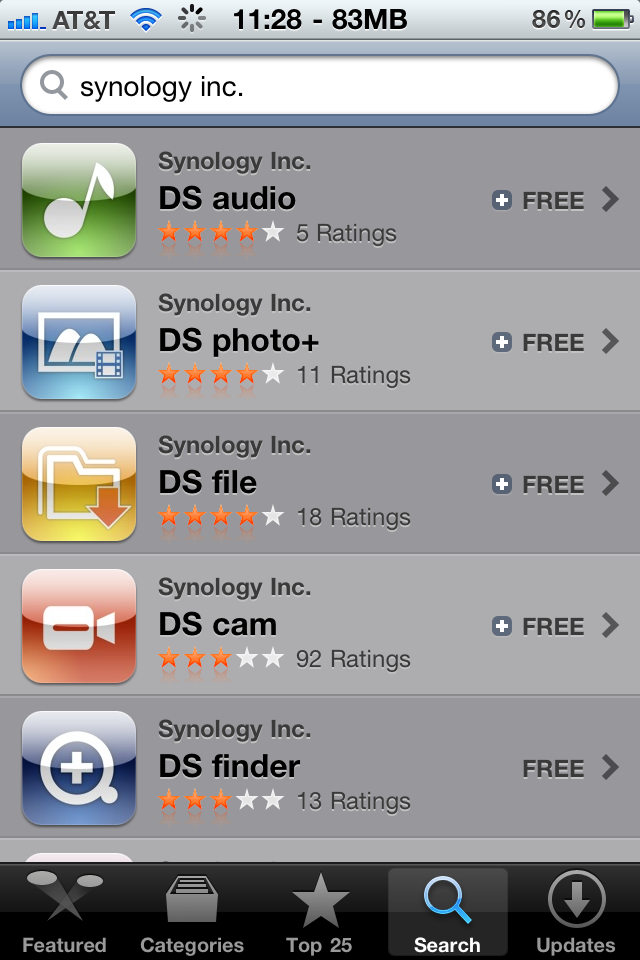
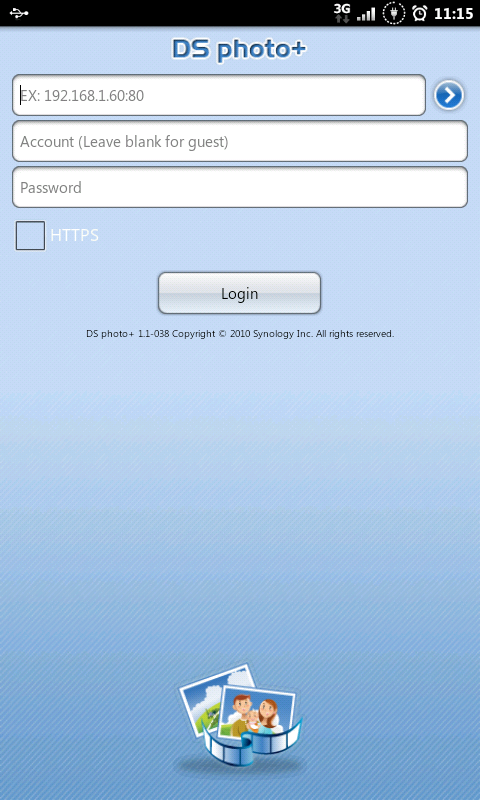
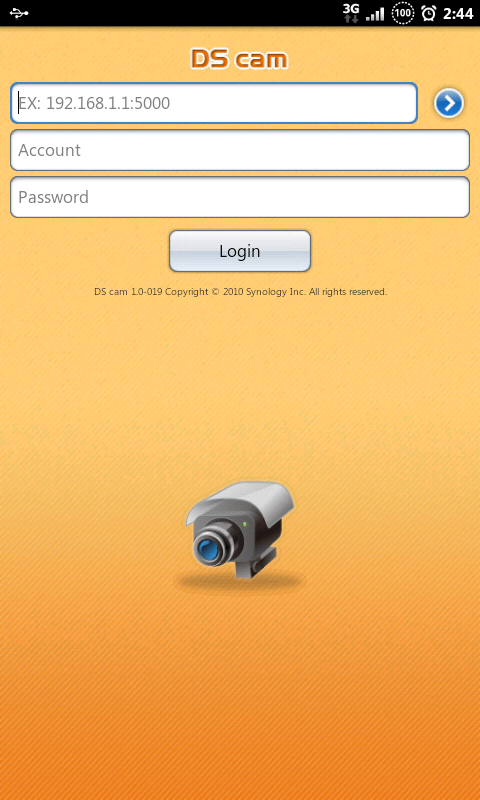
To test this I connected to the Synology from my work and my Android Phone. At the time of our last review, Synology had released a photo station APP for iOS, since then they have been very busy. A quick search of the Android and iPhone markets will reveal FREE Synology written apps to utilize your devices full potential on the go.
 |
 |
Connecting from my work would have worked without issue, however there was a severe thunderstorm at my house and I was unable to connect at the precise moment I tried. Immediately after power was restored to the Synology the true culprit was revealed.

Once set up the Synology DS411 + II emails you with notifications. And it’s quite polite about the whole ordeal. With power restored,I was able to test the service from my work.

This was utilizing File Station, which is the multi-browser compatible explorer interface that utilizes Java to provide your current PC’s directory structure. I transferred 80Mb’s worth of photos in approx 1.02 min. The speed of this transfer is purely limited by your internet connection.
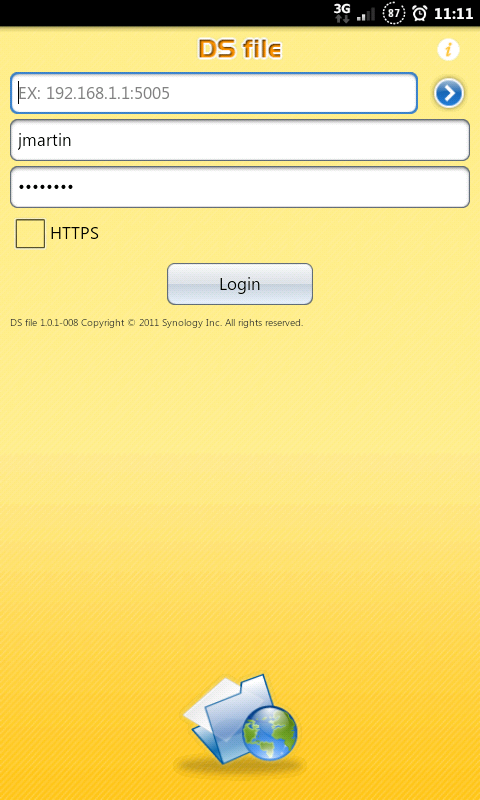
Next, I downloaded the Synology applications and began to test the mobile connection.
 |
 |
 |
 |
 |
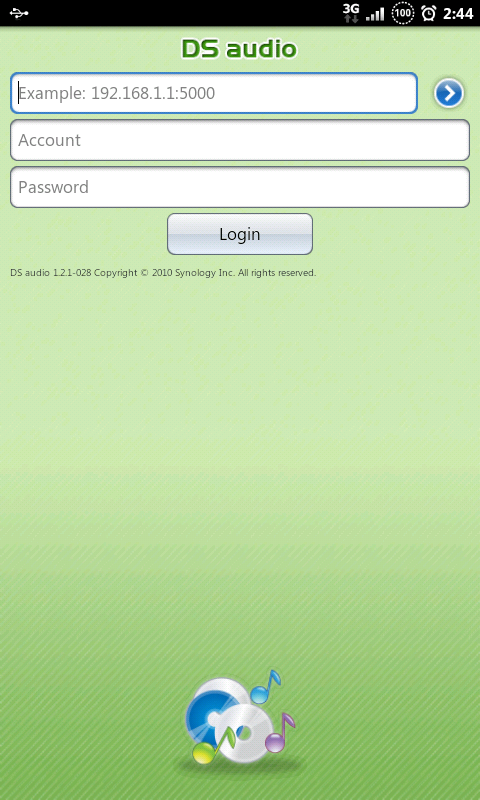 |
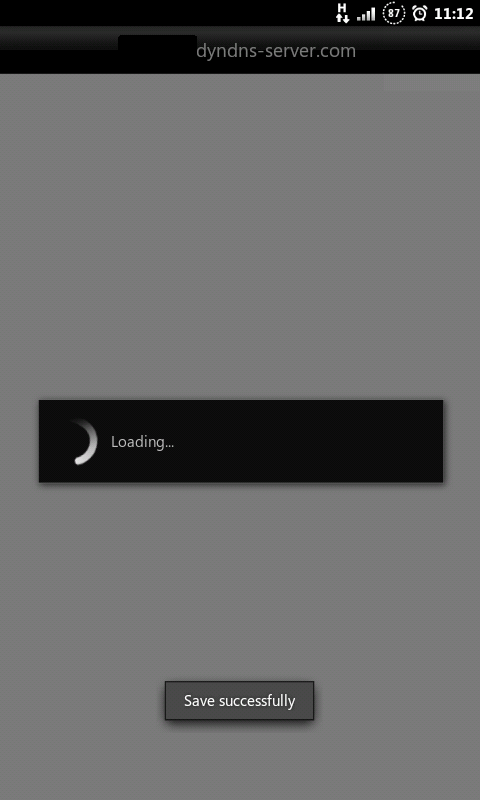
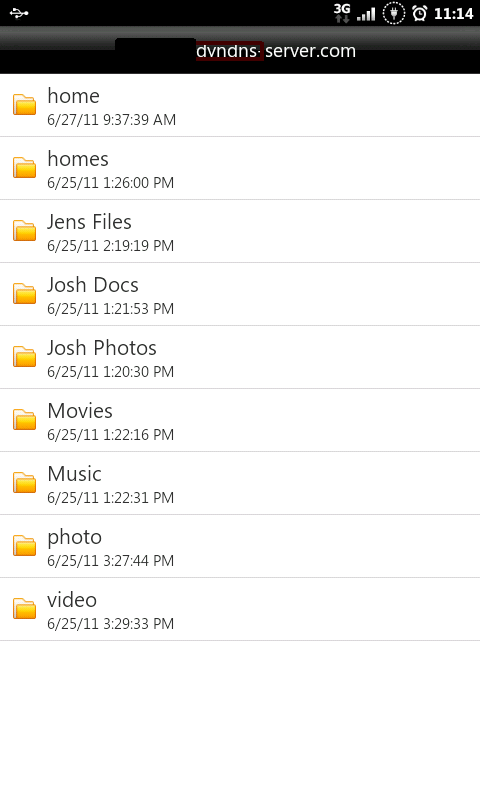
I was very pleased by the speed and smoothness of the applications, I did manage to lock myself out by attempting the wrong port multiple times. Once reading the help file associated with the android app I determined a different service needed to be enabled. It was literally three clicks and four minutes, before Synology had re-programed my router and I was browsing like a champ.

[…] Synology DS411+ II NAS @ Techware Labs […]
[…] Synology DS411+ II NAS @ Techware Labs […]
[…] Synology DS411+ II NAS @ TechewareLabs […]
[…] PC 150 HDA Gaming Headset with 5.1 3D Sound reviewed @ Metku Synology DS411+ II NAS @ TechwareLabs How to build a computer Part #1 – Choosing a processor @ eTeknix G.Skill 8GB DDR3 1600Mhz […]
[…] Synology DS411+ II NAS @ TechwareLabs OCZ Agility 3 240 GB @ techPowerUp ADATA S511 Solid State Drive @ Benchmark […]
[…] Synology DS411+ II NAS @ Techware Labs […]