Testing:
The Synology RS409+ was a breeze to setup. Install the Synology Assistant software from CD. The Synology Assistant will locate the device on your network and walk you through configuring it, including assigning an IP address, configuring the hard drives for RAID and setting up a user name and password.
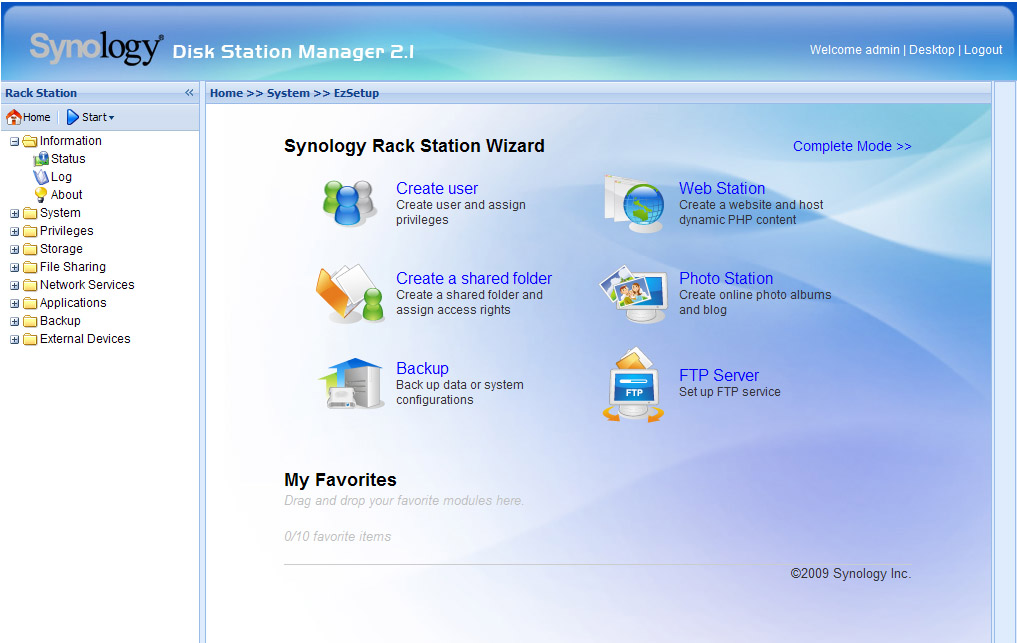
After that pull up the IP address you assigned the RS409+ in your browser and login. The web interface for the RS409+ is simple with links to everything on the left pane and configuration in the right pane. Through the web interface you have complete control over the RS409+. You can turn on / off any of the server software, make changes to the RAID configuration, setup network shares, etc. I’ve included screen shots of some of the main areas of the interface.
I tested everything on the RS409+ with the exception of the DDNS Service and the MySQL Server and it all worked without any issues.
 |
 |
|
Disk Station Manager
|
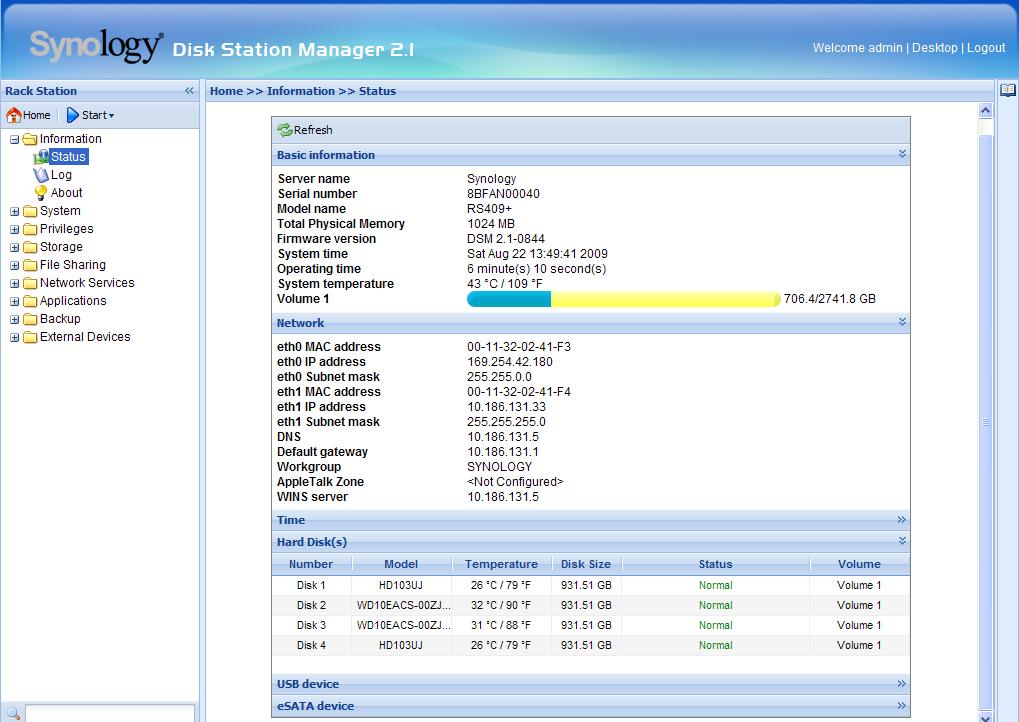
Status Page
|
 |
 |
|
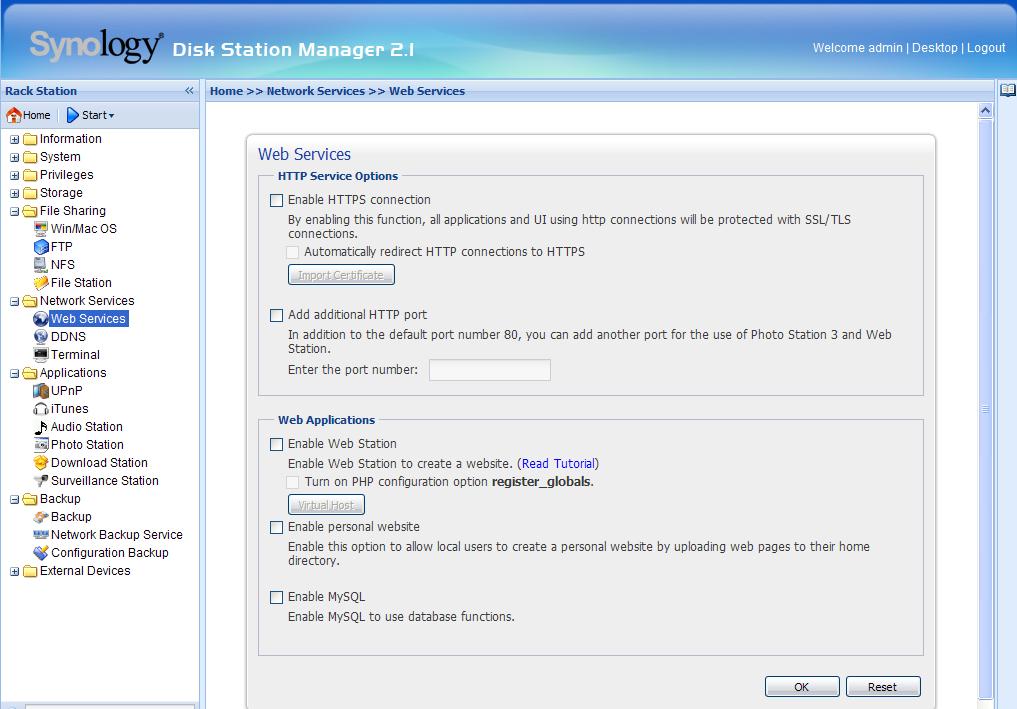
Web Services
|
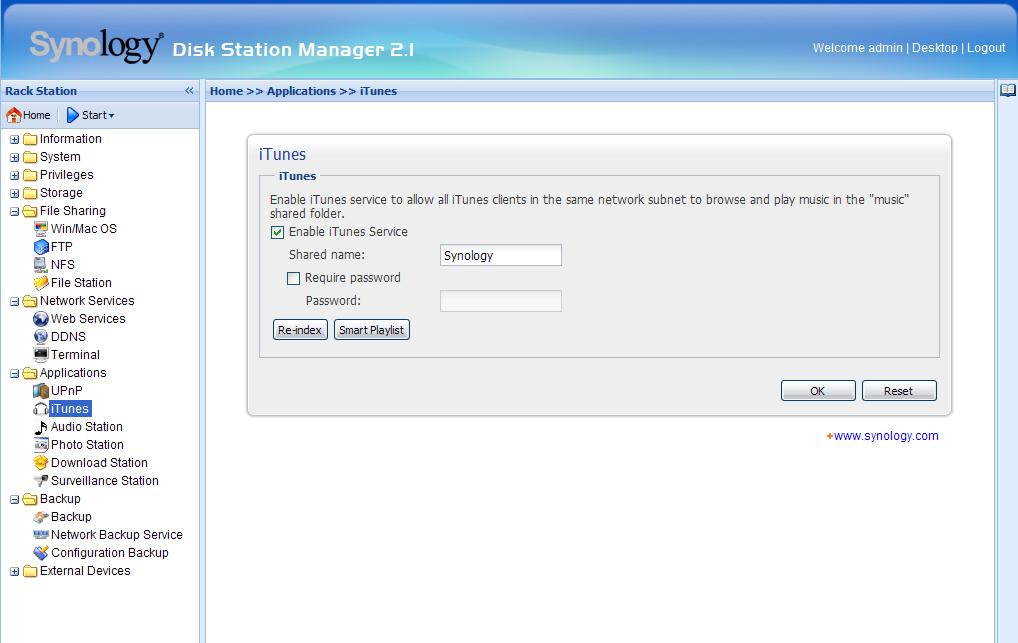
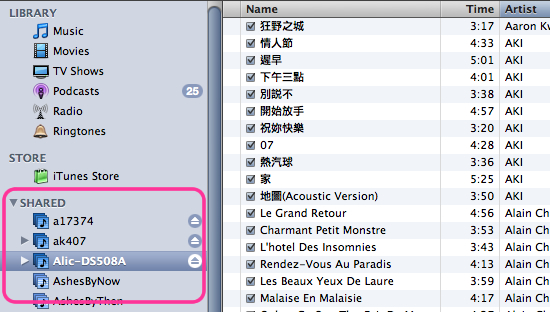
iTunes Page
|
 |
 |
|
iTunes Application
|
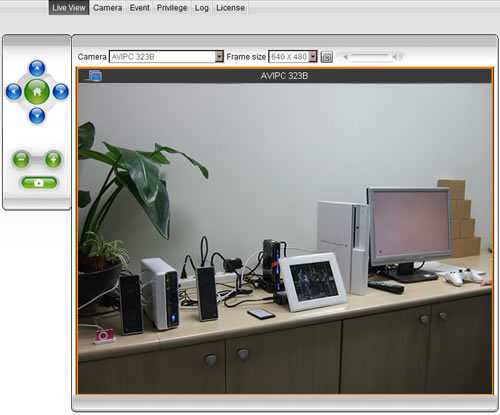
Camera View
|
Conclusion:
This is a great product and a great way for an SMB to enter the server market. There are all kinds of uses for the RS409. Running a web site, FTP site, blog or forum in-house, sharing your iTunes
library, an entry level file server, backup server, etc. If you want network storage but aren’t ready to lay out a few thousand dollars or if you want some additional storage that your Small Business Server doesn’t have then you should check out this product.
