Installing the Pacific RL240 Kit:
If you have installed watercooling in the past then the RL240 kit is fairly straight forward. You need to understand the basic direction of flow and the way to route your piping. The most important aspect of installing your system is planning. Know where you want to mount your components, this will help you decide how to run the tubing and will allow you to make your cuts. I do not suggest filling and testing the system inside your case unless you are proficient and have multiple system installs under your belt. What I do suggest is installing the system dry, run your tubing, and make sure you like the placement. Then uninstall the system and connect it all up and fill with fluid to test for leaks.
Thermaltake has included a special ATX power adapter that allow you to turn on the PSU without powering the system up. This is critical to ensuring you don’t fry your system or CPU if a leak occurs. It is still possible to short components and even the board so I suggest unplugging all connectors from your system components. This would include the ATX 12V, fan headers, as well as all molex and 12V SATA connections. This ensures you are following the safest test procedures. With the board and components not powered you are ready to fill the reservoir first and power up the PSU to start filling the tubing and radiator. If you are using the new C1000 coolant as we were you can expect that to fill your system running only the W1 waterblock and a 240 reservoir will take approximately 1 full container of C1000. If you are using a larger reservoir or additional loops you will require more fluid.
Our Installation Notes:
Documentation: If there is a downside to the Pacific RL240 system it lies in its lack of installation instructions. Only the waterblock and pump had any documentation and this was very minimalist. Thermaltake assumes the consumers of this kit are proficient enthusiasts and have done this before. This is good and bad. I can say for sure that were instructions included for tools, mounting, fan attachment etc, that the install would have gone quicker and involved a few less curse words. That being said it was still fairly simple to install and all components functioned flawlessly. I am a big proponent of documentation having spent a good deal of my life as an Instructional Systems Designer so I may be a bit heavy handed here in my critique of the documentation.
Tools: Thermaltake included two specialized wrenches shown below:
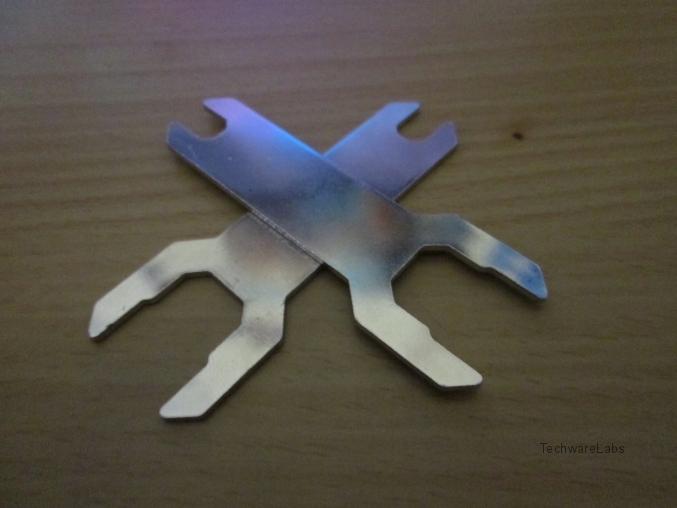 These wrenches are multipurpose but primarily let you tighten the included cap ends as well as tighten down the inner compression fitting everywhere they are used. If you look at the picture of the compression fittings on page 2 of the review you will notice that they are slotted, this is to allow the use of this wrench to tighten them down. Make sure you use it and that they are snugly tightened to prevent leaks.
Thermaltake does not include a cutting tool for the tubing; we suggest using a razor or tube cutter and not cross cutting or leaving a sliced end on the tubing as this will lead to leaks. You want to try for a nice, flat-edged, clean cut.
Coolant Filling: The RL240 kit includes a coolant fill bottle that may drive you mad. While it is precise in nature and allows for the least spills it is also painfully slow to fill your system. If you install the system outside the case as recommended then we also highly suggest getting a fine ended funnel for filling the reservoir. You will thank us for it later, as well as having more hair left. You will want to connect the ATX power connector included with the kit to the 24 Pin motherboard power connector and use the switch on your PSU to power the pump on and off. Do not leave the pump on as it will draw the fluid rapidly into the tubing and running it dry is not advised. So fill your reservoir up, power on, fill the tubing, and shut it down before it runs dry in order to refill the reservoir. For vertical reservoir installations you can fill the reservoir to 90% but for horizontal installs you will want to use a compression fitting and fill line extension to fill the reservoir completely or you risk drawing air bubbles back into your system.
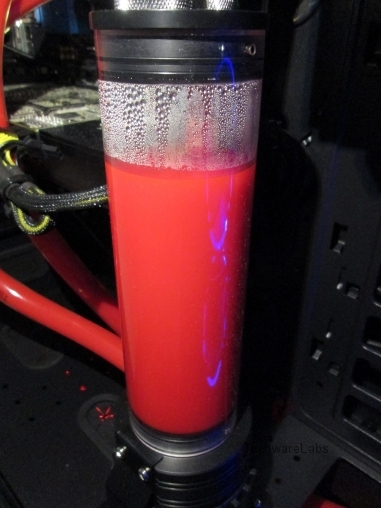
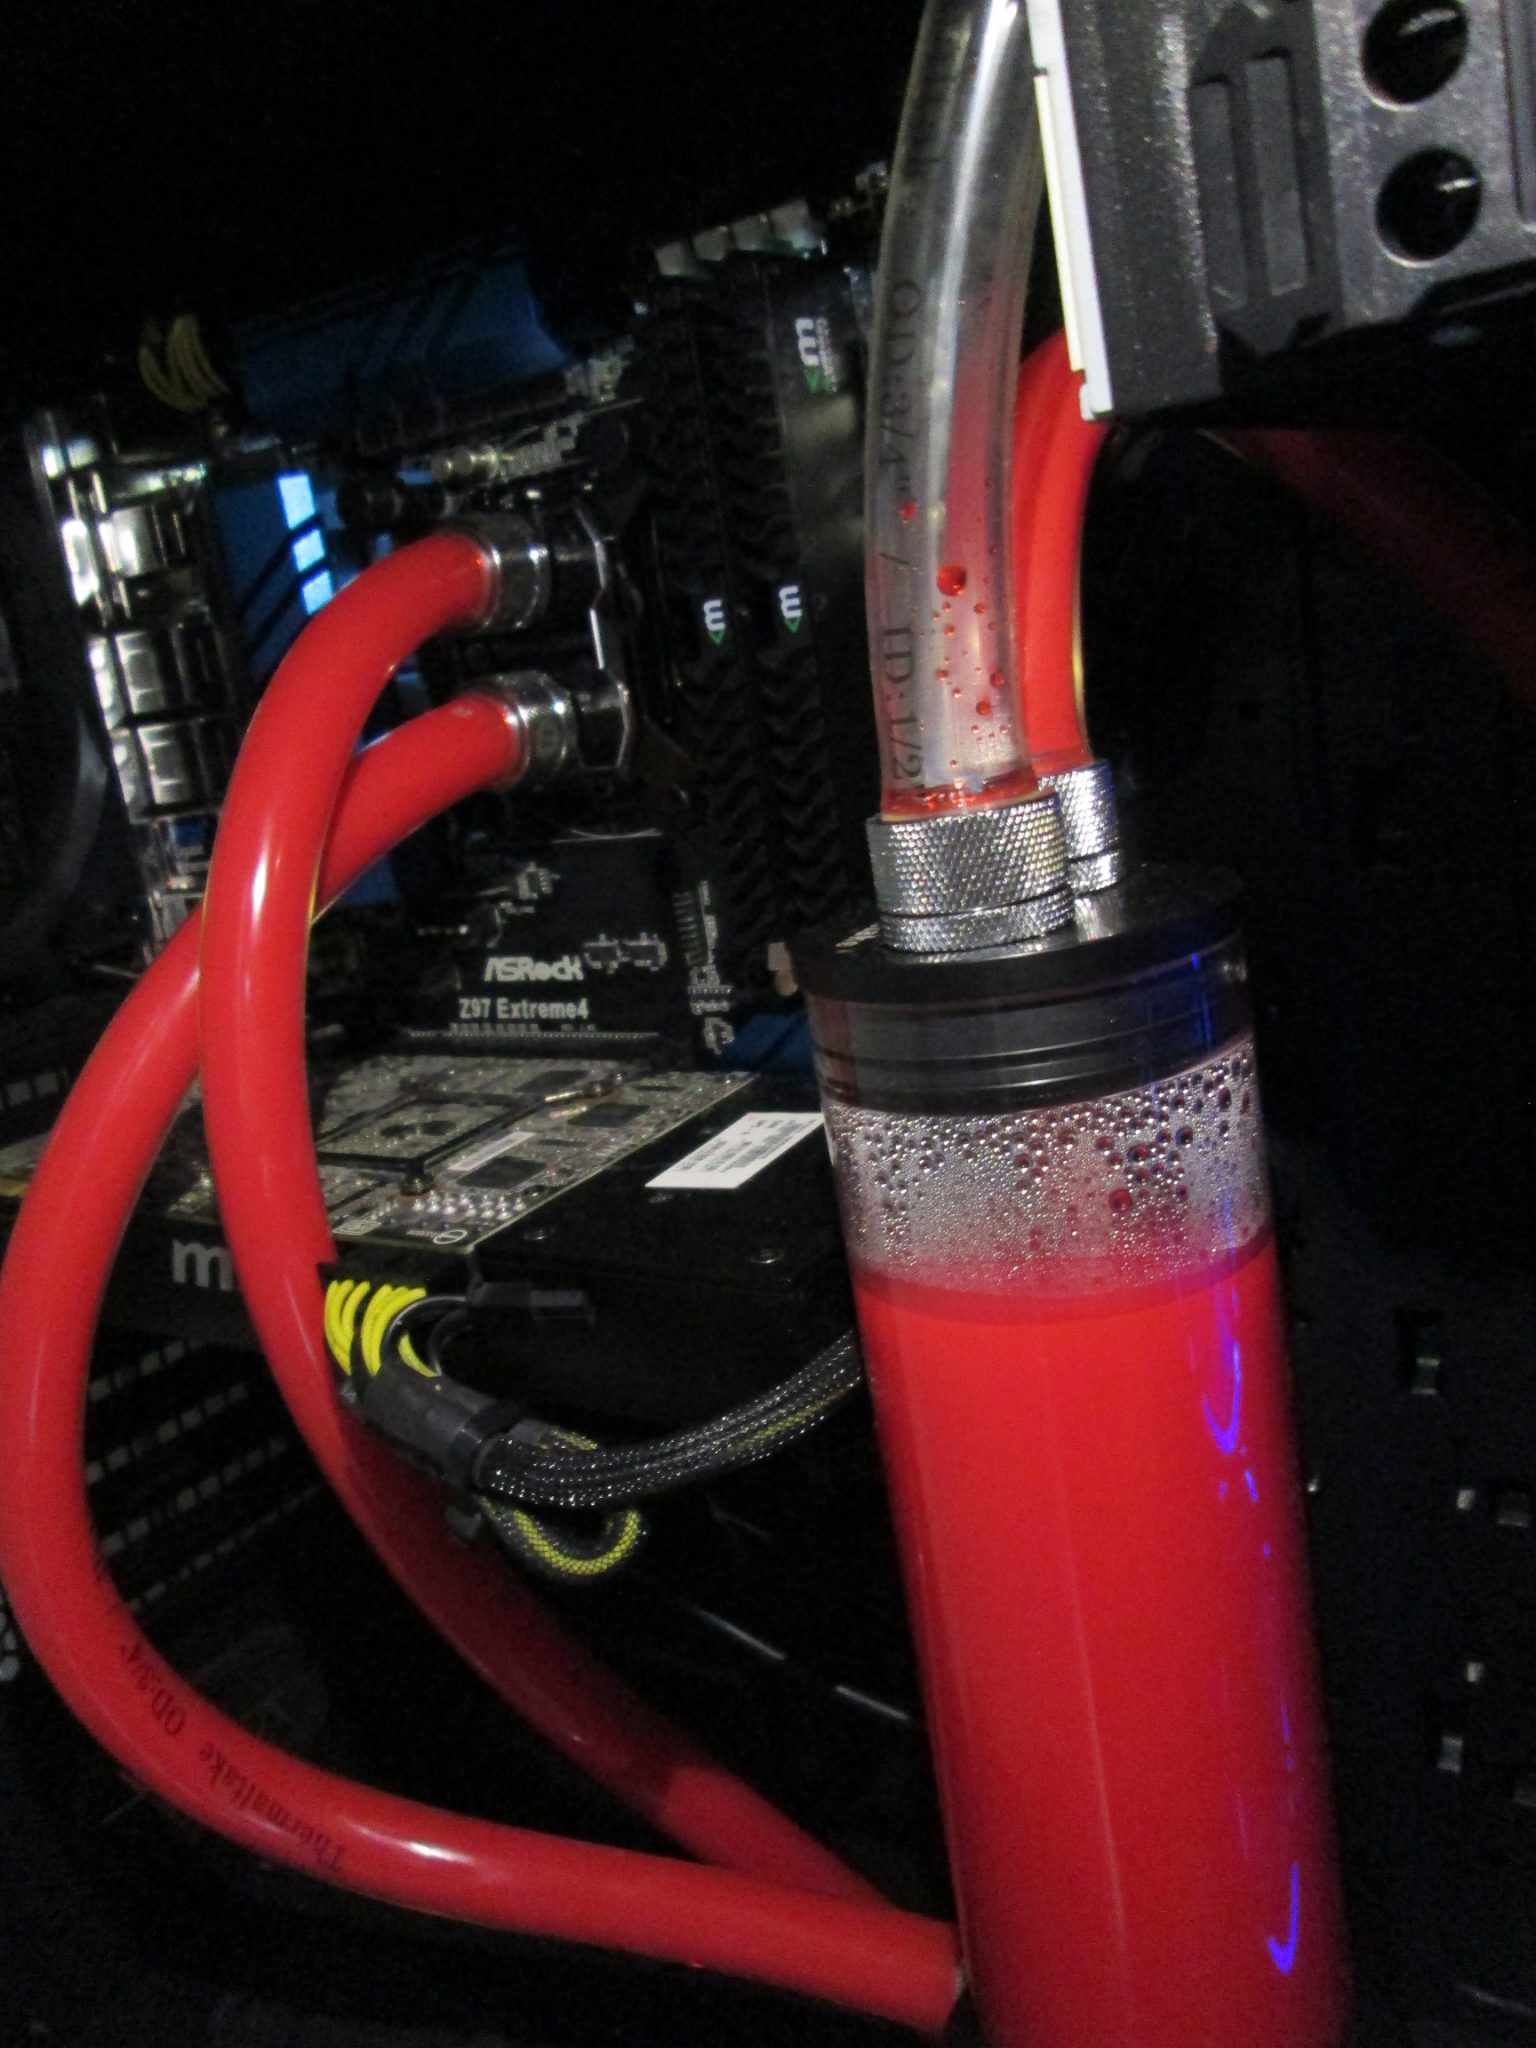
Make sure if you use the fill tube that you also install the end cap specifically designed for the fill tube or your coolant will slowly evaporate into your case which is not a good thing.

[…] TechwareLabs beats the heat with the Thermaltake Pacific RL240 Watercooling Kit […]