A Closer Look, part 2
The two side panels are held on each with a pair of thumbscrews. Getting the side panels off is a matter of removing the thumbscrews and pulling back on the handle until the panel falls off. As with many new cases, a Philips head screwdriver may be needed to break the static friction on the thumbscrews the first time. After that, getting into the case is an entirely toolless affair.
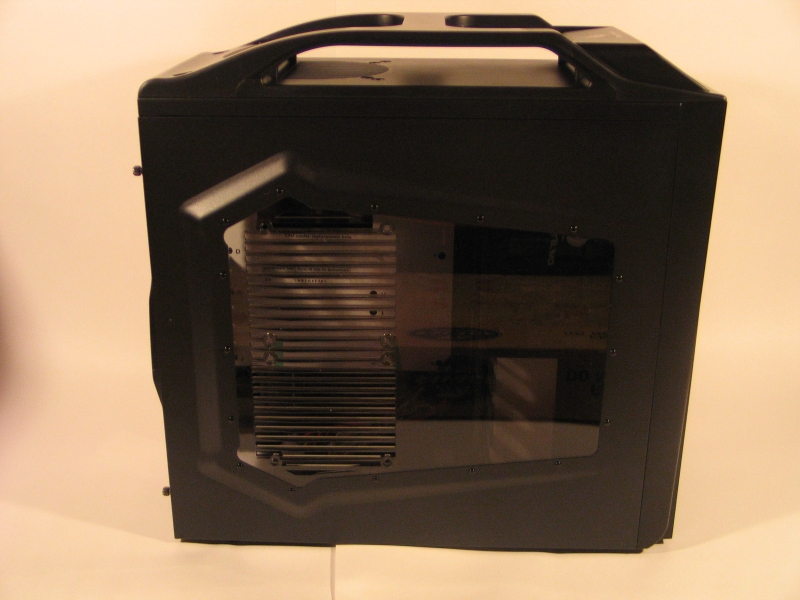
The left side panel features a large polygonal window that takes up most of its area. The back half of the window features ventilation slots and screw holes for mounting a pair of 120 mm fans. There is no provision for blocking these holes however, which may present a problem if you live in an especially dusty environment. Given that there were no dust filters on the front intake fan however, it’s probably safe to assume excessive dust was not one of their design considerations. The right side panel is identical to the left, save that it lacks the window.
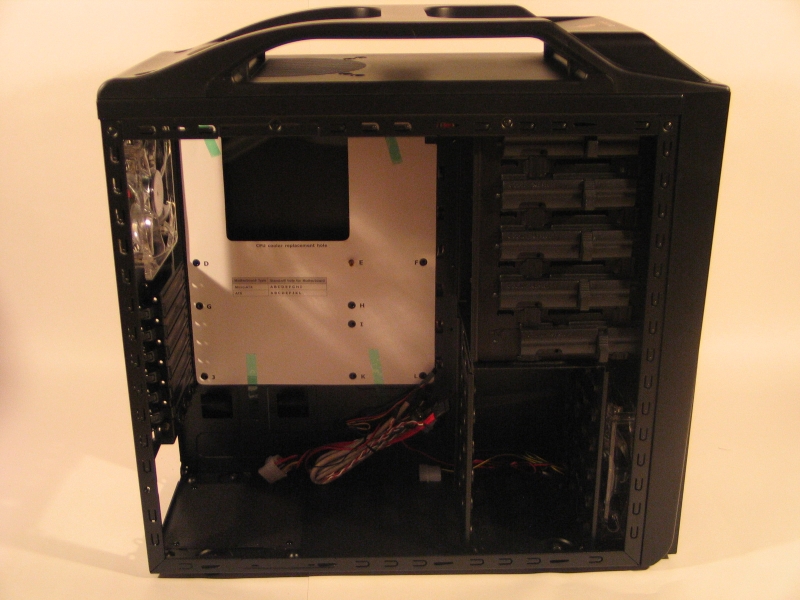
Looking inside the case, we see a layout that will look very familiar to users of past Cooler Master cases. The hard drive cage is welded in place at bottom front, and utilizes a toolless rail system. Each rail holds itself in place with a pair of straight, rough-textured posts that go into the screw holes without engaging the threads. In practice, this means holding the rails to the side of each drive as it is slid into place. Once installed, the drives do stay put, but an incautious user will find the rails popping right back off when the drive is removed from the cage.
The motherboard tray is large enough to accommodate a standard ATX motherboard, but just barely. If your motherboard has the drive connectors lined up along the front edge, as is fairly common with enthusiast-class motherboards, getting the data cables lined up and connected properly will be quite a chore. Taking off the right side panel will gain you some maneuvering room, but don’t expect to set up any kind of hot swap array in this case.
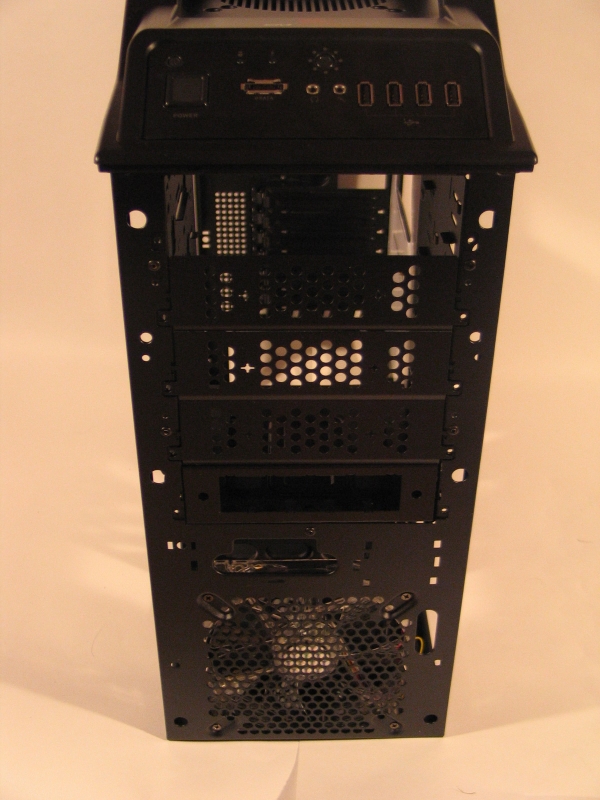
The 5.25″ bays use a somewhat smarter system than their smaller cousins; each of the bays has a mechanism attached that slides forward to engage a pair of locking pins. Once engaged, a small latch slides downward to lock it in place. In practice, it was a bit difficult to line the drives up correctly with the pins, largely due to the necessity of removing the front bezel entirely in order to install the drives. The lowest bay comes preinstalled with a mounting bracket that allows for a 3.5″ or 2.5″ drive to be installed there. This is meant to hide behind a dummy faceplate however, so it is not much help in positioning an optical drive.
Looking behind the front bezel also gives us a clearer look at the front intake fan. At 140mm, it is slightly larger than the fans we’re used to, but not by much. When the lights are turned on with the switch on the front I/O panel, this fan glows a bright red that can be seen clearly through the perforated mesh and thin foam that makes up most of the front bezel.
Looking underneath the motherboard tray, we see a couple of interesting features. First, and perhaps most noticeable, is the large cutout in the upper portion of the tray itself. This cutout gives direct access to the motherboard underneath the CPU socket, enabling the user to change out CPU coolers without removing the motherboard from its mounting. This particular feature is actually fairly uncommon in cases in this price range, for no reason I can fathom. Adding it here was a nice touch.
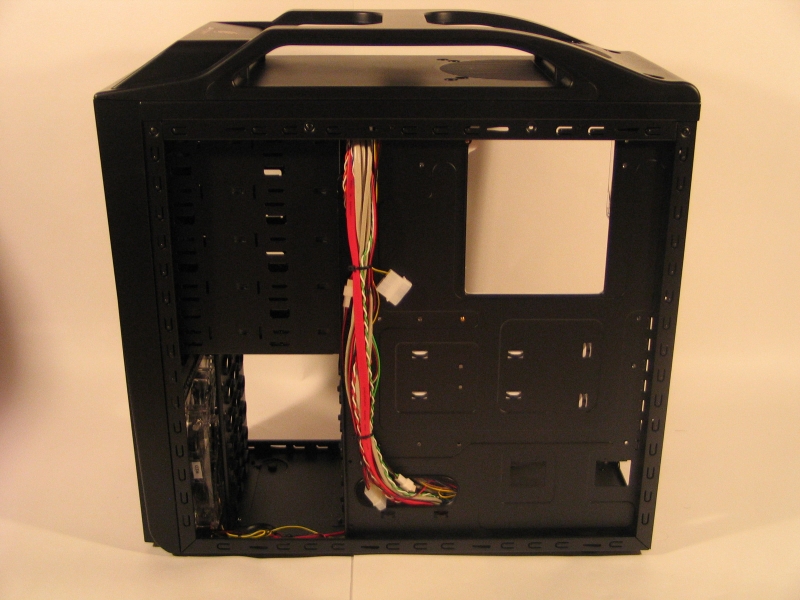
The other feature is perhaps less prominent, but definitely more generally useful: zip tie anchors. With these, taming an unruly tangle of power supply cables is much simpler. The included zip ties are a bit too flimsy for this task, especially when the 24-pin motherboard power cable is involved, but a trip to the local hardware supply store can easily fix this deficiency.
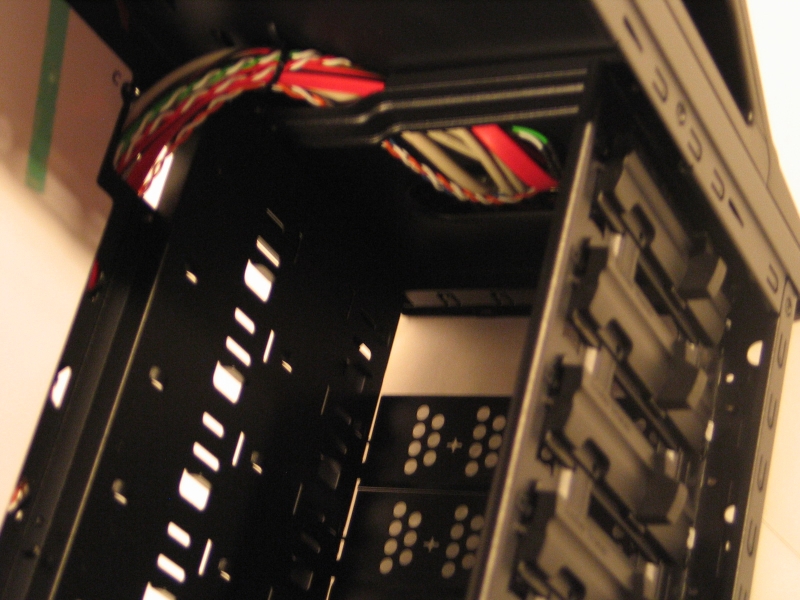
Also quite prominent is the thick bundle of cables coming down from the front I/O ports. These cables come already tied down and positioned where you will most likely need them. This sort of thing is expected from an aftermarket chassis these days; it’s nice to see that Cooler Master does not disappoint in this regard.

[…] Techware Labs (+) […]
[…] Cooler Master Storm Scout Case @ Techware Labs – Thermaltake Evo Blue 750W PSU @ DriverHeaven – XFX 850 W Black Edition Power Supply @ Hardware […]
[…] techwarelabs reviews the Cooler Master Storm Scout Case […]