A Closer Look: Interior
If you were impressed with the exterior of the Thermaltake DH-202, the interior will not disappoint you. There is room for just about anything, from an aftermarket CPU Cooler, to a full-size video card. The interior is easy to work with, but possibly the most important, no sharp edges. You don’t have to worry about cutting up your hands when you put your rig into its’ elegant interior, which is always a good thing for those of us that do this often. As with any HTPC case, cable management is not high on the priority list f the DH-202. As much as we don’t like this, the purpose and size of this case doesn’t really allow for much to be done. The DH-202 is, after all, a media PC case designed to be looked at from the outside and not the inside. To this end Thermaltake decided to optimize space on the interior rather than provide tunnels for cable management. As a result there is ample room to hide wires and if you have a zip tie or two, you’re in business.
 |
|
Installation
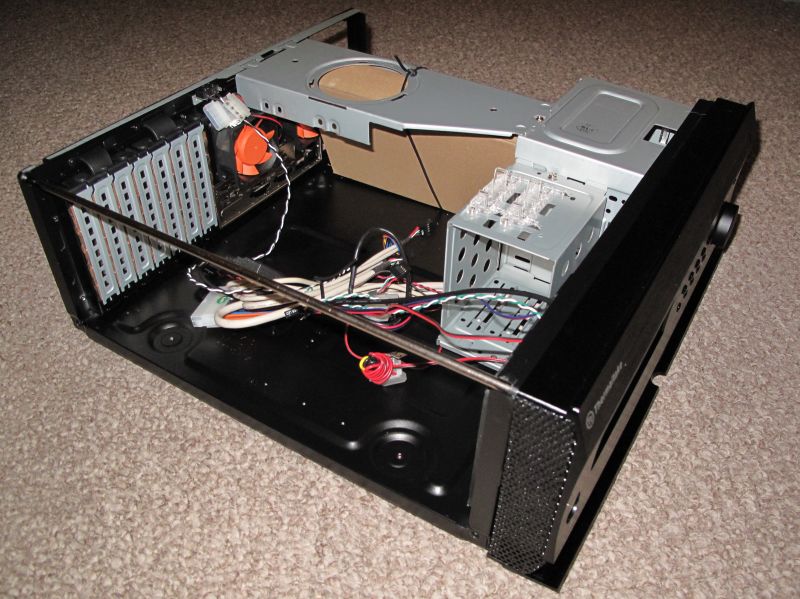
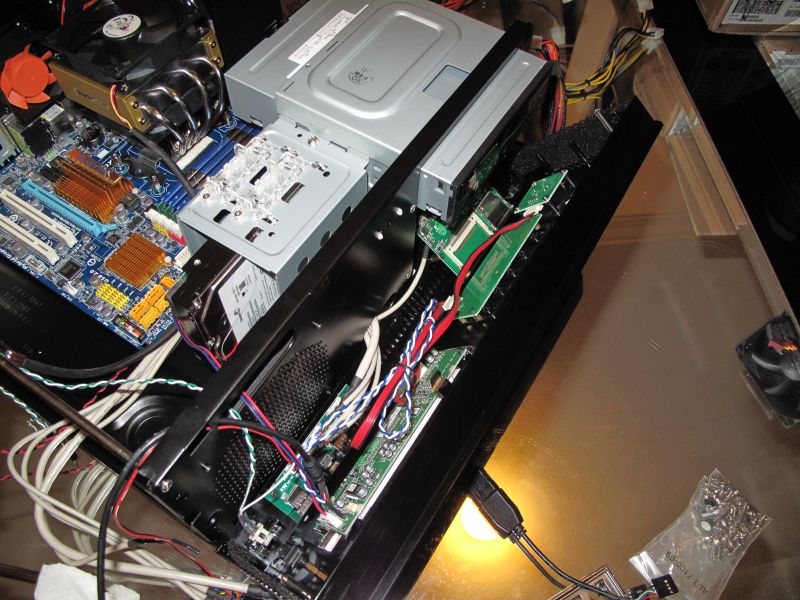
Fastening the chassis’ cover of the Thermaltake DH-202 on is three small thumb screws, upon removing these and opening up your case you have a very roomy interior. Compared to other Home Theater PC cases this is among the larger, although I would not consider it to be too large. The case is large enough to place a full ATX board and your average sized power supply lying sideways. The back is secured in place by a steel rod that runs along one of the sides and a steel bridge support attached to the front drive bays and the rear of the case. This support bridge goes directly above your computer and has room to place an 80mm fan on it, the downfall of this being placed right over your processor is that most of your rather large CPU coolers will get in the way and you will have to remove the bridge. The bridge also provides additional structural integrity and allows for an additional home theatre component such as an amplifier or Blu-Ray player to be placed on top without compromising the chassis.
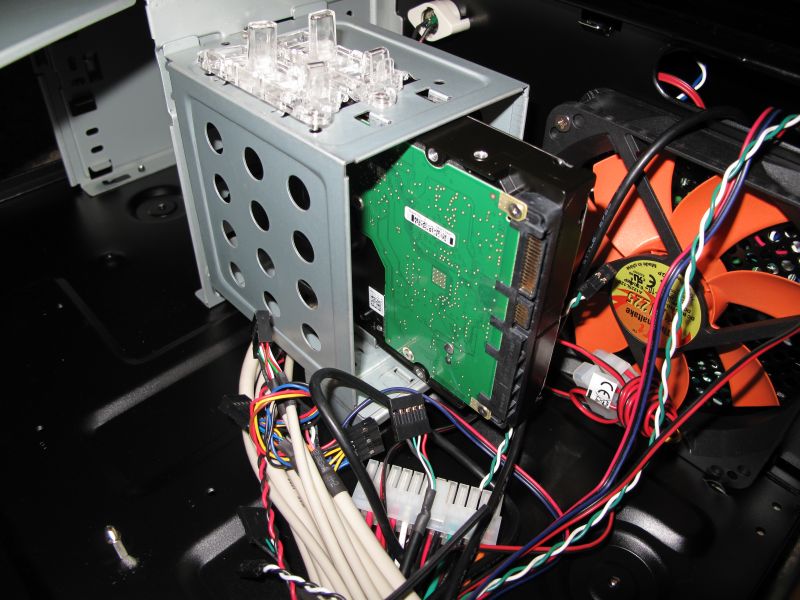
The installation of the motherboard was quite easy as there was plenty of room to work with. The chassis’ back plate was appropriately labeled to state which motherboard screw holes were necessary to be used depending on the motherboard you are using. The DVD drive and the hard drive went into place without any problems and the use of the tool-less design was superb. One thing that I did happen to notice was that the hard drive partially blocks the 120mm fan located in the front of the case. Although this might be seem bad, it may help to cool any hard drives you have in place.
 |
 |
 |
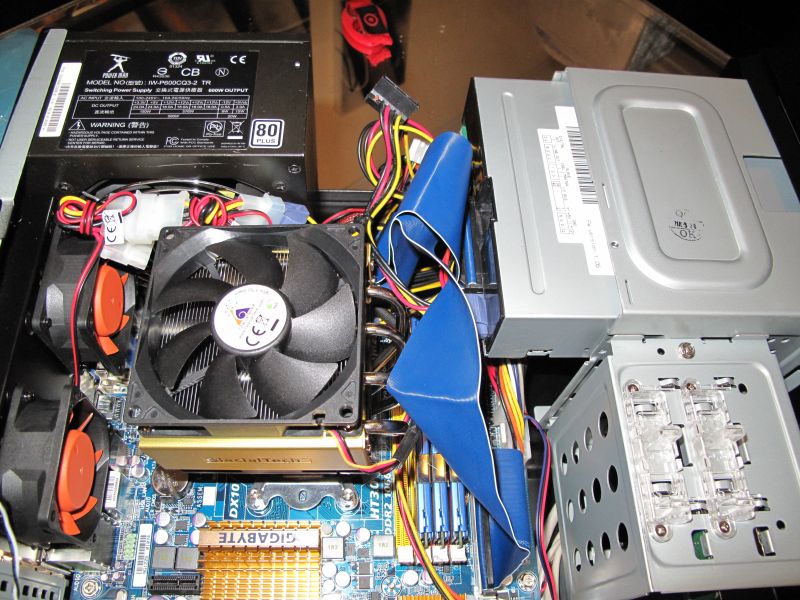 |
The power supply fit in the case just as if it was any other case, I don’t see there being any problem with other power supplies, although larger power supplies (1200+ watts) might not fit properly. Of course there is no need to install such a large wattage power supply in a HTPC, so this problem should not be an issue.
The installation or hook up of the front panel display was also rather easy. The only thing required to hook it up was to simply plug in two things, one the USB Data Cable and two the 24pin motherboard inline power plug.
 |
 |

I love this case. I just ordered it from amazon
It looks like its built solid. I cant wait to get it…
http://www.amazon.com/Thermaltake-VJ80011N2Z-Digital-Built-Controller/dp/B0028MBFI4
Hey Josh, Could you post your comment on how the case was?