Setup and Configuration:
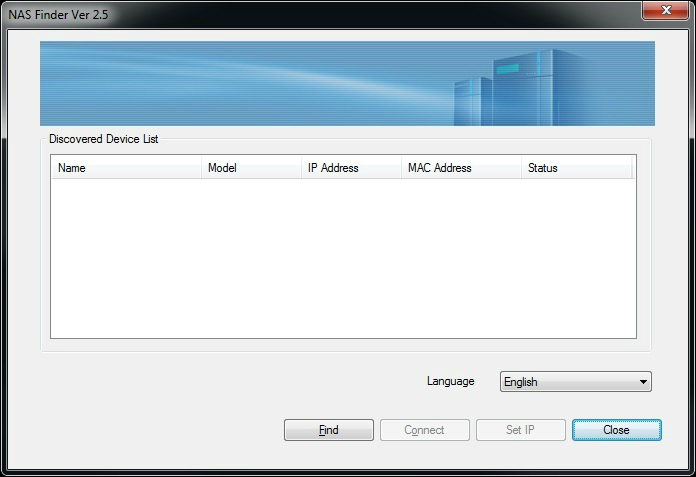
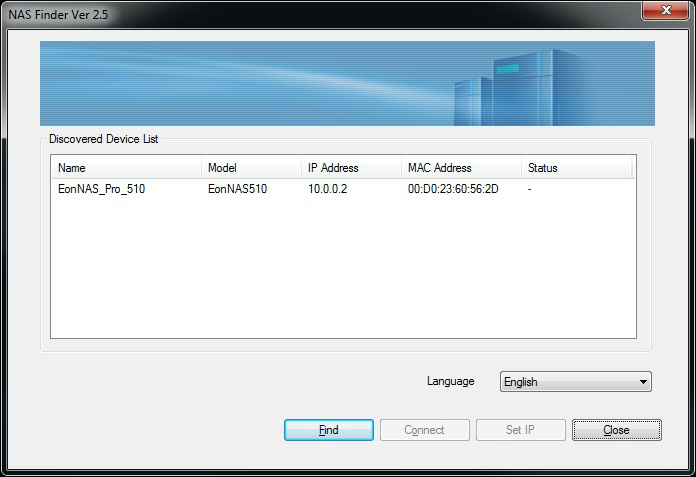
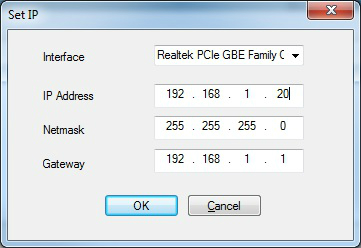
With everything connected and powered on, getting the EonNAS Pro 510 setup and configured was relatively painless. Using the NAS Finder utility on the CD that shipped with unit (can also be downloaded from Infortrend’s site), discovering the device and setting the IP is pretty simple process.
 |
 |
 |
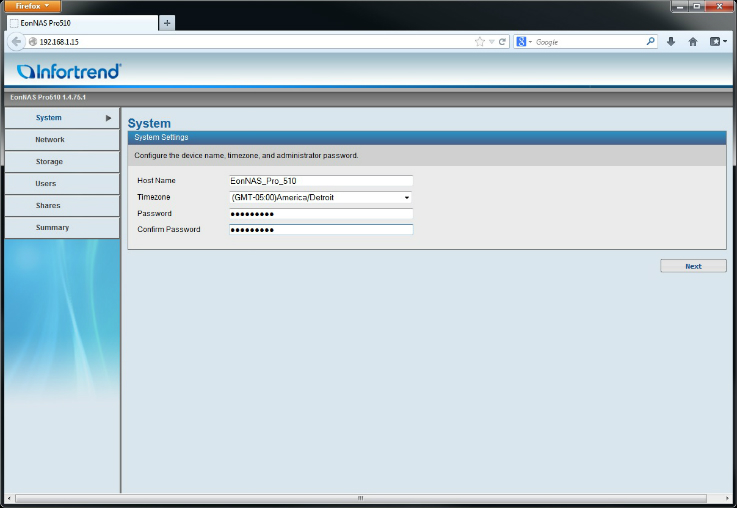
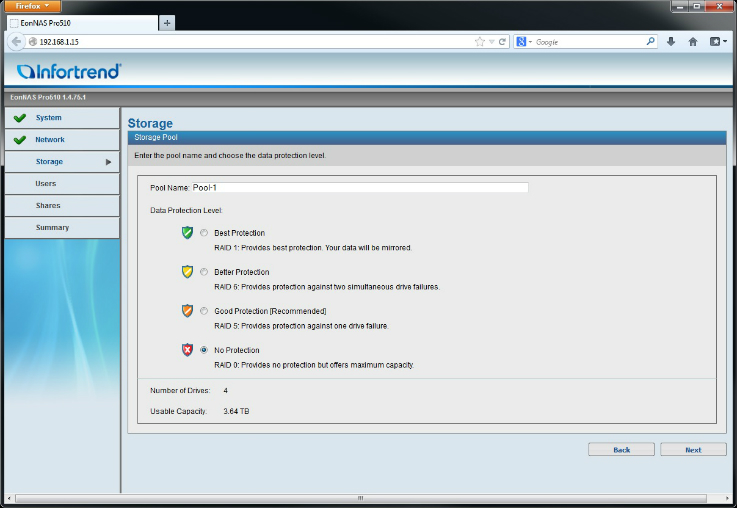
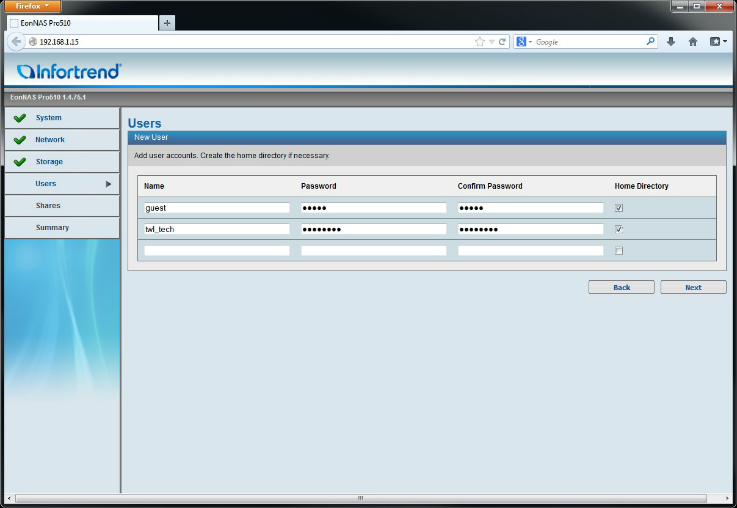
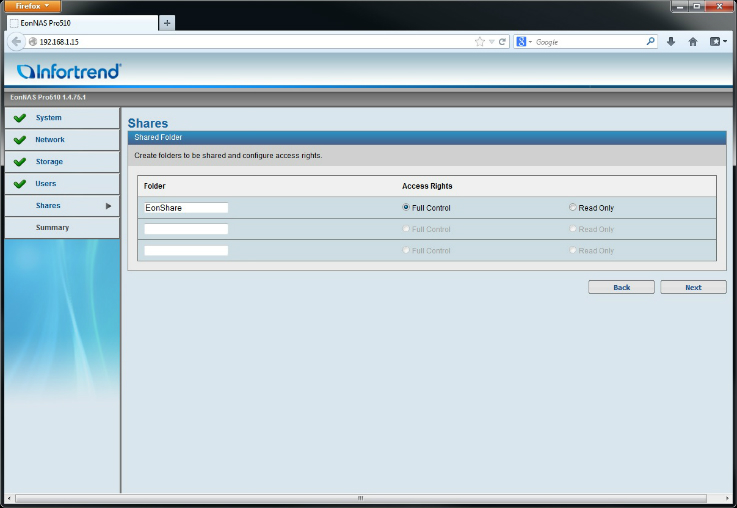
Once the IP is set, you will then connect to it via web browser (using the IP you configured) and walk through the initial setup. This initial setup is comprised of about 5-6 screens, that have you Hostname, system time, admin password, additional LAN port, storage/pool, users, and shares. Once all of those are initial configured, the unit is more or less ready to roll, unless you want a more advanced configuration (which is available once you complete the initial setup).
 |
 |
 |
 |
 |
 |
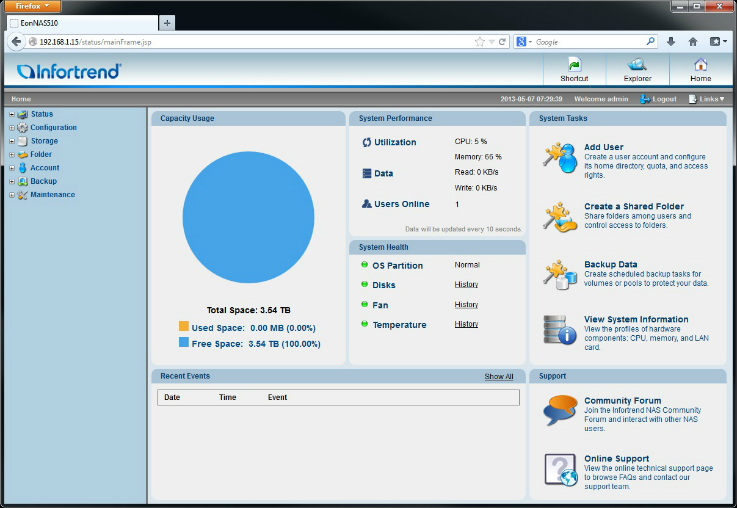
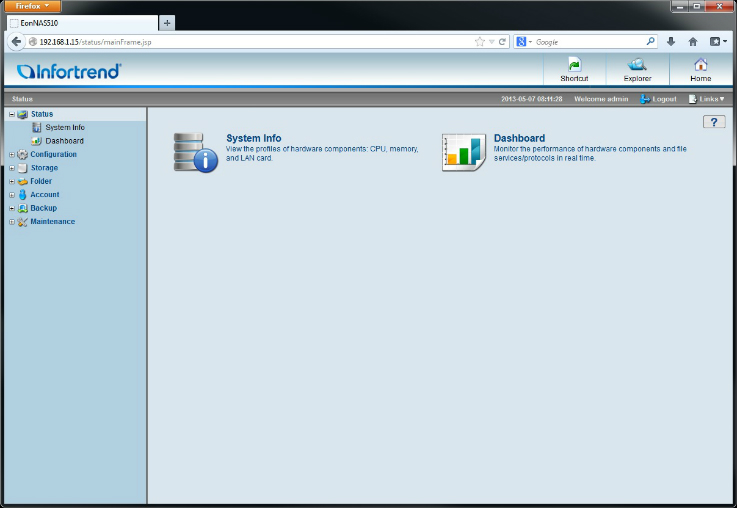
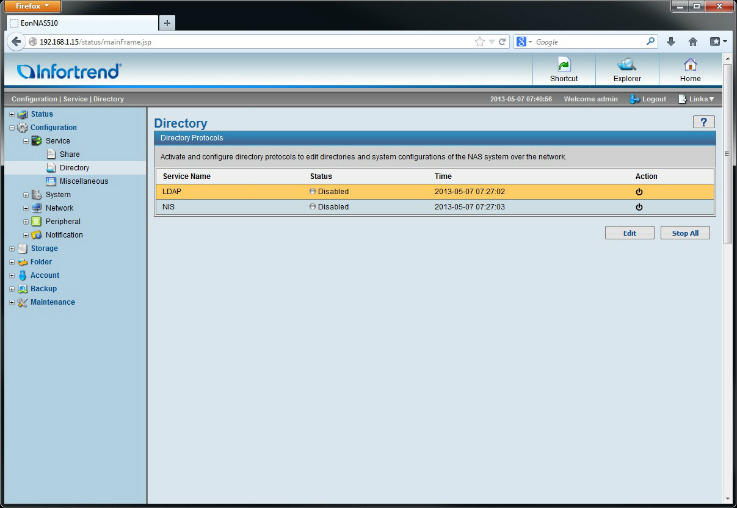
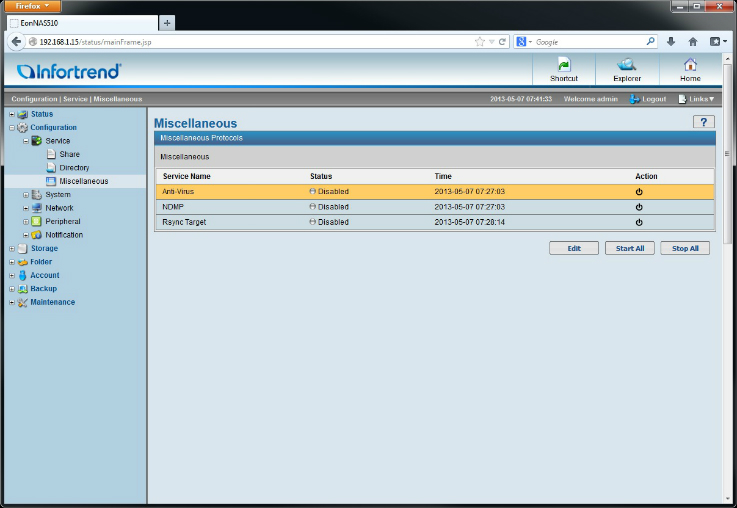
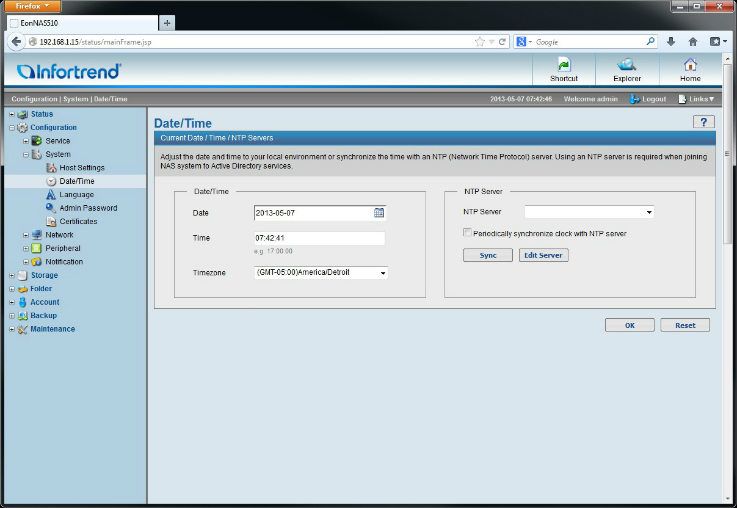
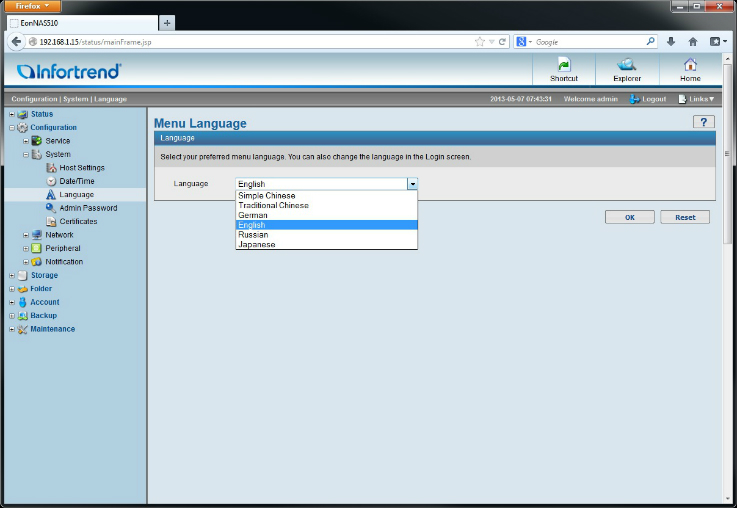
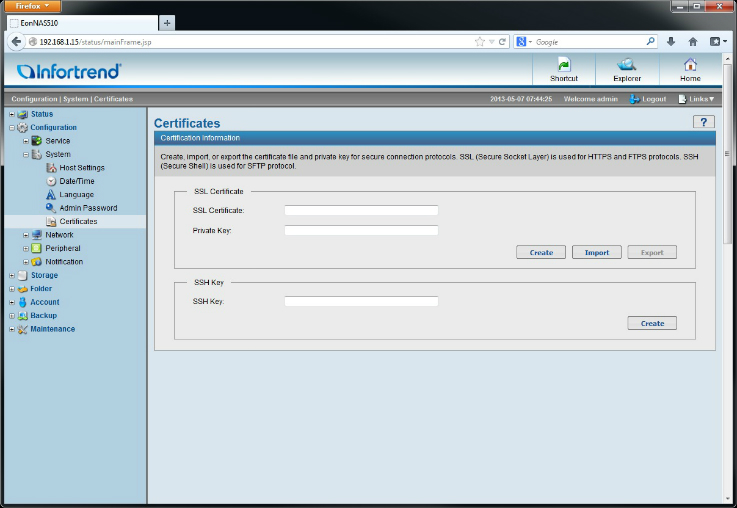
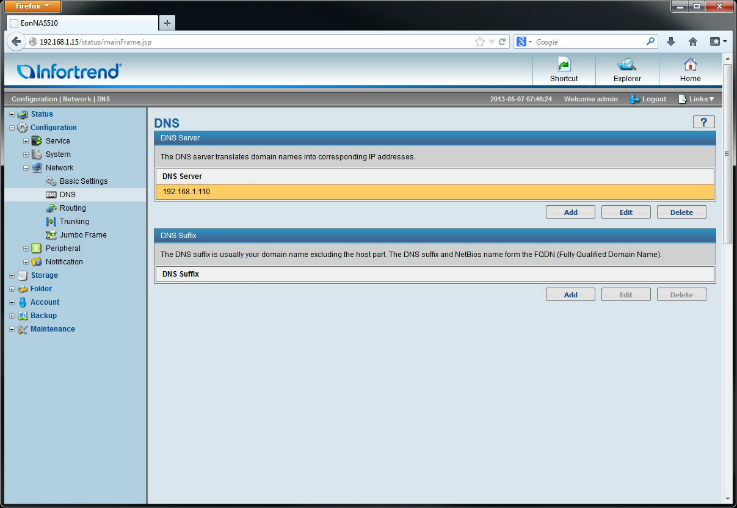
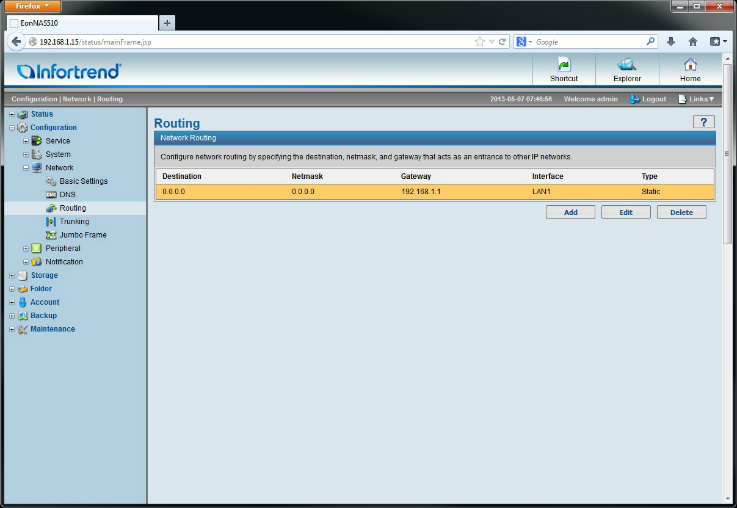
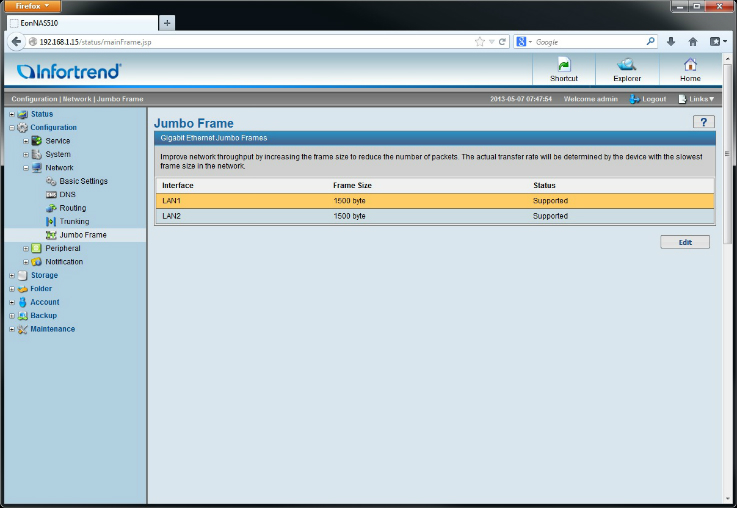
After the initial setup, you will have access to complete web user interface and all of the various features, settings, and options it has available. I won’t go through each screen, but here is a list of the various sections for your reference.
Main Screen:
 |
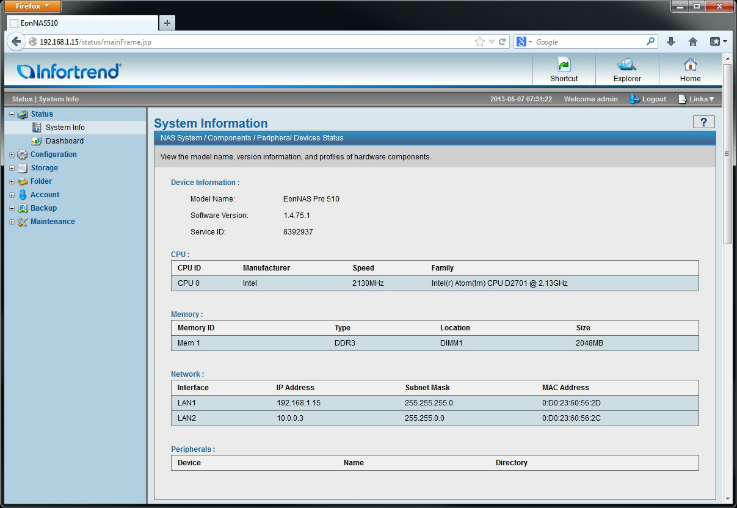
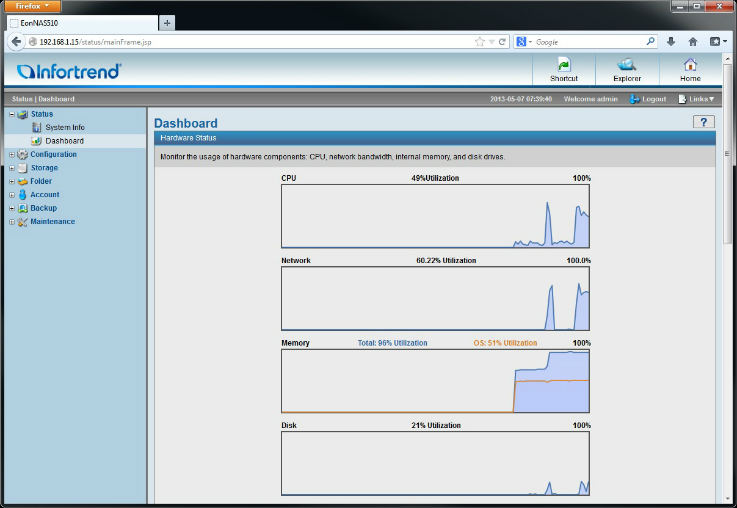
Status:
 |
 |
 |
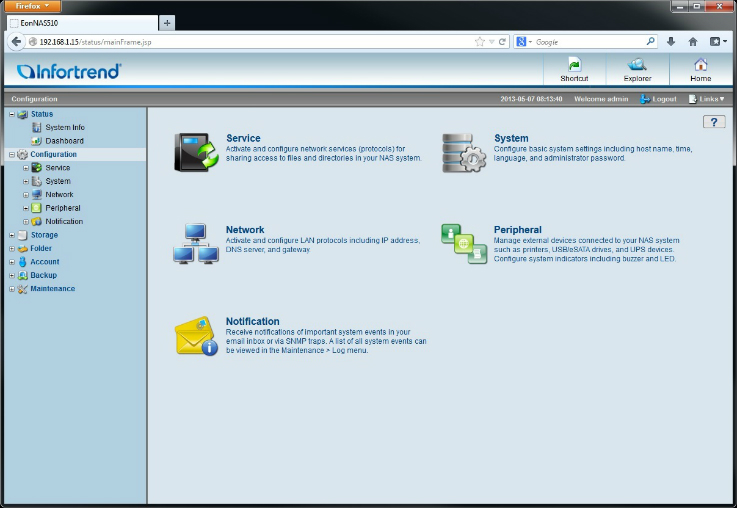
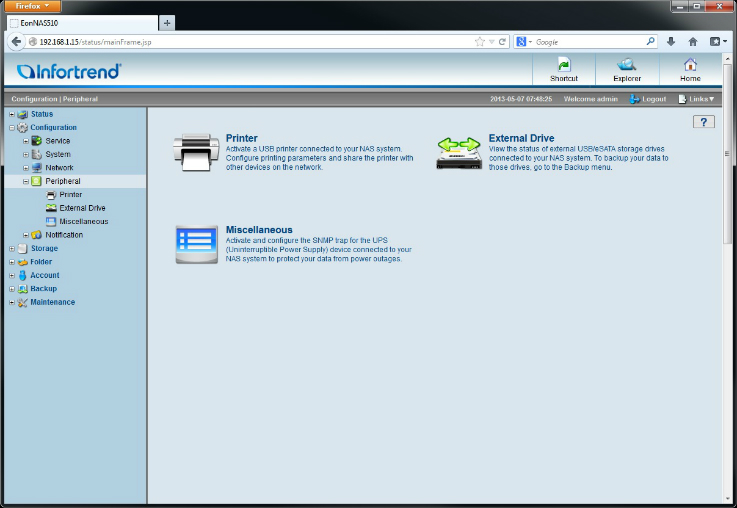
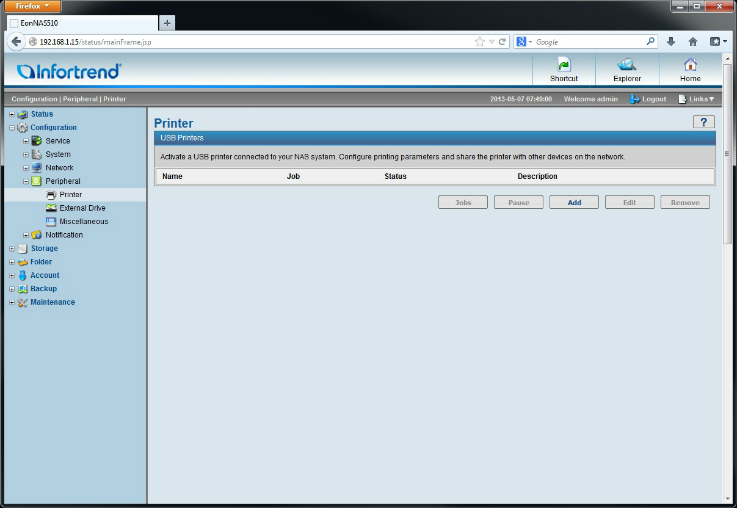
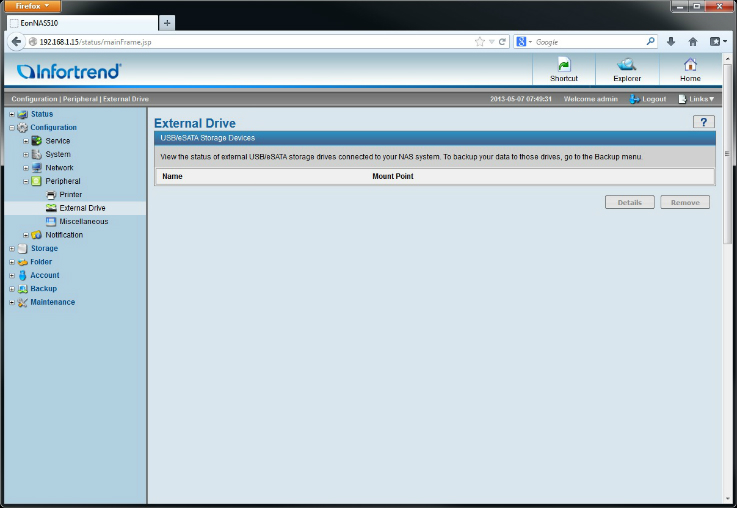
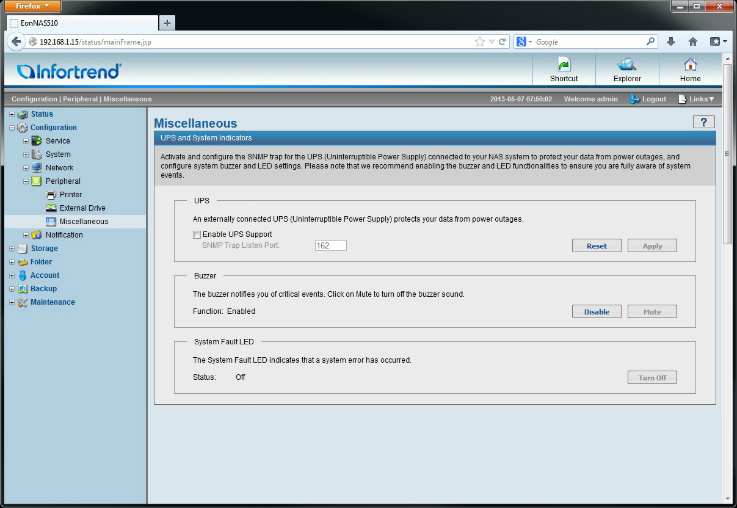
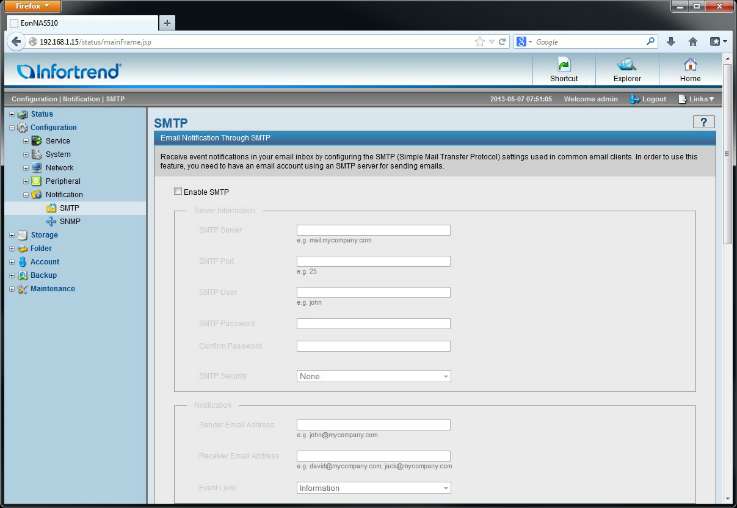
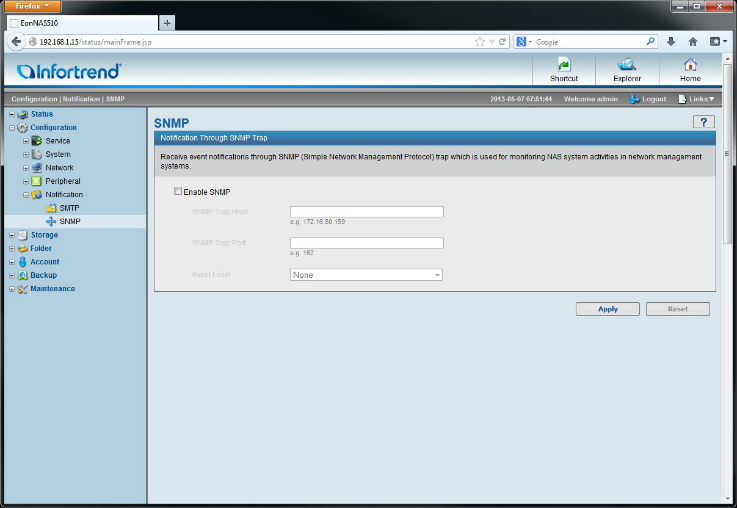
Configuration:
 |
 |
 |
 |
 |
 |
 |
 |
 |
 |
 |
 |
 |
 |
 |
 |
 |
 |
 |
 |
 |
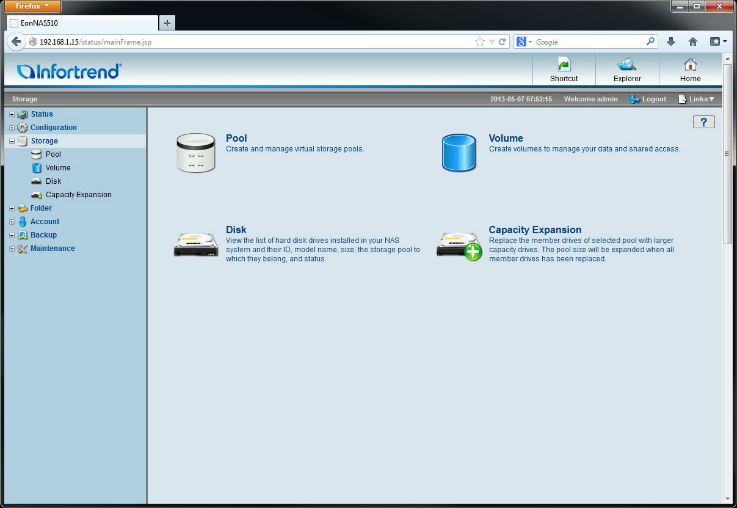
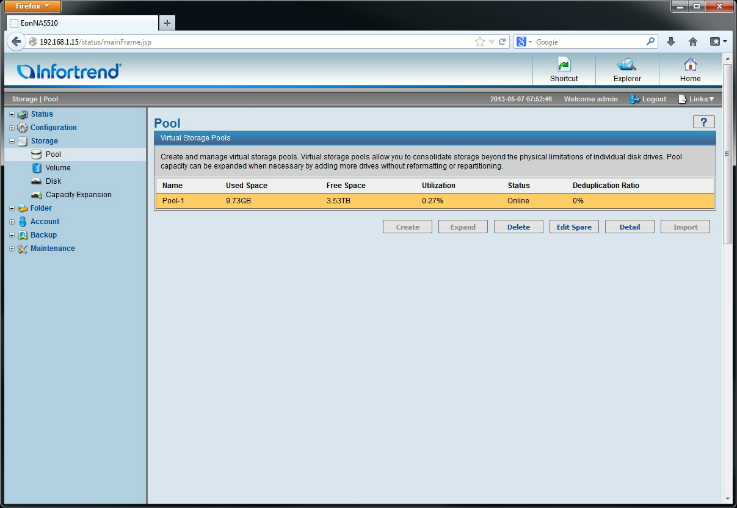
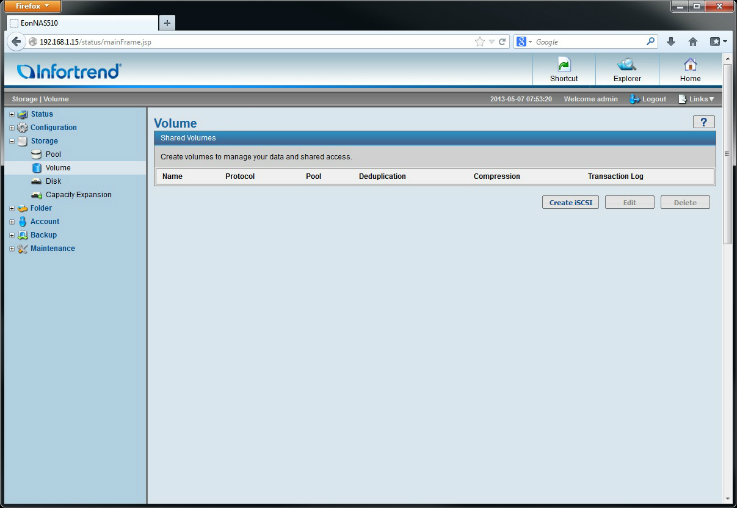
Storage:
 |
 |
 |
 |
 |
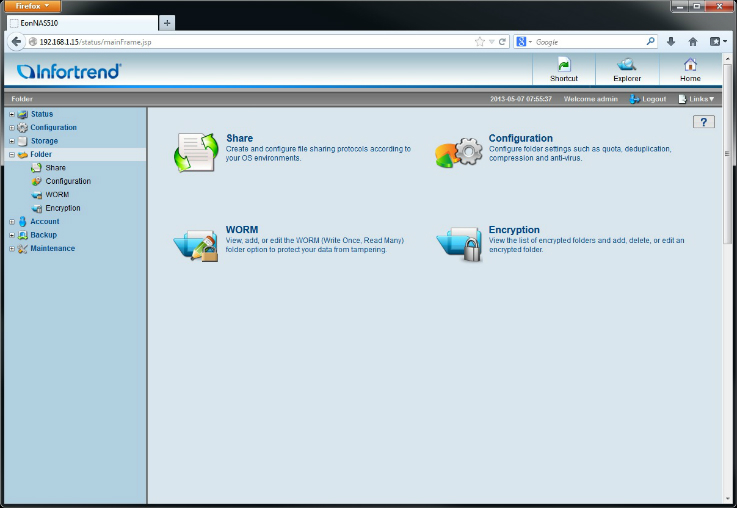
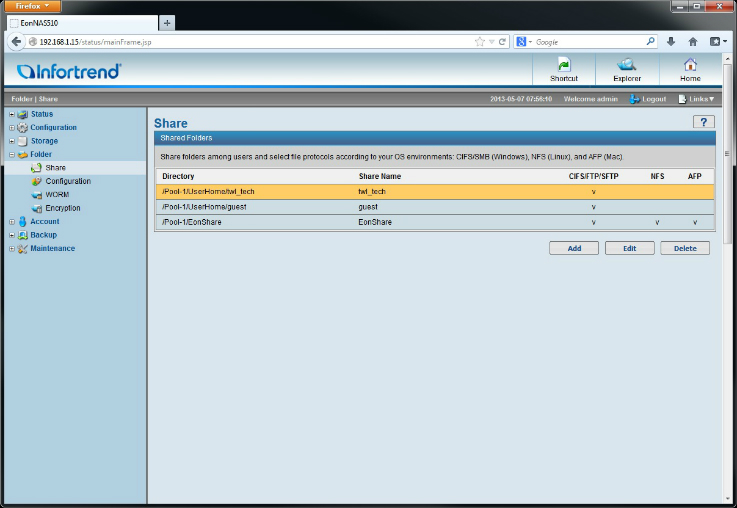
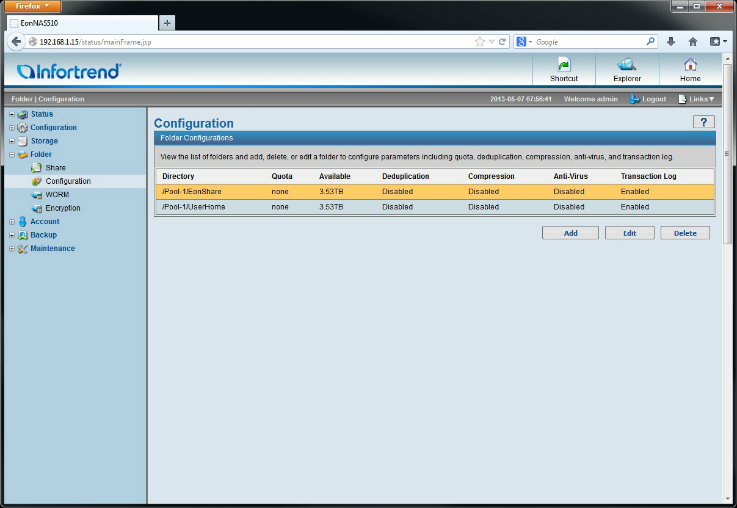
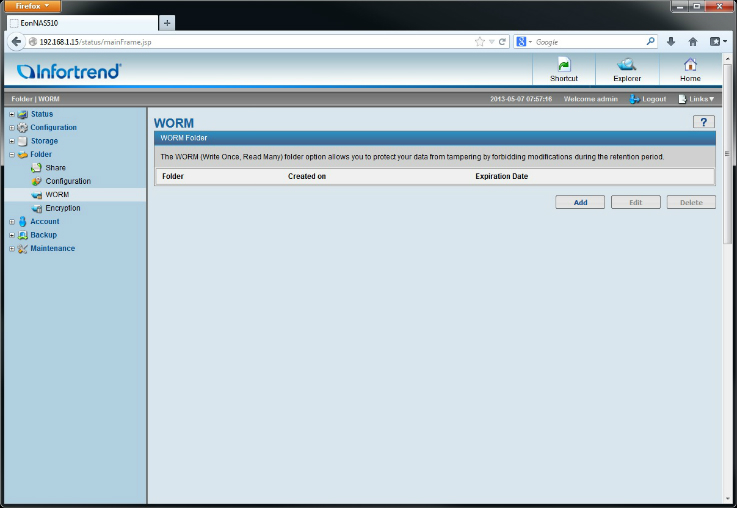
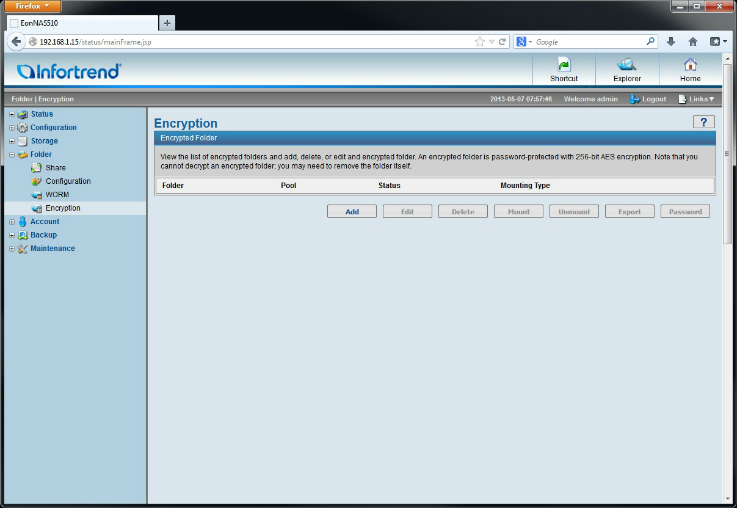
Folder:
 |
 |
 |
 |
 |
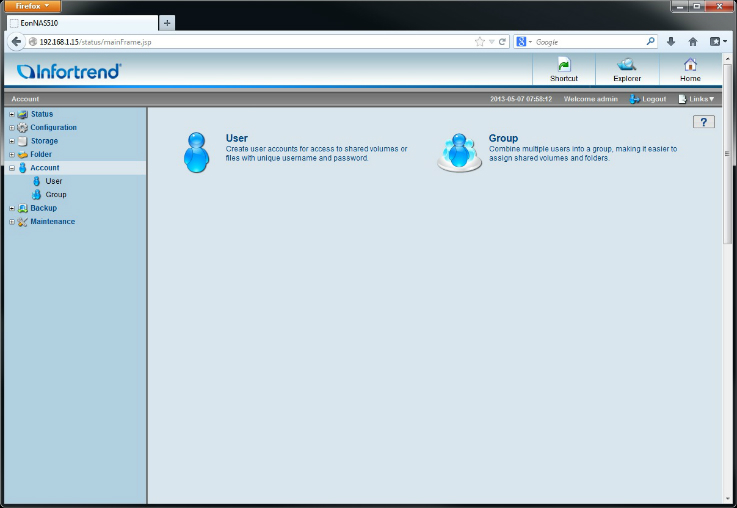
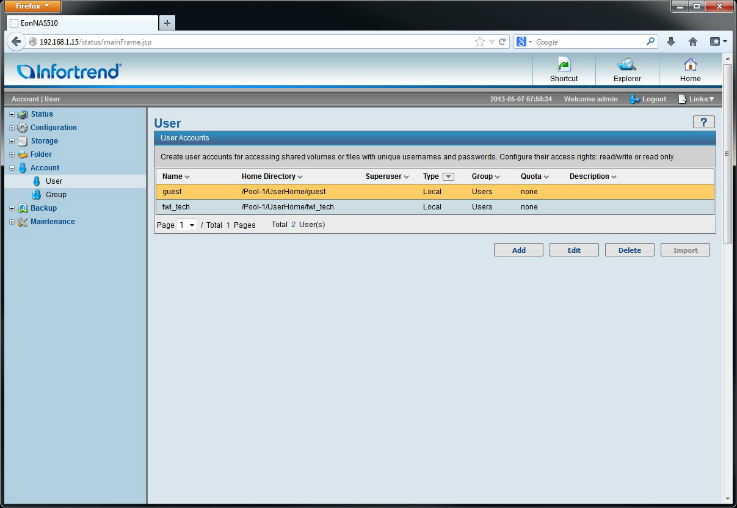
Account:
 |
 |
 |
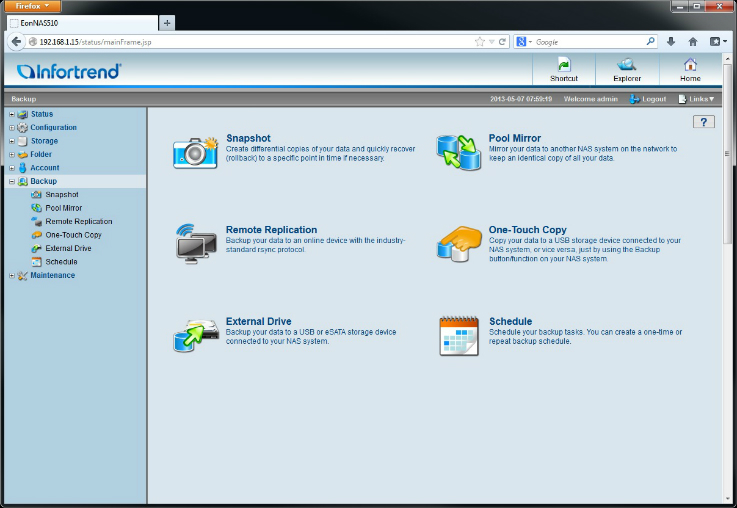
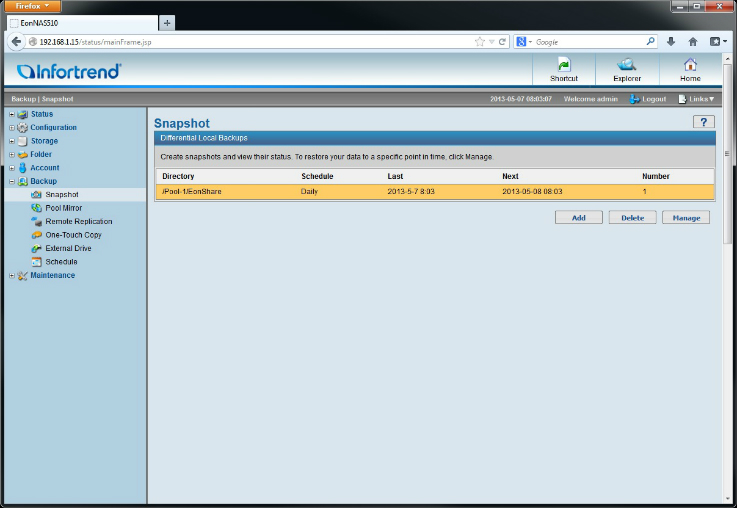
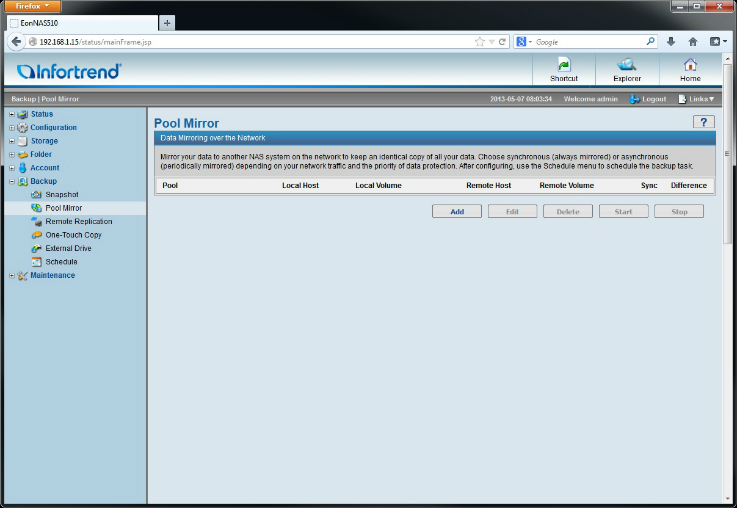
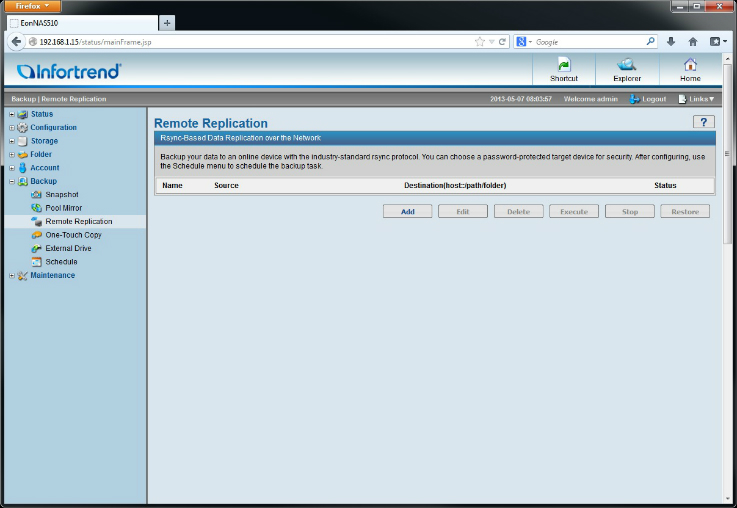
Backup:
 |
 |
 |
 |
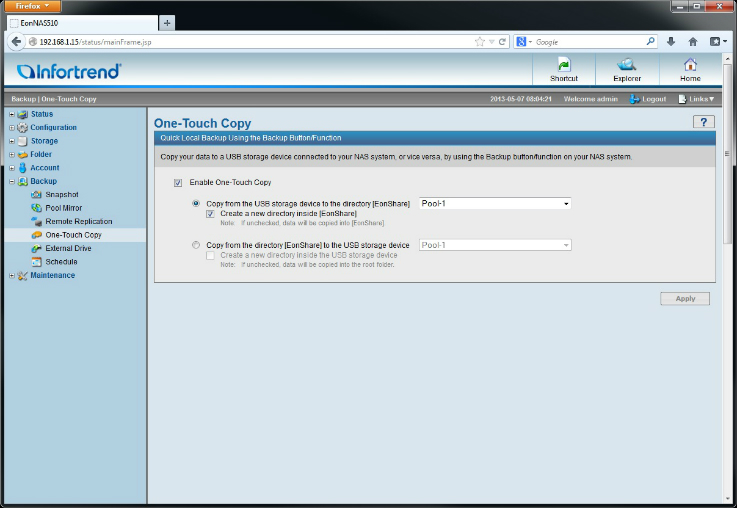 |
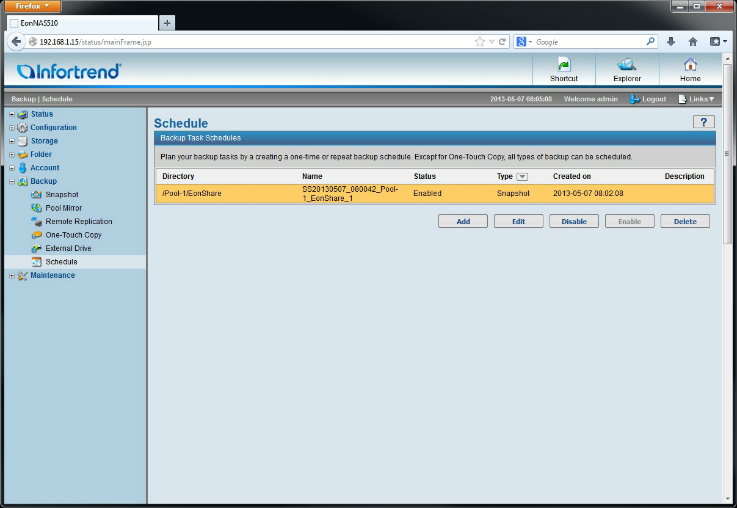 |
|
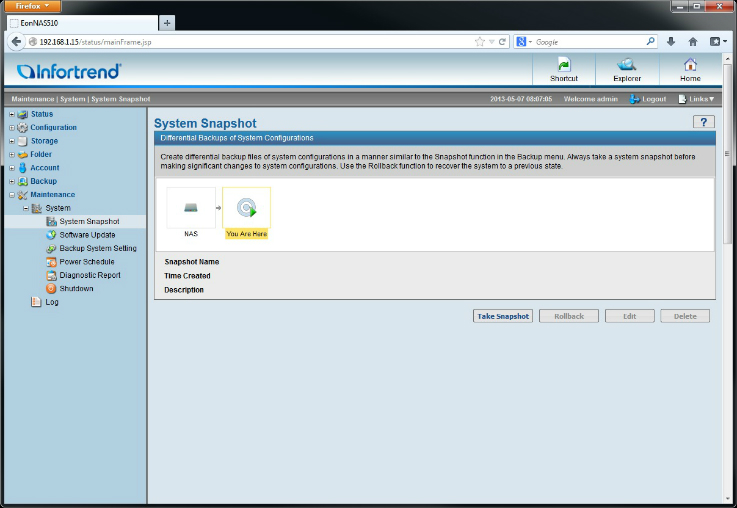
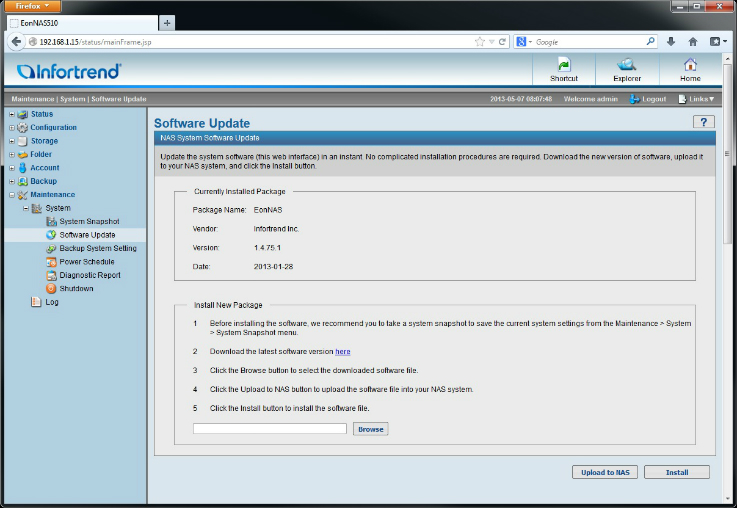
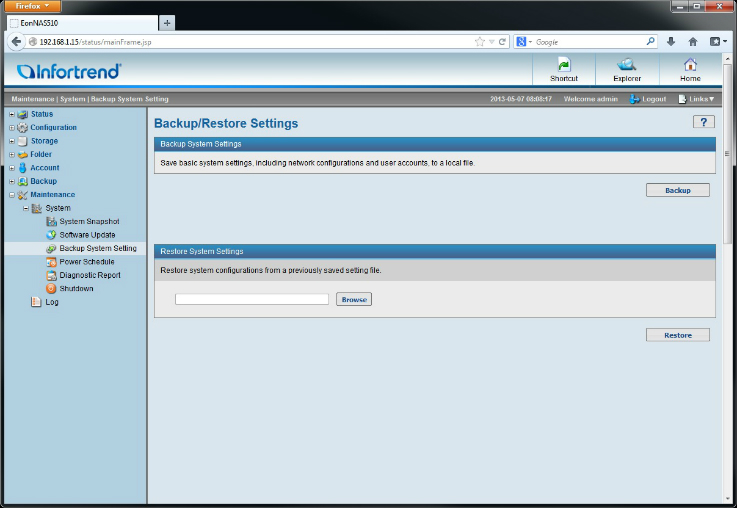
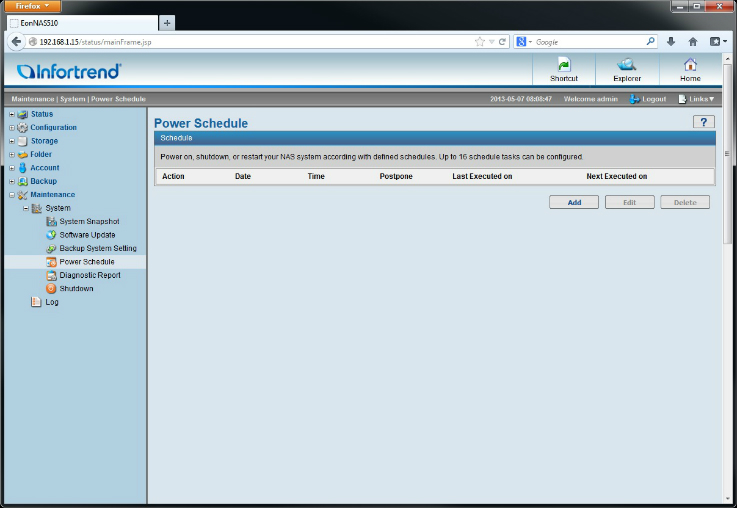
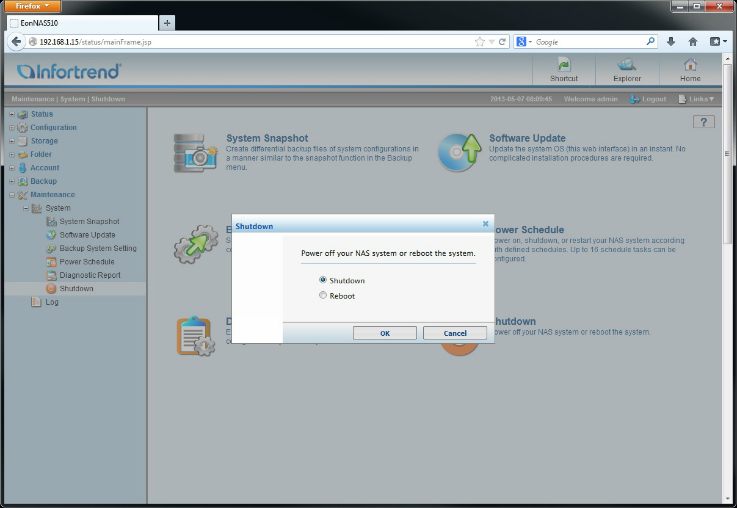
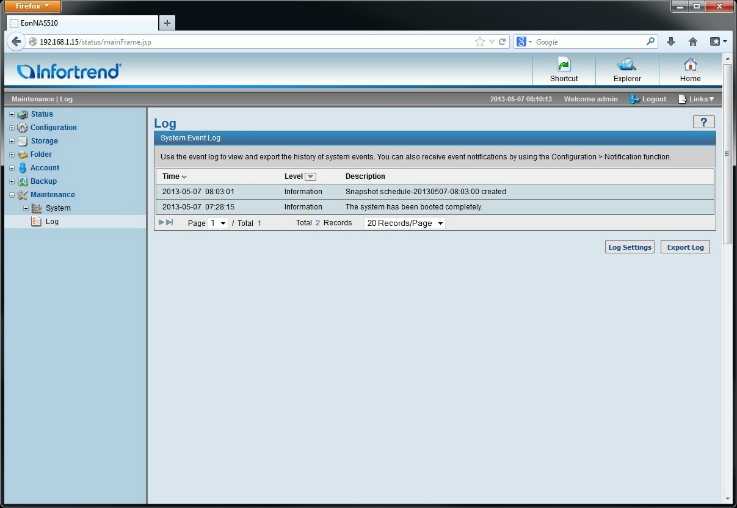
Maintenance:
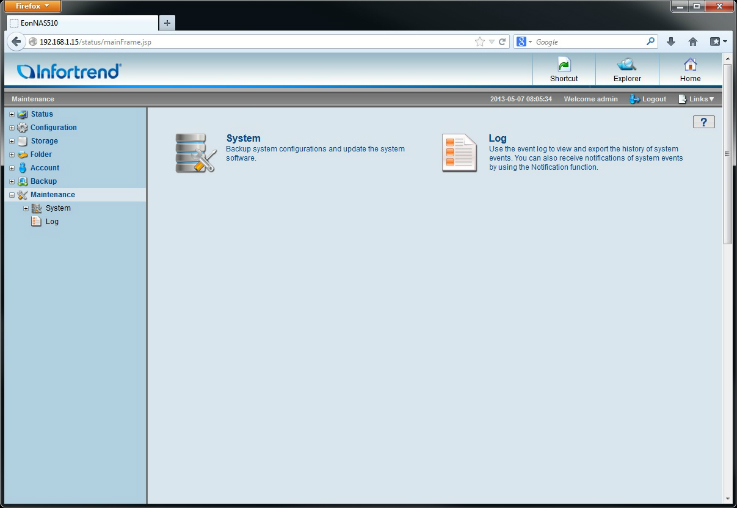 |
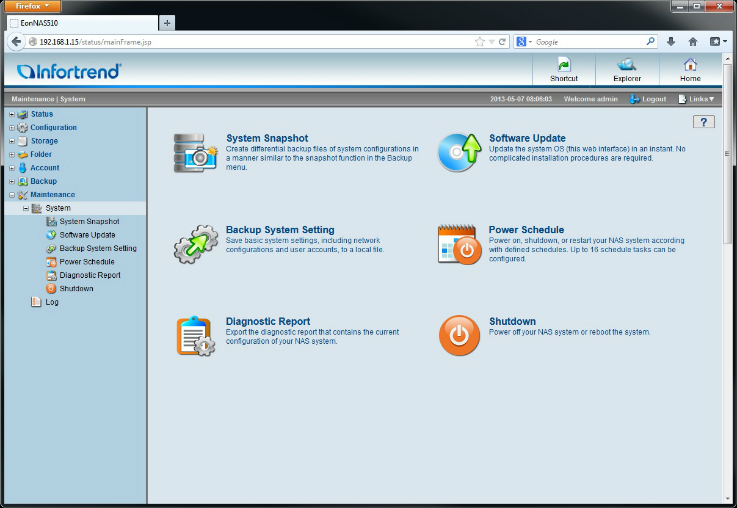 |
 |
 |
 |
 |
 |
 |
 |

[…] Infortrend EonNAS Pro 510 Review @ TechwareLabs […]
[…] Infortrend EonNAS Pro 510 Review @ TechwareLabs […]
[…] Infortrend EonNAS Pro 510 Review @ TechwareLabs […]
[…] Infortrend EonNAS Pro 510 Review @ TechwareLabs […]