Closer Look(Interior)
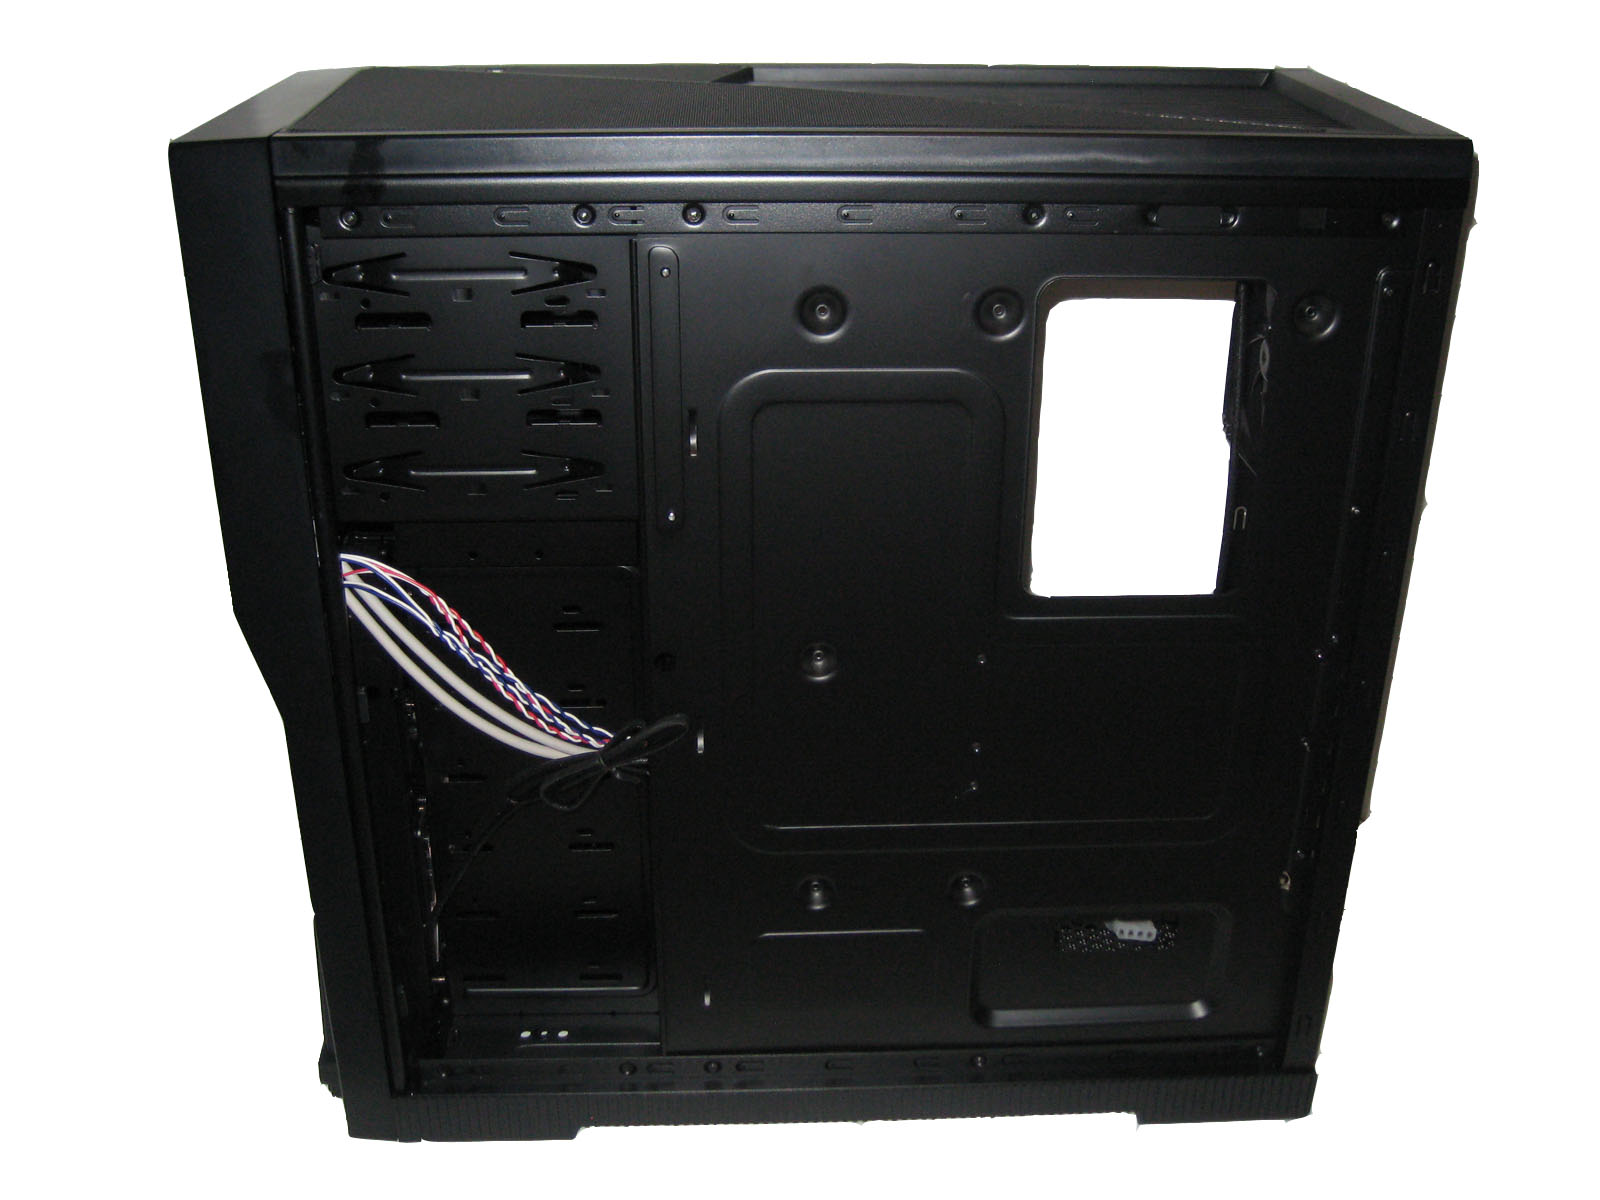
As you open up the left panel of the case you are met with matte black interior. A relatively recent trend that adds a more professional, handmade look to the case.
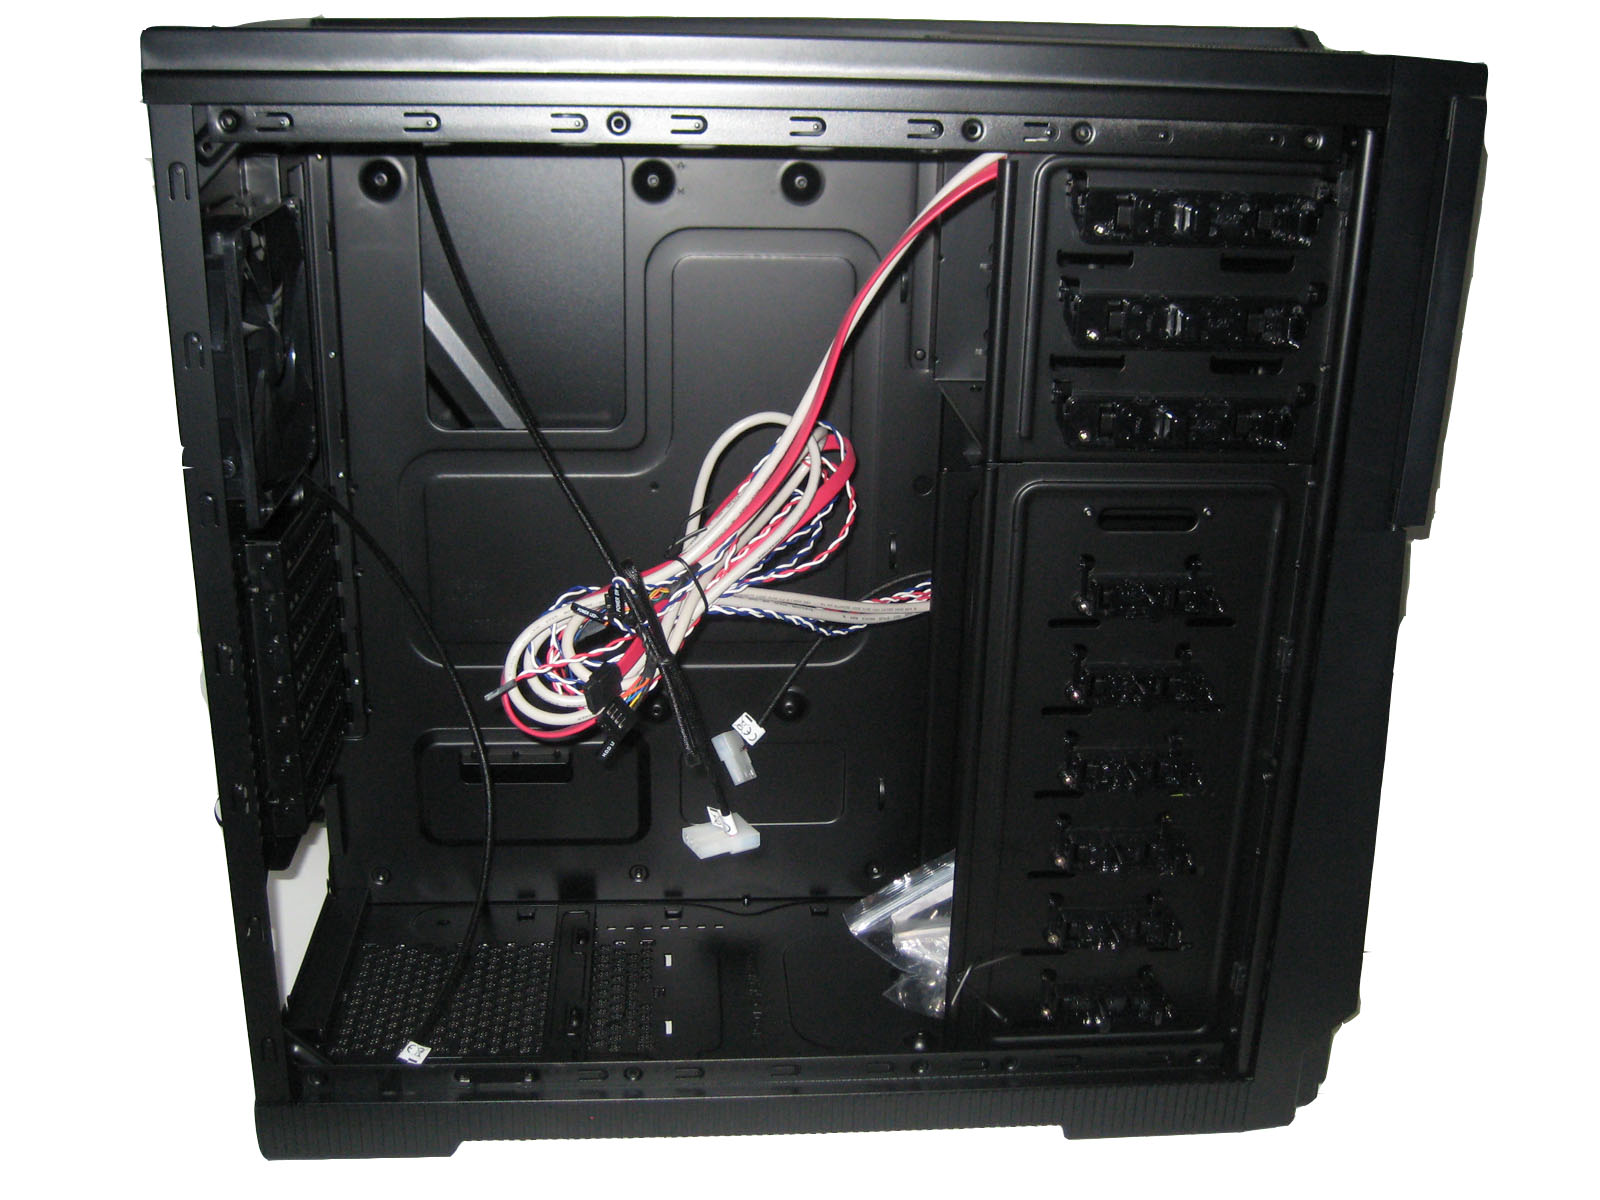 Left Inside |
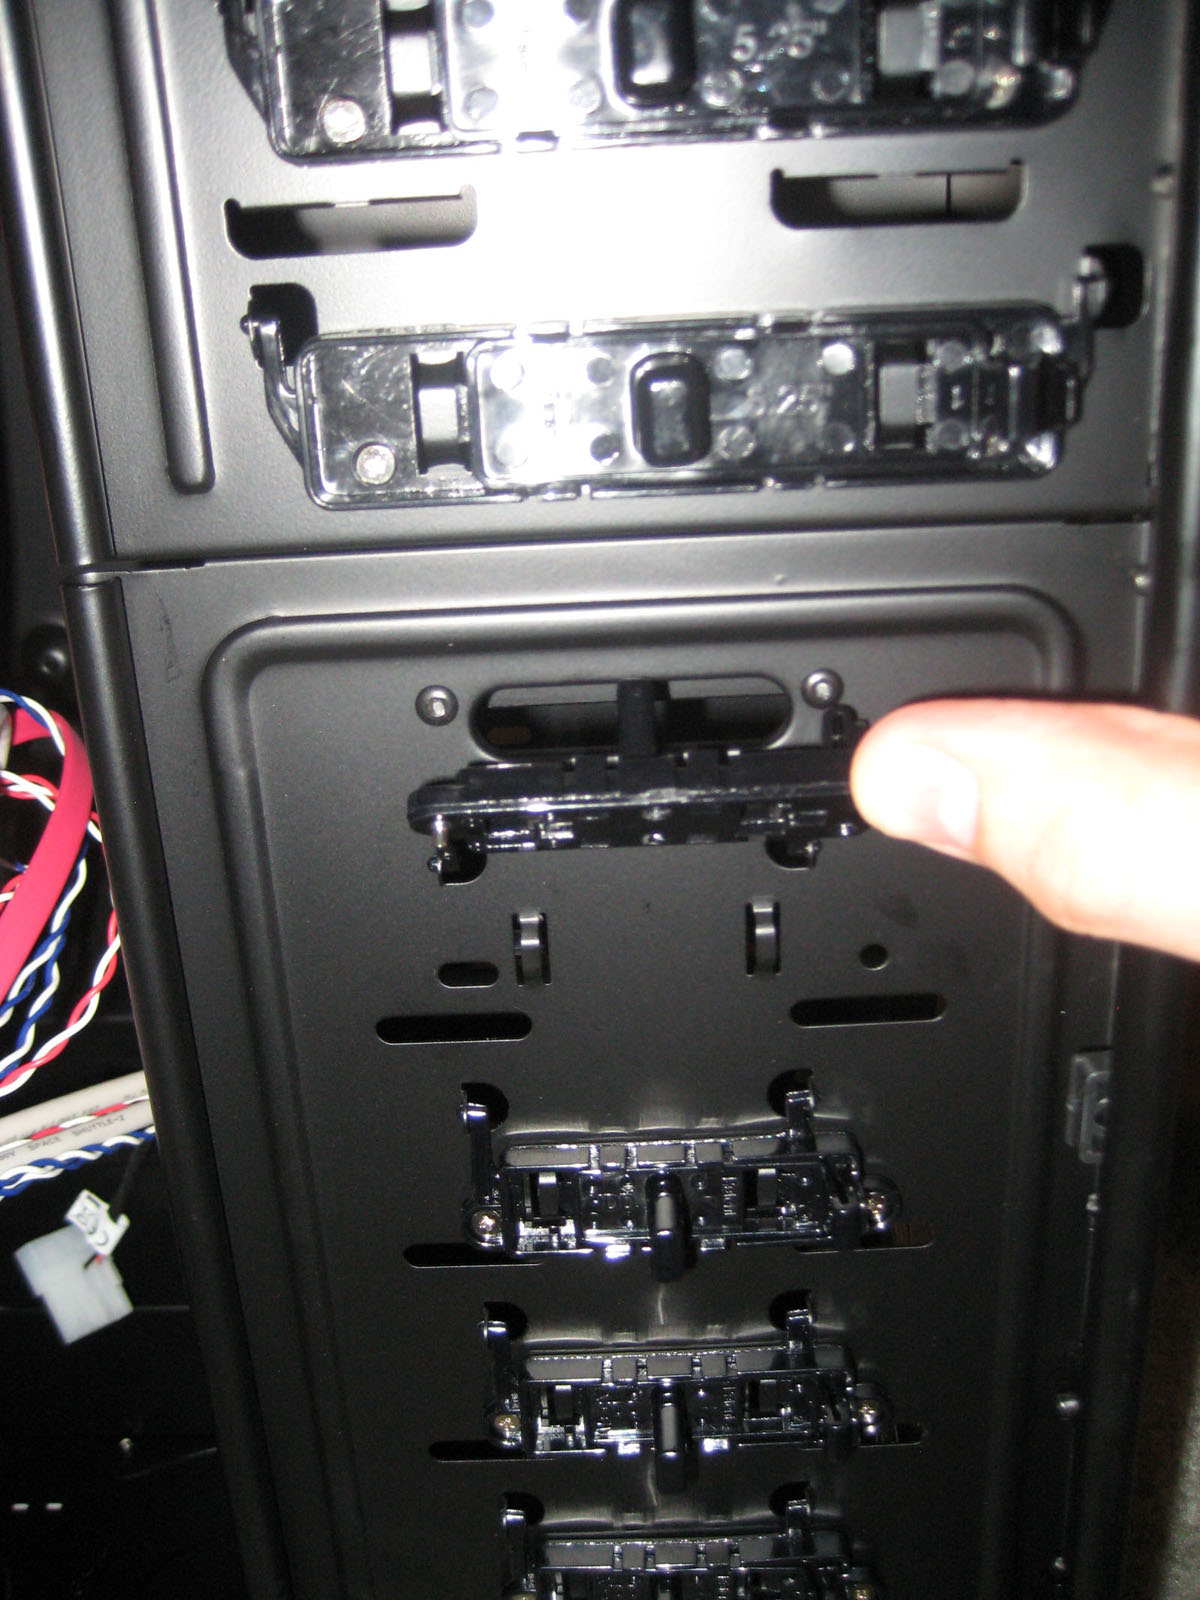
 HDD Bays |
Inside looks like enough room to build any rig from light use to heavy gaming or professional use. The official limitations for graphics cards and CPU heat sinks are 260mm(10.24 in.) and 180mm(7.09 in.). These length are a safe bet. However, I was easily able to install ATi HD5870 that cleared the HDD bay box by 1 whole inch. Considering that HD5870 is 10.75 inches front end to end that leaves enough space for even bigger cards. There is a problem with this build however, the hard drives stick out from the edge of the box a good bit themselves(about an inch) plus the SATA and power wire also add some length. If you’re planning on buying this case you will be able to install up to 11.5 inch video card how ever you will need to put HDD’s on a different level in respect to video card/s so they will fit.
There are several stands provided inside the case in form of raised “bumps” on the motherboard panel. There are also engraved guidelines for every hole that reveal where to screw in the included stands for different motherboard sizes.
 Tool Free |
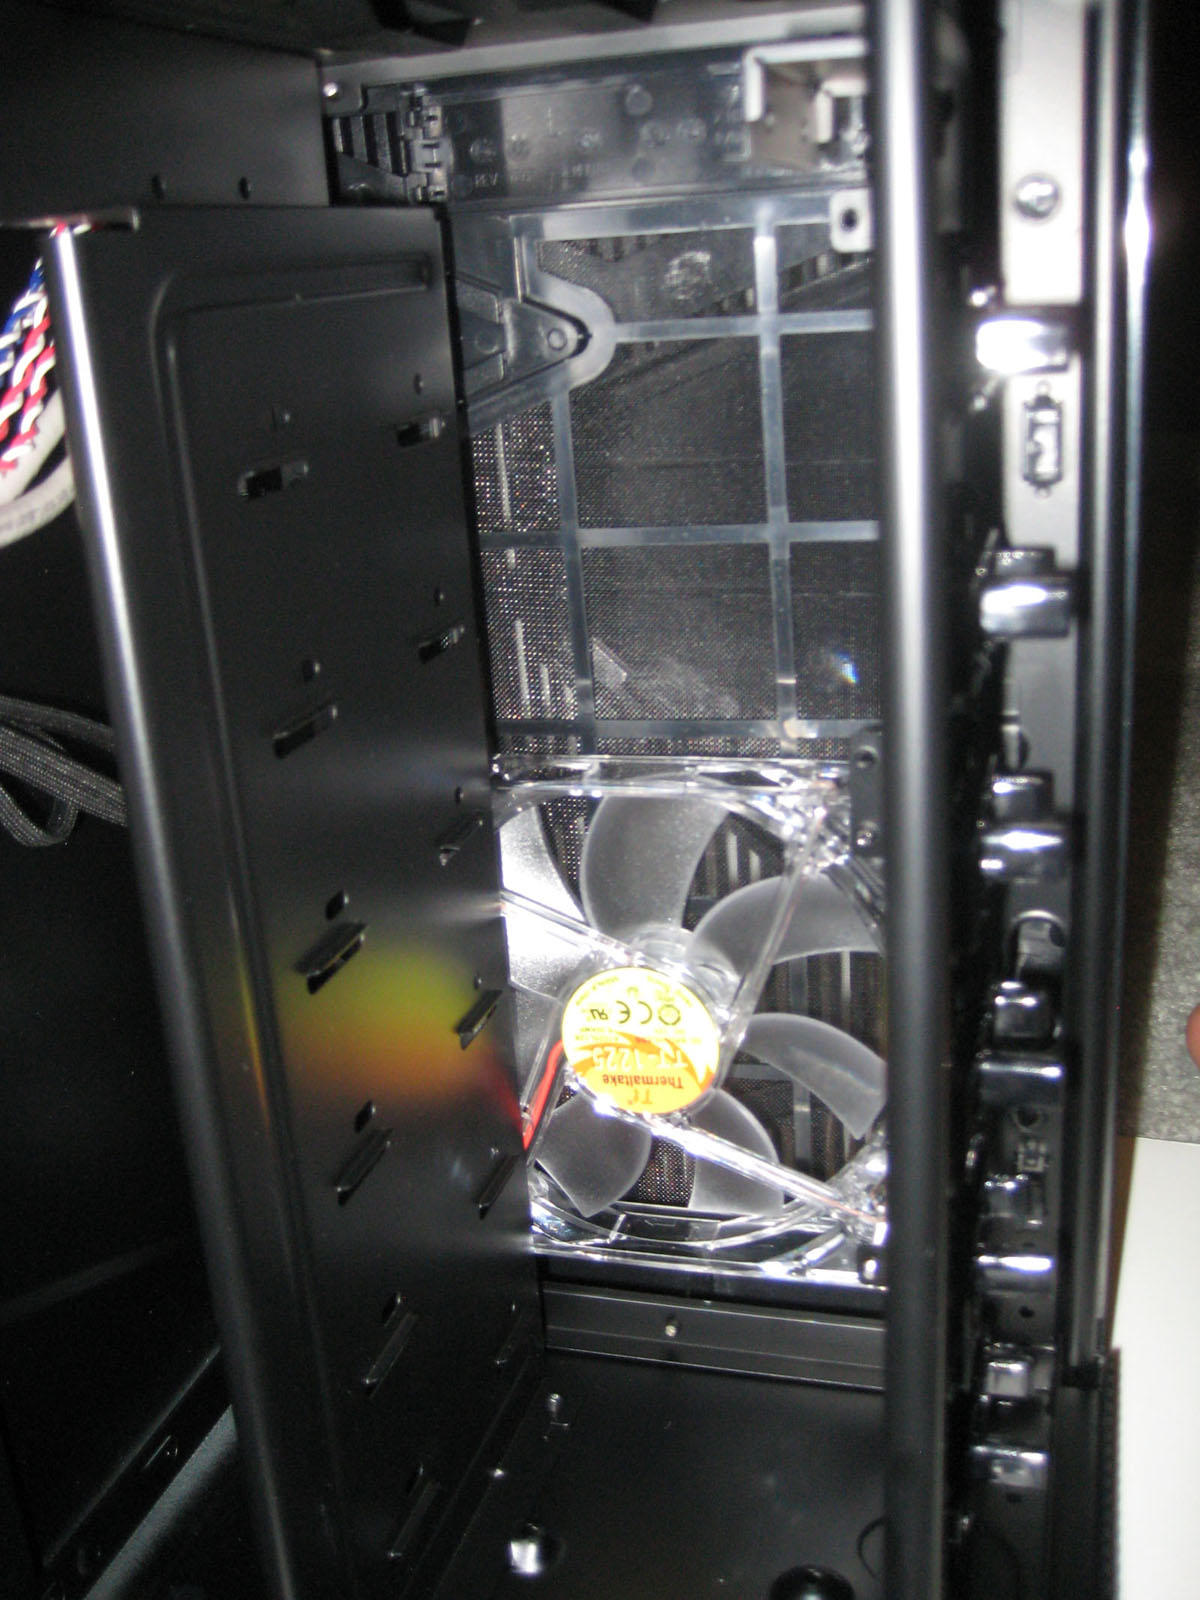
 Top Fan |
Drive bays are facing towards the back panel and are easily placed on top of the ledges that are provided on the inside. All the drive bays are tool free. Even though this is the best tool free assembly I’ve come across, I did run into a broken one at the very bottom. After installing the hard drive it should close by sliding the lock to the left while two pins slide into appropriate holes. While on this broken lock one of the pins would slide on the outside of the whole thus not locking in the hard drive in properly. Granted the HDD was still in place and didn’t move, but I still felt safer moving it to another slot.
The top fan, which provides extra cooling for your CPU and the case overall, is not protected or shielded, though it shouldn’t be a problem unless you’re planning to dig in your case while the PC is on.
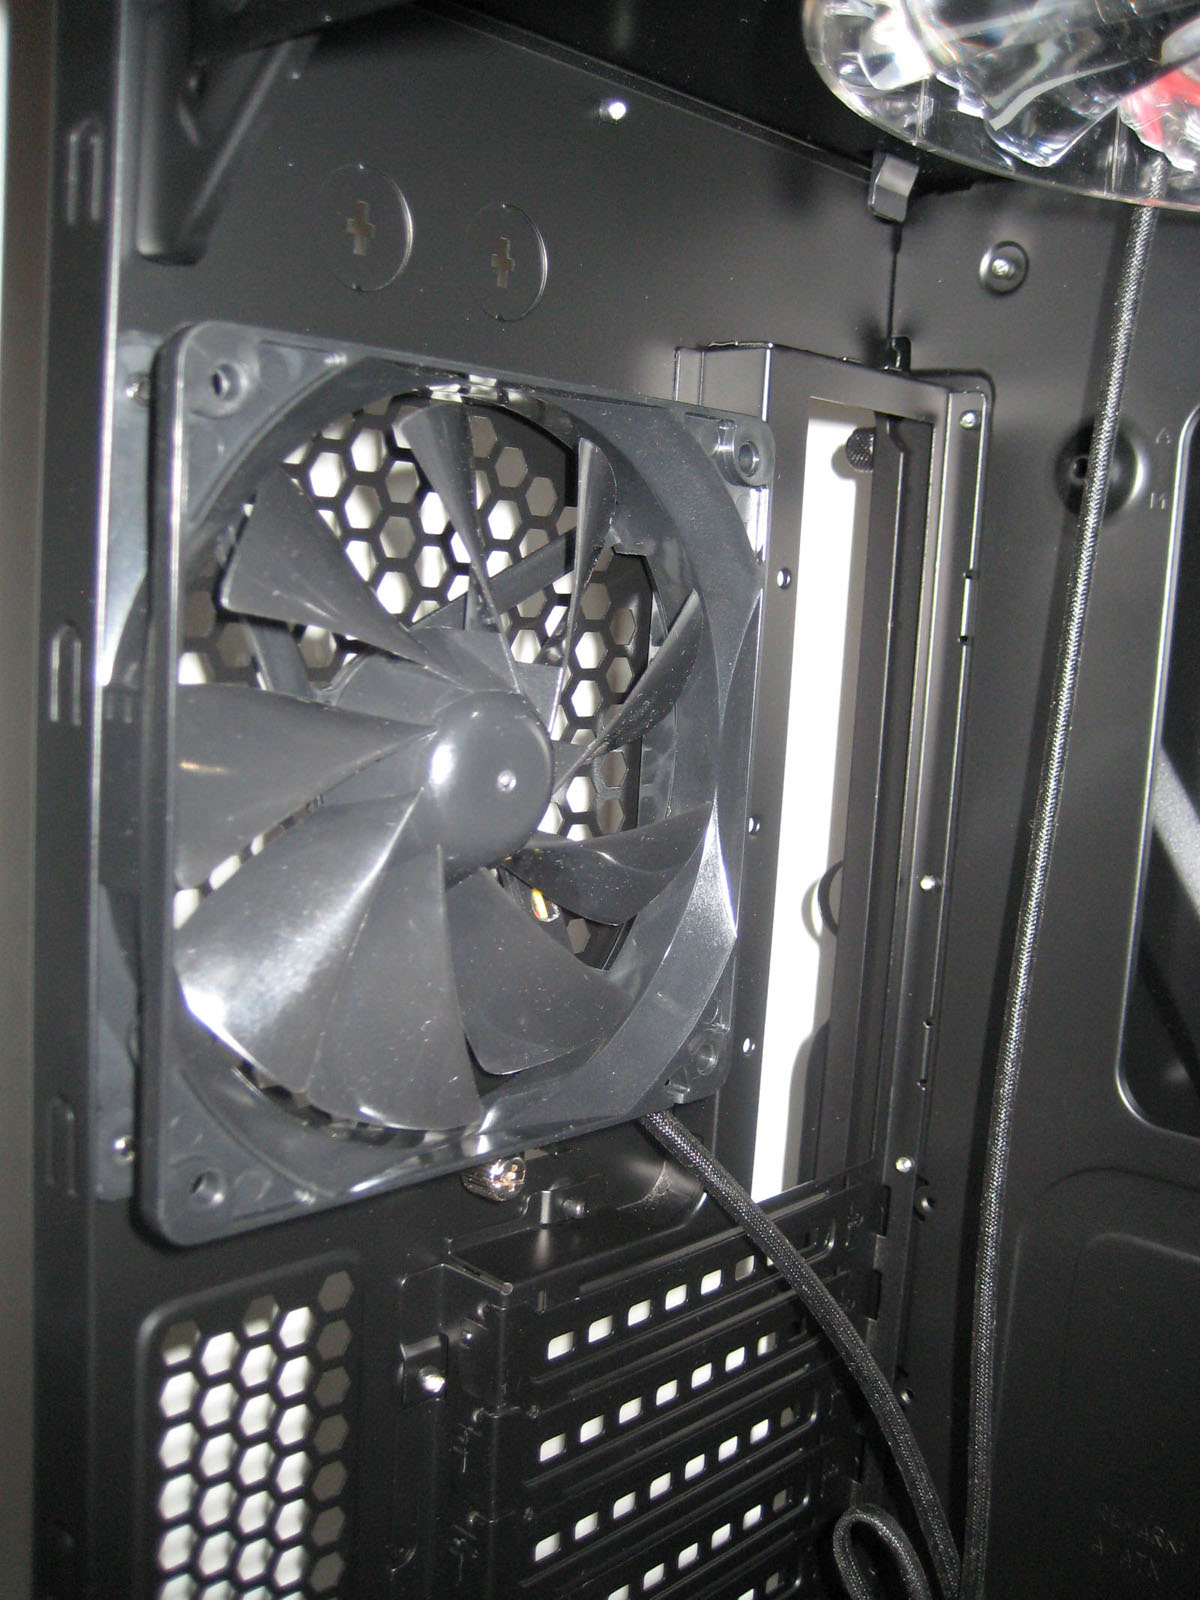 Back Fan |
For some unknown reason the back fan is powered trough 3-pin plug. I am not sure why Thermaltake took this route, and I don’t necessarily agree with it, but it is something to know and be prepared for. This is easily solved by a 3-pin to regular molex adapter.
 Under the right panel |
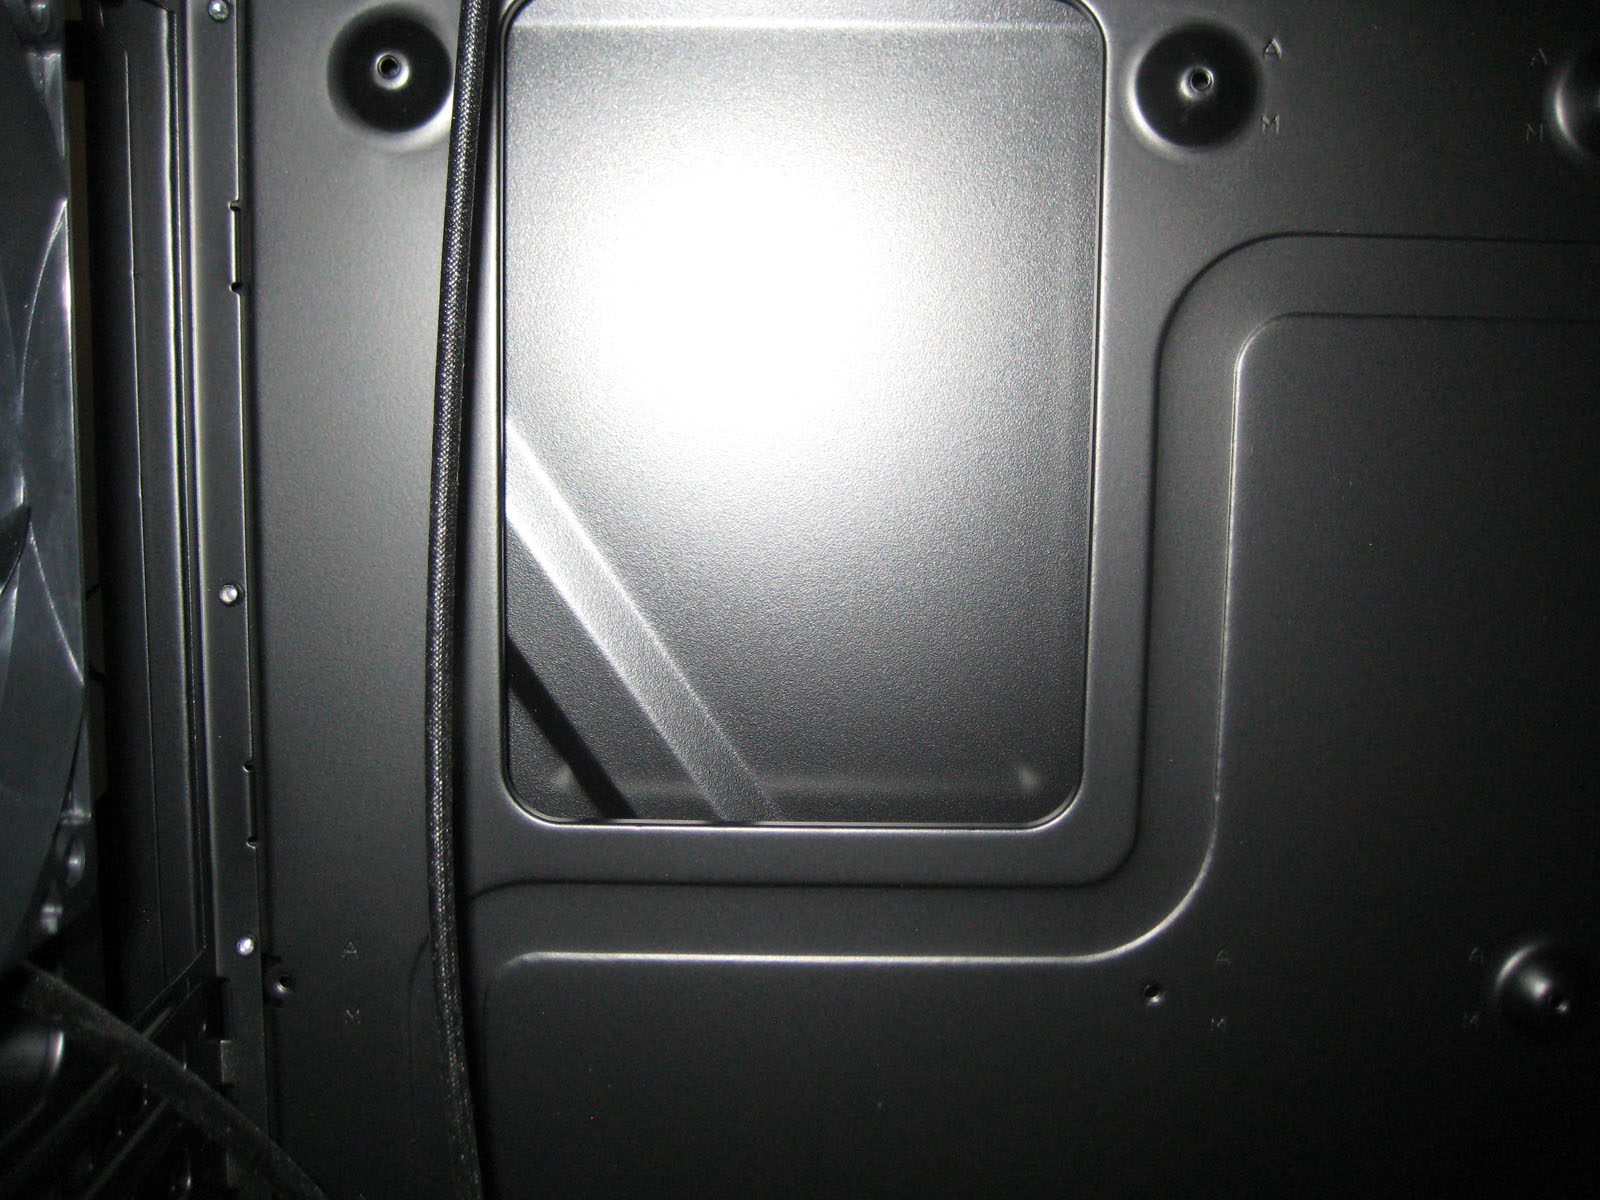 CPU Heat Sink |
 Wire Management |
The right panel gives a good look on two aspects. First is the opening for CPU heat sink swap. This opening allows you to swap out heat sinks without having to rebuild the system. Always a nice addition especially for overclocking enthusiasts.
The second is the wire management. It is the space located right behind the drive bays. You can see the wires from extension panel are fed through this opening. This space allows for plenty of extra wire length to be hidden for a clean looking build. Packing the wires here was not a problem, but unfortunately no wire ties were included.
 Inside front panel |
Front panel gives access to switch out or add extra front fan. The screws and support stands for and extra fan are included with the case.

[…] Armor A90 @ TechwareLabsNZXT Hades @ XSReviewsAntec Dark Fleet DF-85 @ […]
[…] Enthusiast Gaming Case Review @ HardwareLogic Antec Dark Fleet DF-85 Full Tower Chassis @ TweakTown Thermaltake Armor A90 Case @ TechwareLabs Antec DF-85 Dark Fleet Series ATX Enclosure Review @ […]
[…] This post was mentioned on Twitter by ChrisTWL, Cory Blomenkamp, tcpflorida, Josh, Tom Gowing and others. Tom Gowing said: Review: ThermalTake Armor A90 Case – http://www.techwarelabs.com/thermaltake-armor-a90-case/ […]